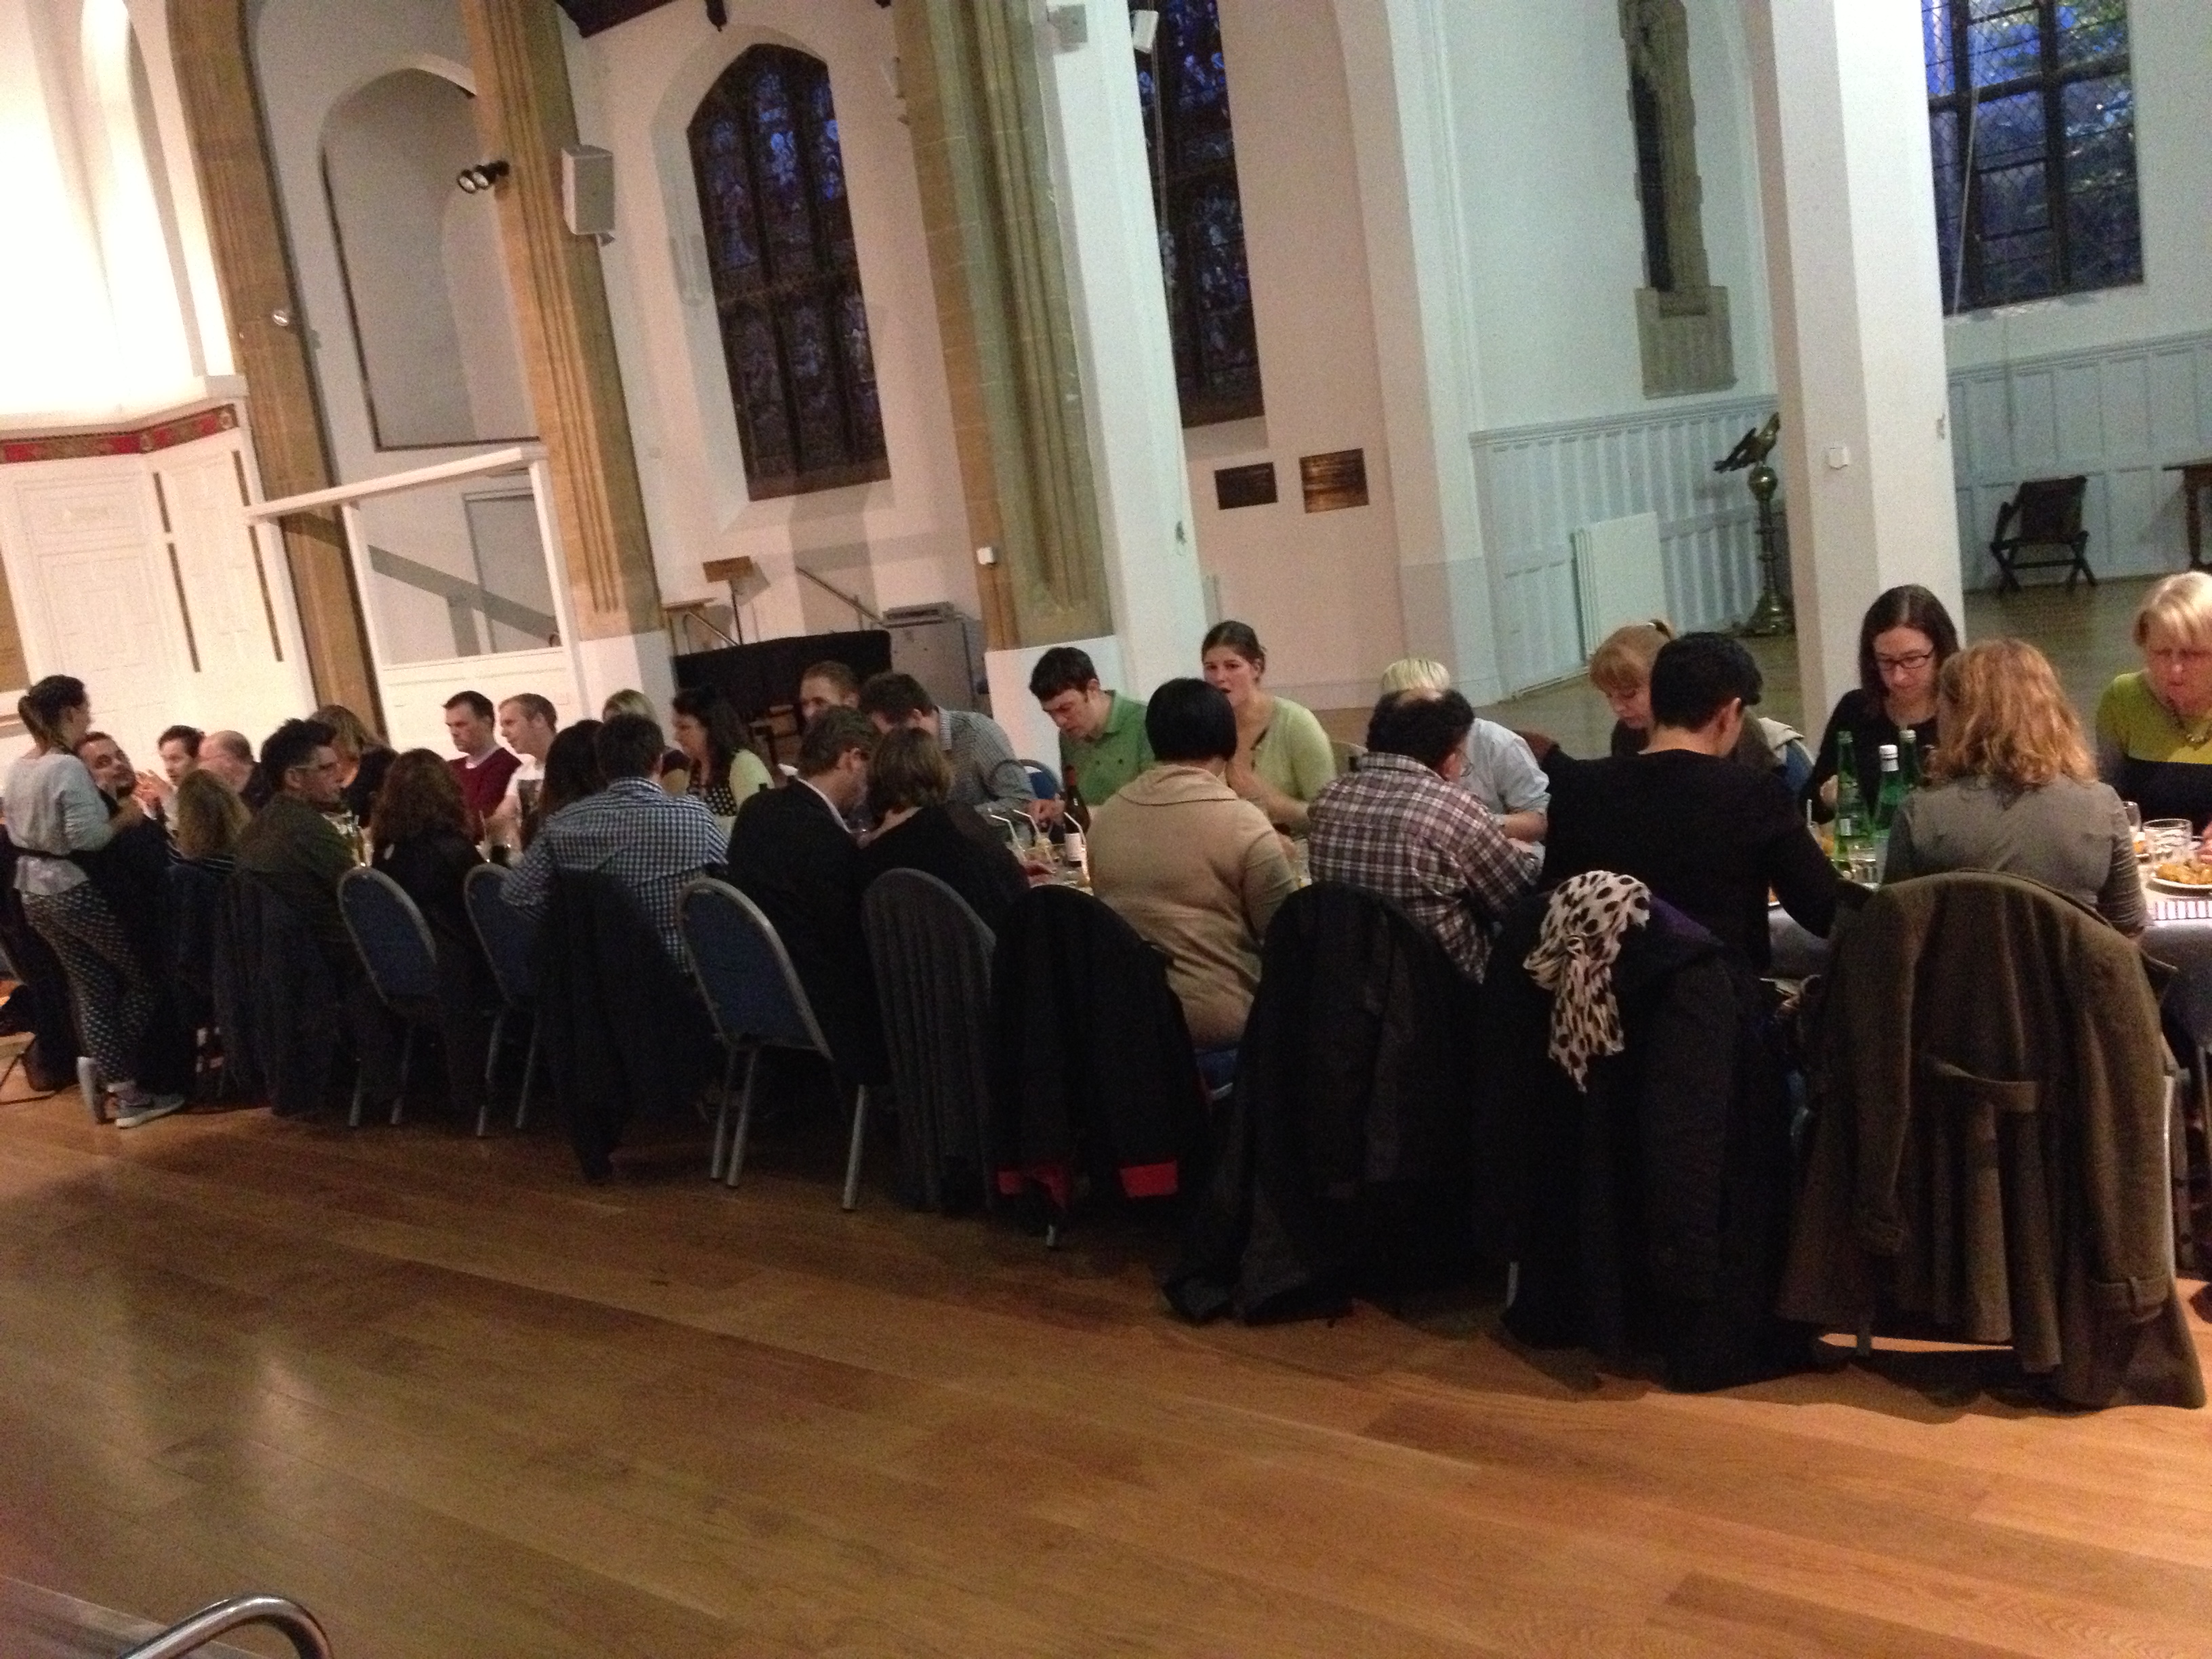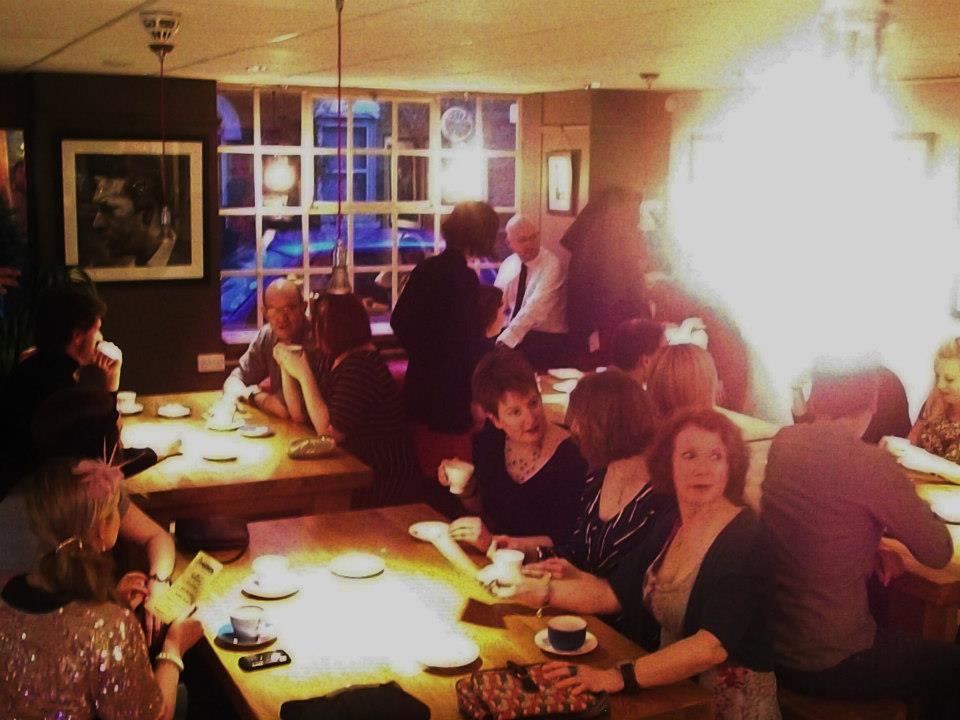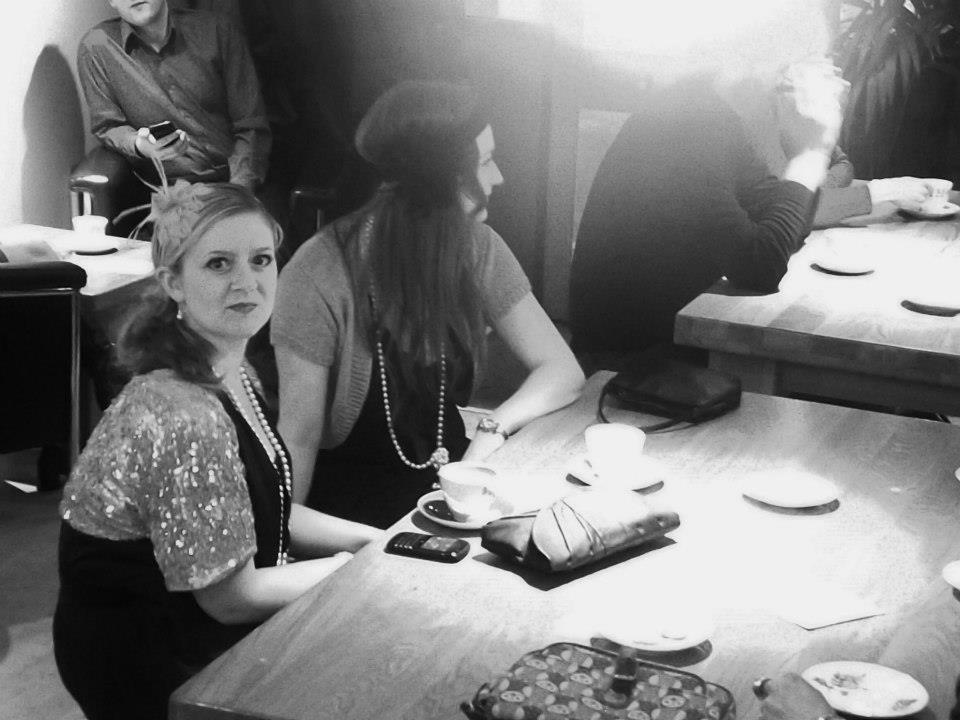
My love of festivals (of the music variety) has been well documented on this blog as has my tradition of festival baking (here, here and here). I managed to get the first of this year’s festivals under my belt pretty early on when I headed to Meadowlands in East Sussex at the end of May. It wasn’t just the festival we were going for, it was also my friend Georgie’s ‘Hen Don’t’. As you may have surmised from the name, she’d stressed to her Bridesmaids that she didn’t want a traditional hen do, which was totally fine with me. The thought of having to walk around in sparkly feather boas and sashes (and the rest…) fills me with dread. It kind of goes against my festival morals but we had decided to ‘glamp’, which involved turning up at the car park, having our bags carried for us, being housed in a lovely bell tent with jute flooring and sleeping on an air bed clad in lovely soft duvets and bedding…but I’m not going to lie to you…it was amazing!
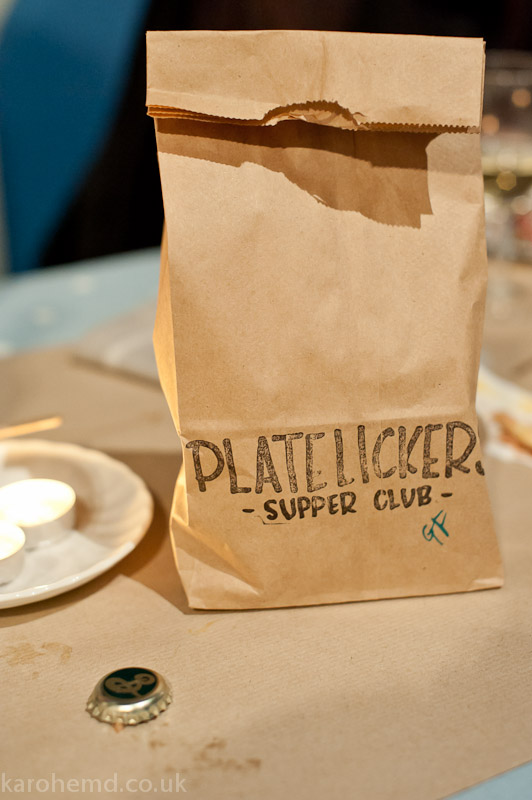
![IMG_5961[1]](https://afternoontease.co.uk/wp-content/uploads/2013/06/img_59611.jpg)
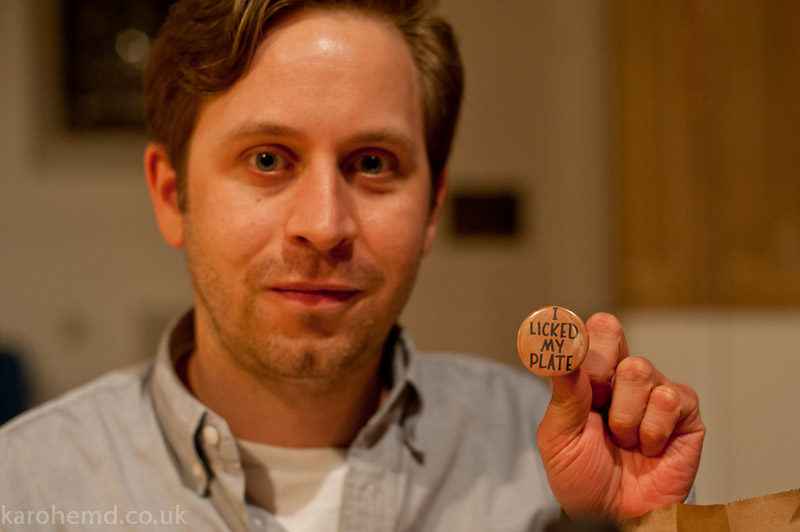
![IMG_5963[1]](https://afternoontease.co.uk/wp-content/uploads/2013/06/img_59631.jpg)
I’m getting a bit waylaid here…back to cake!
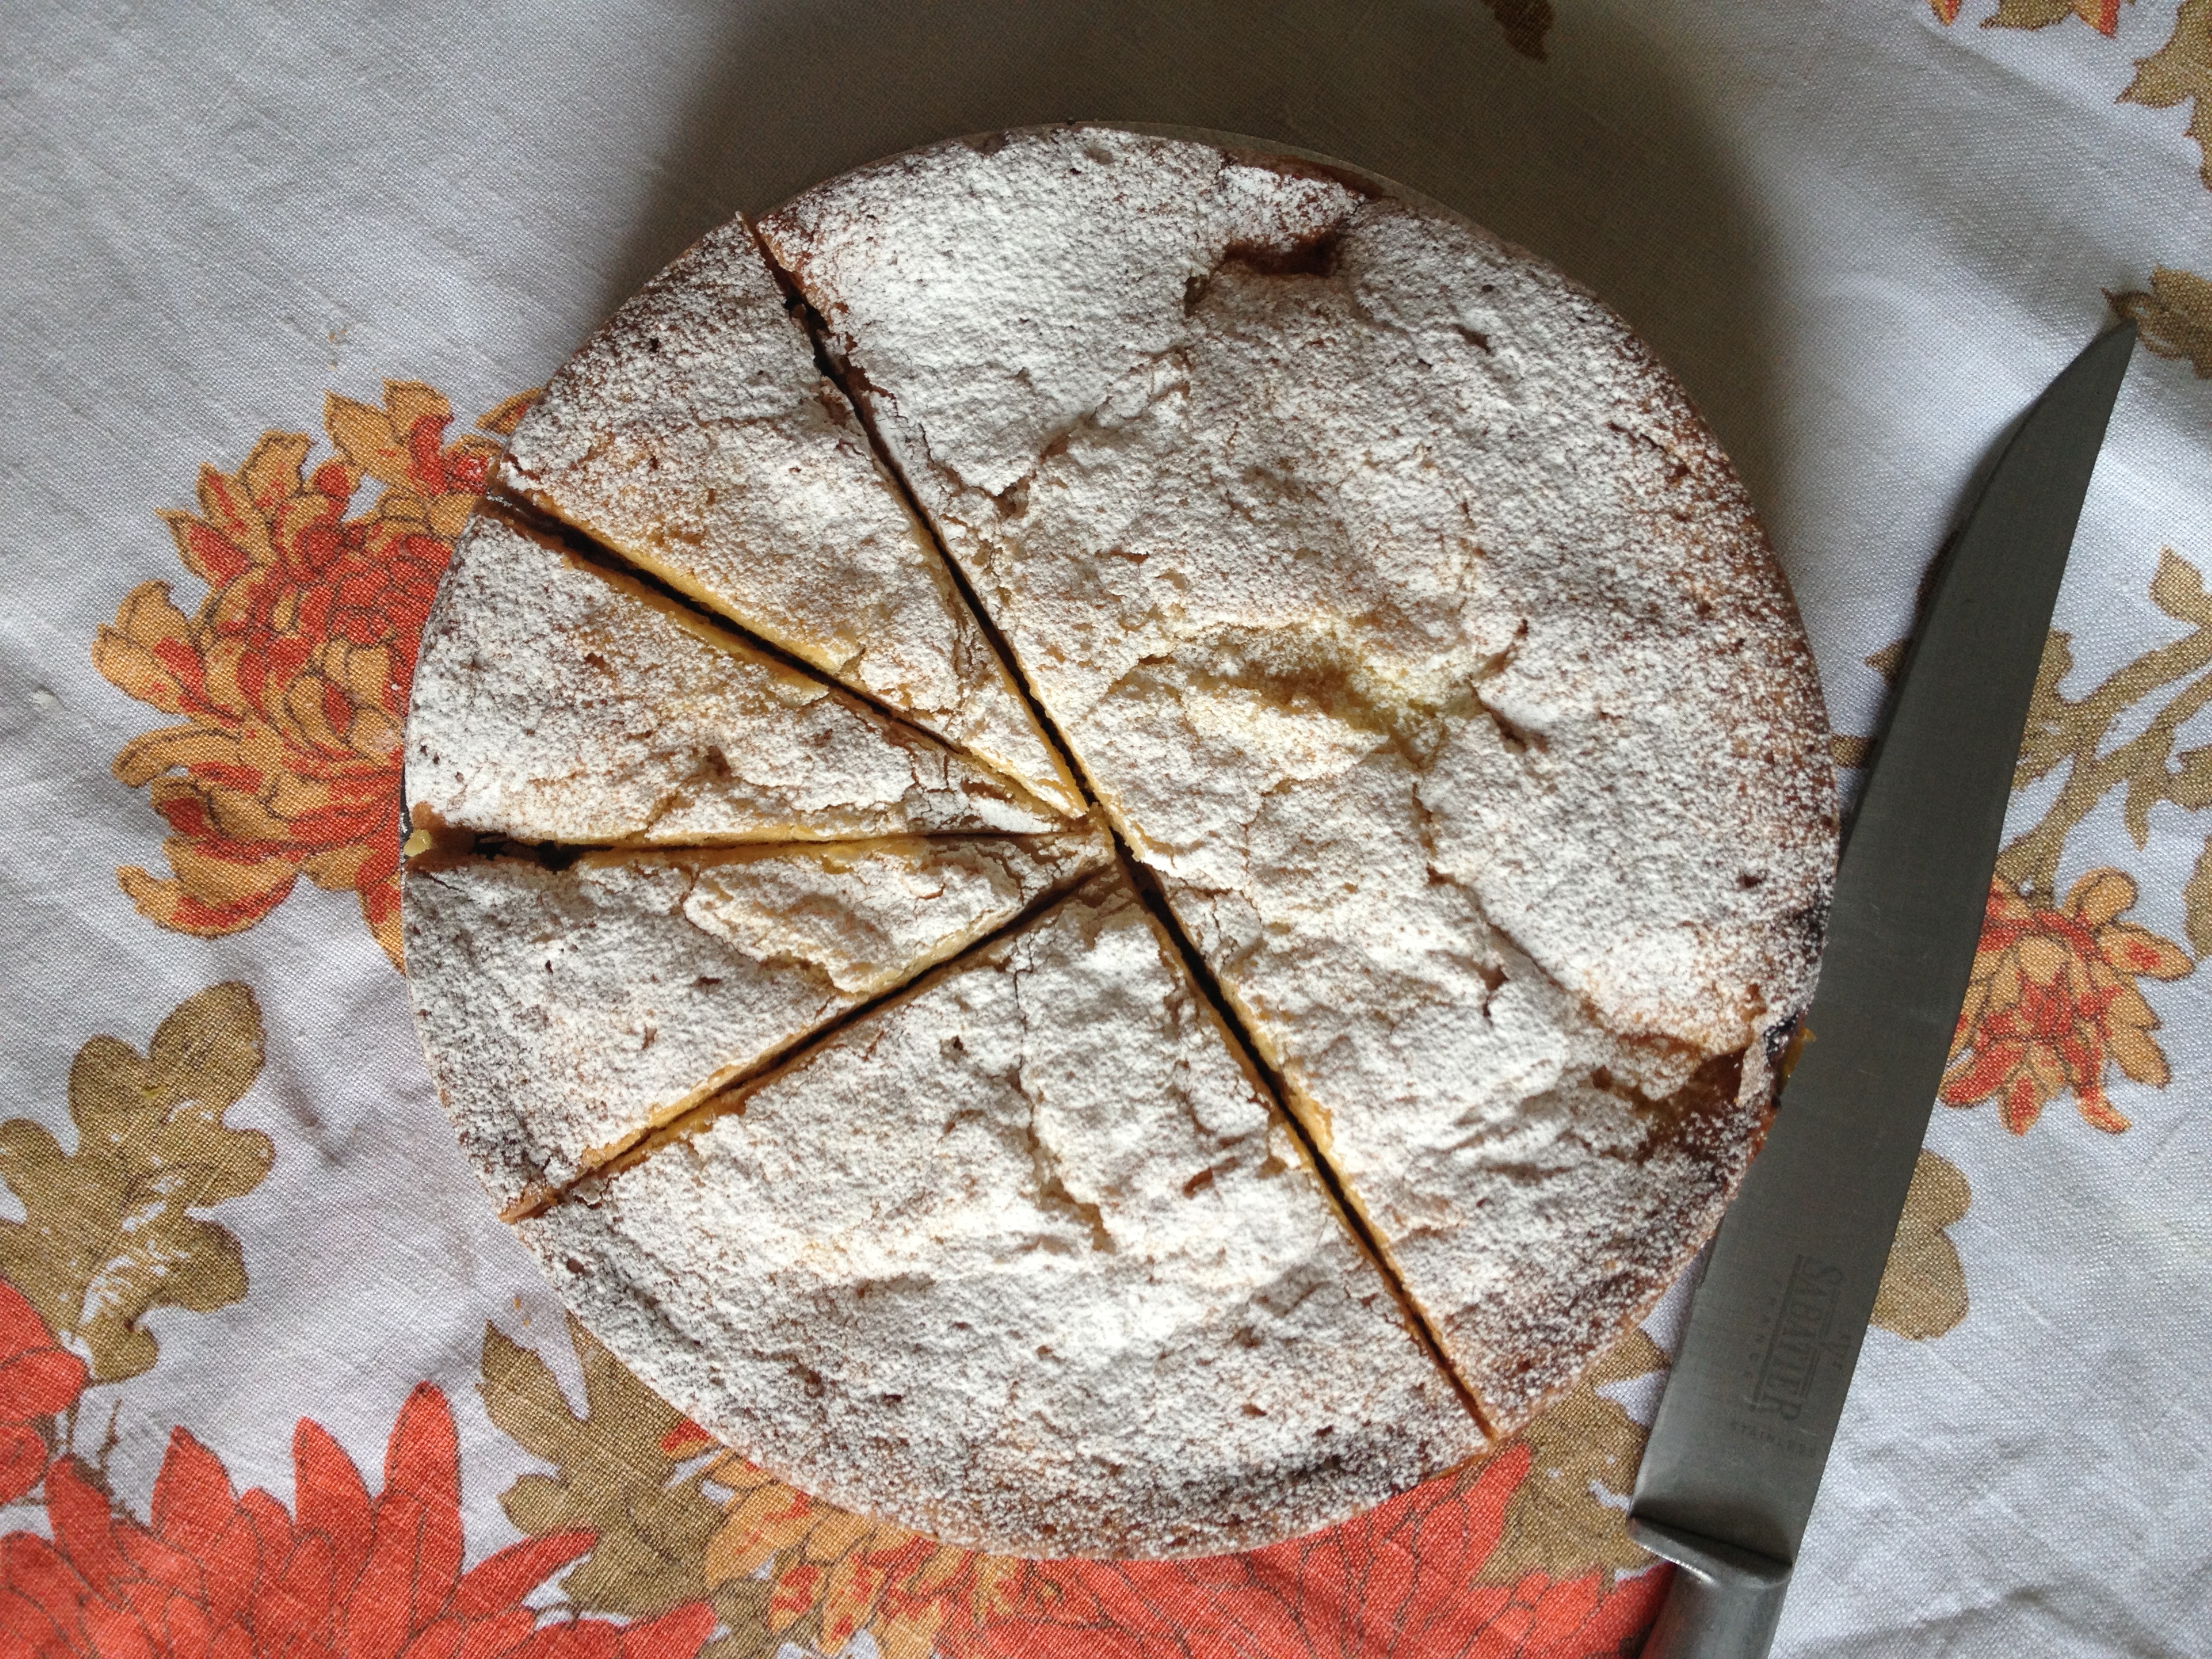
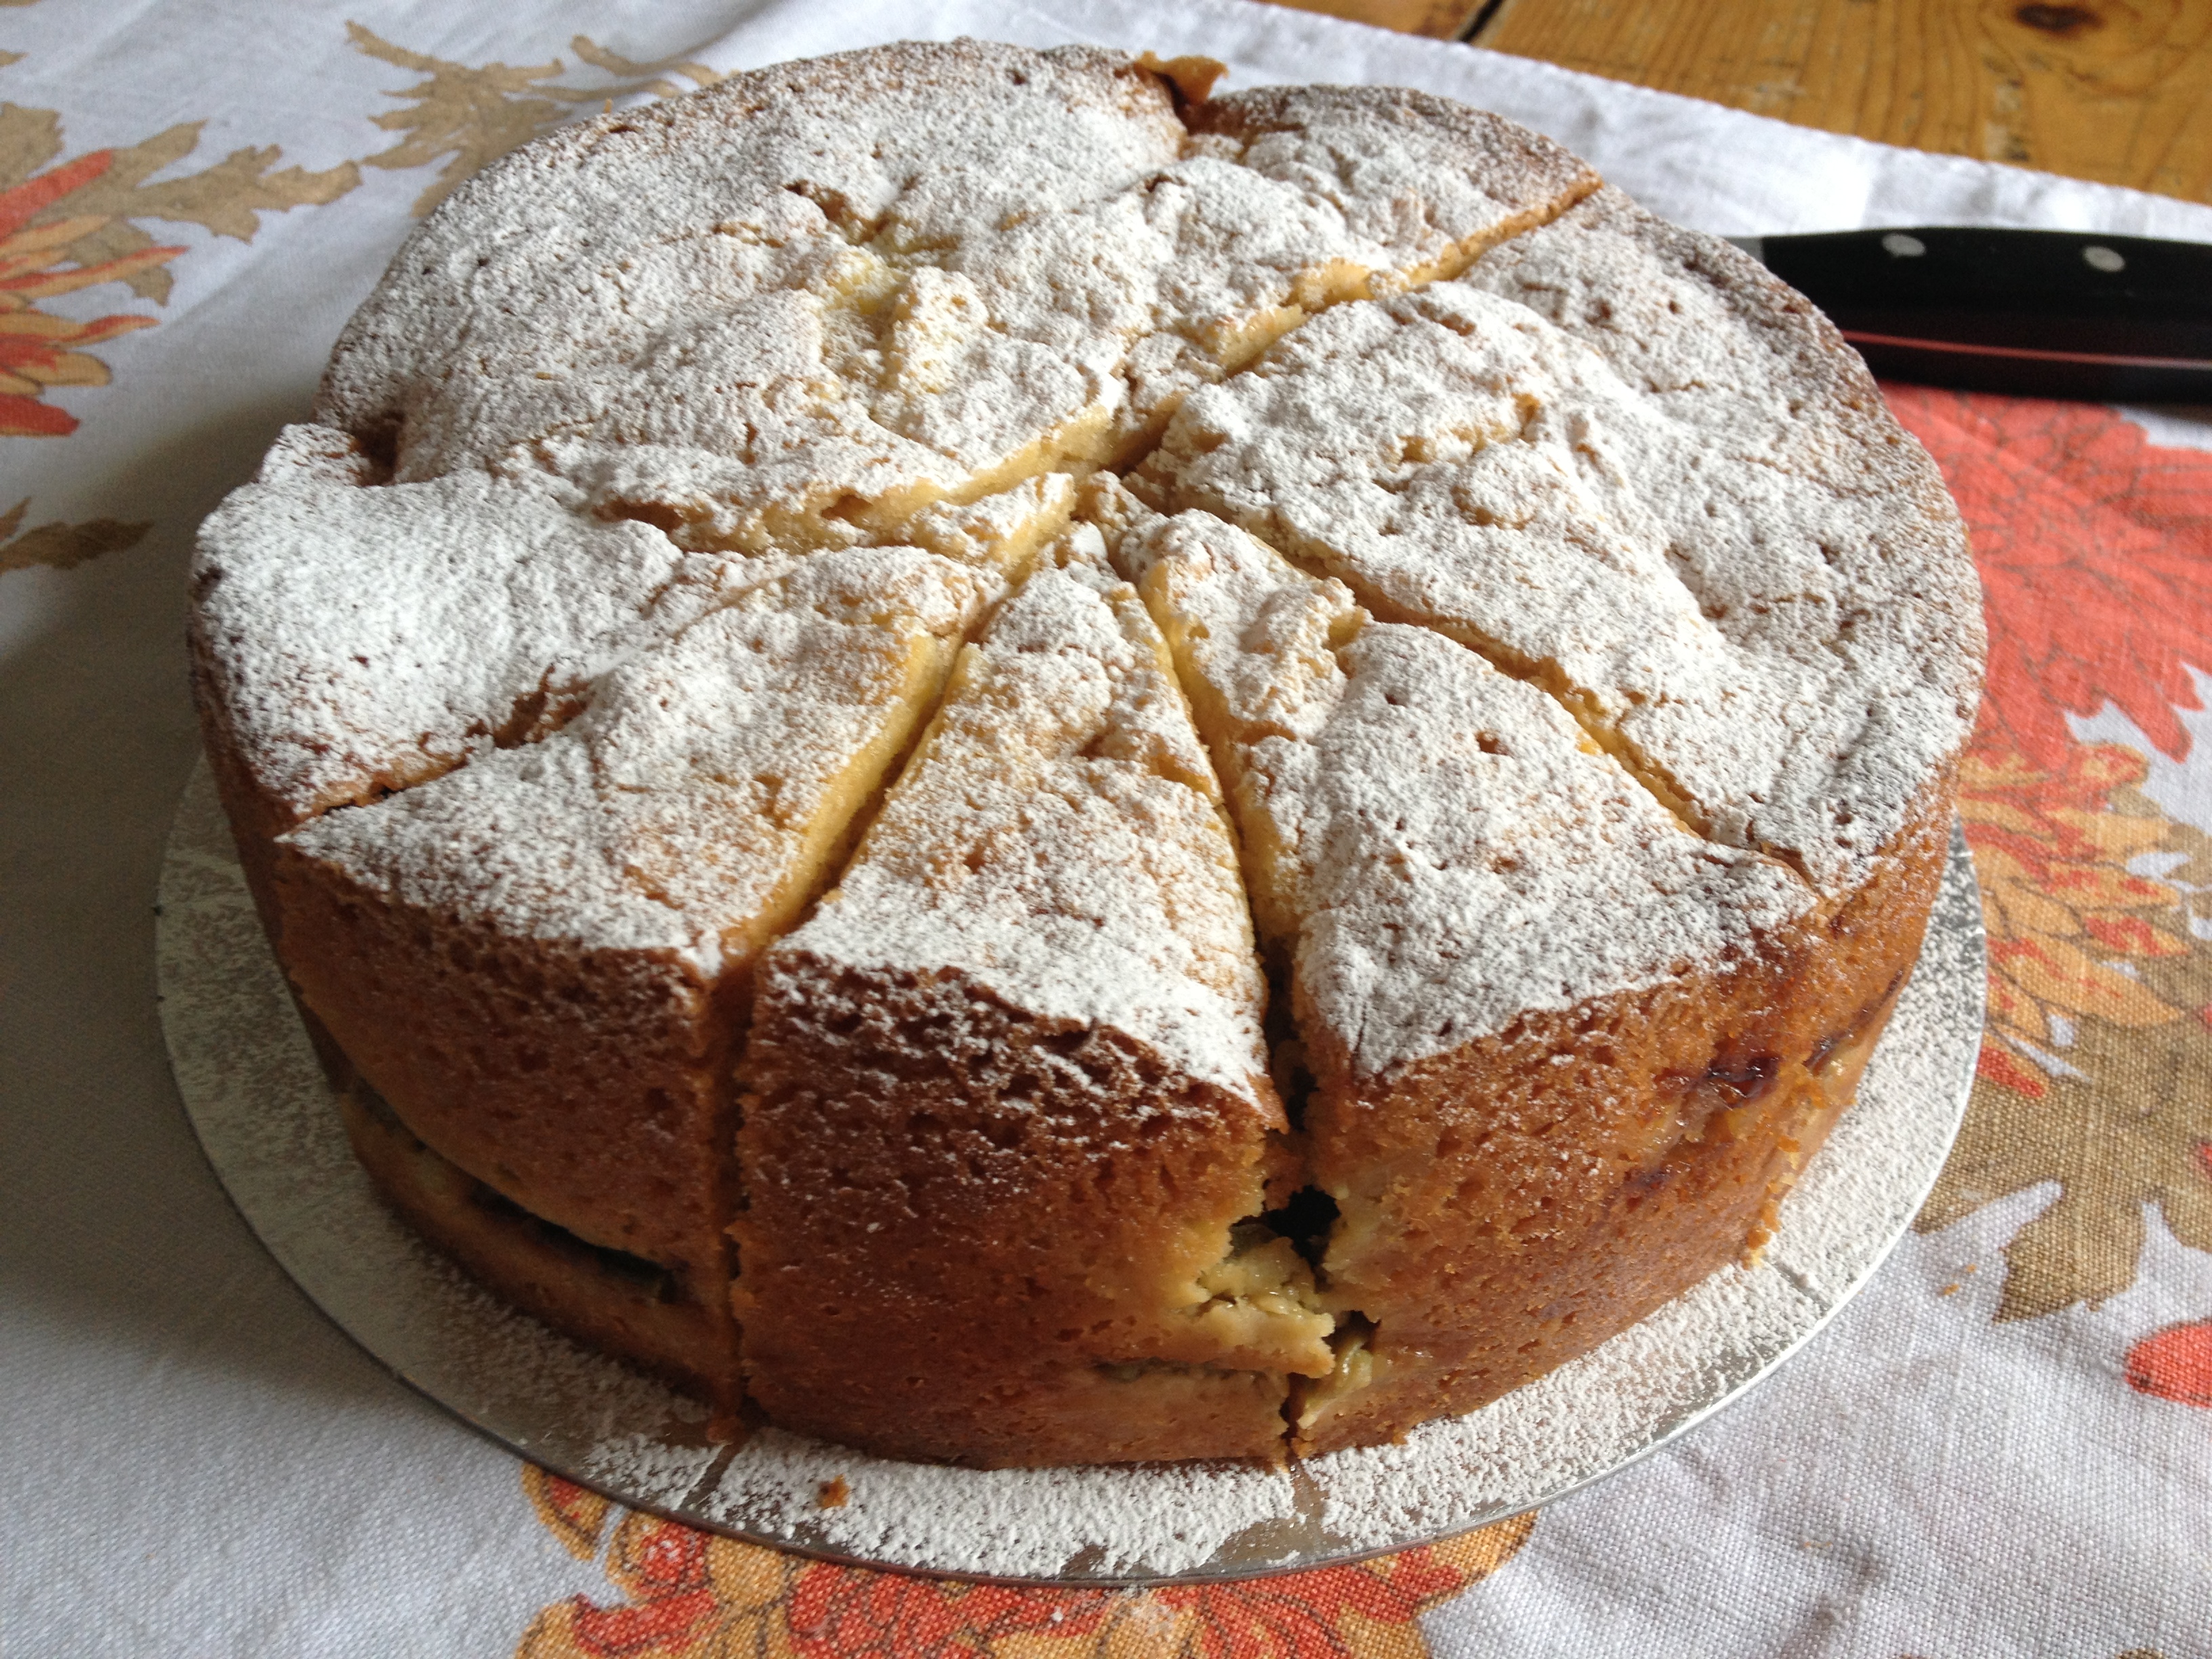
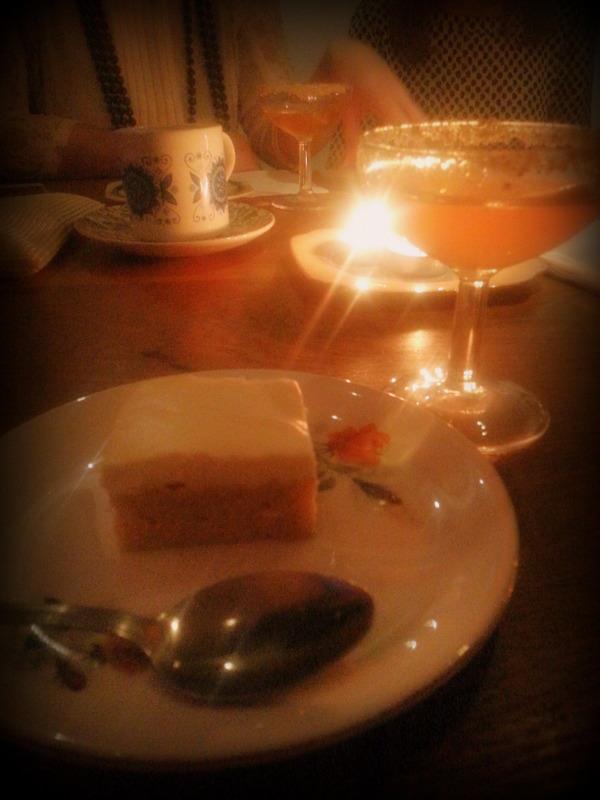
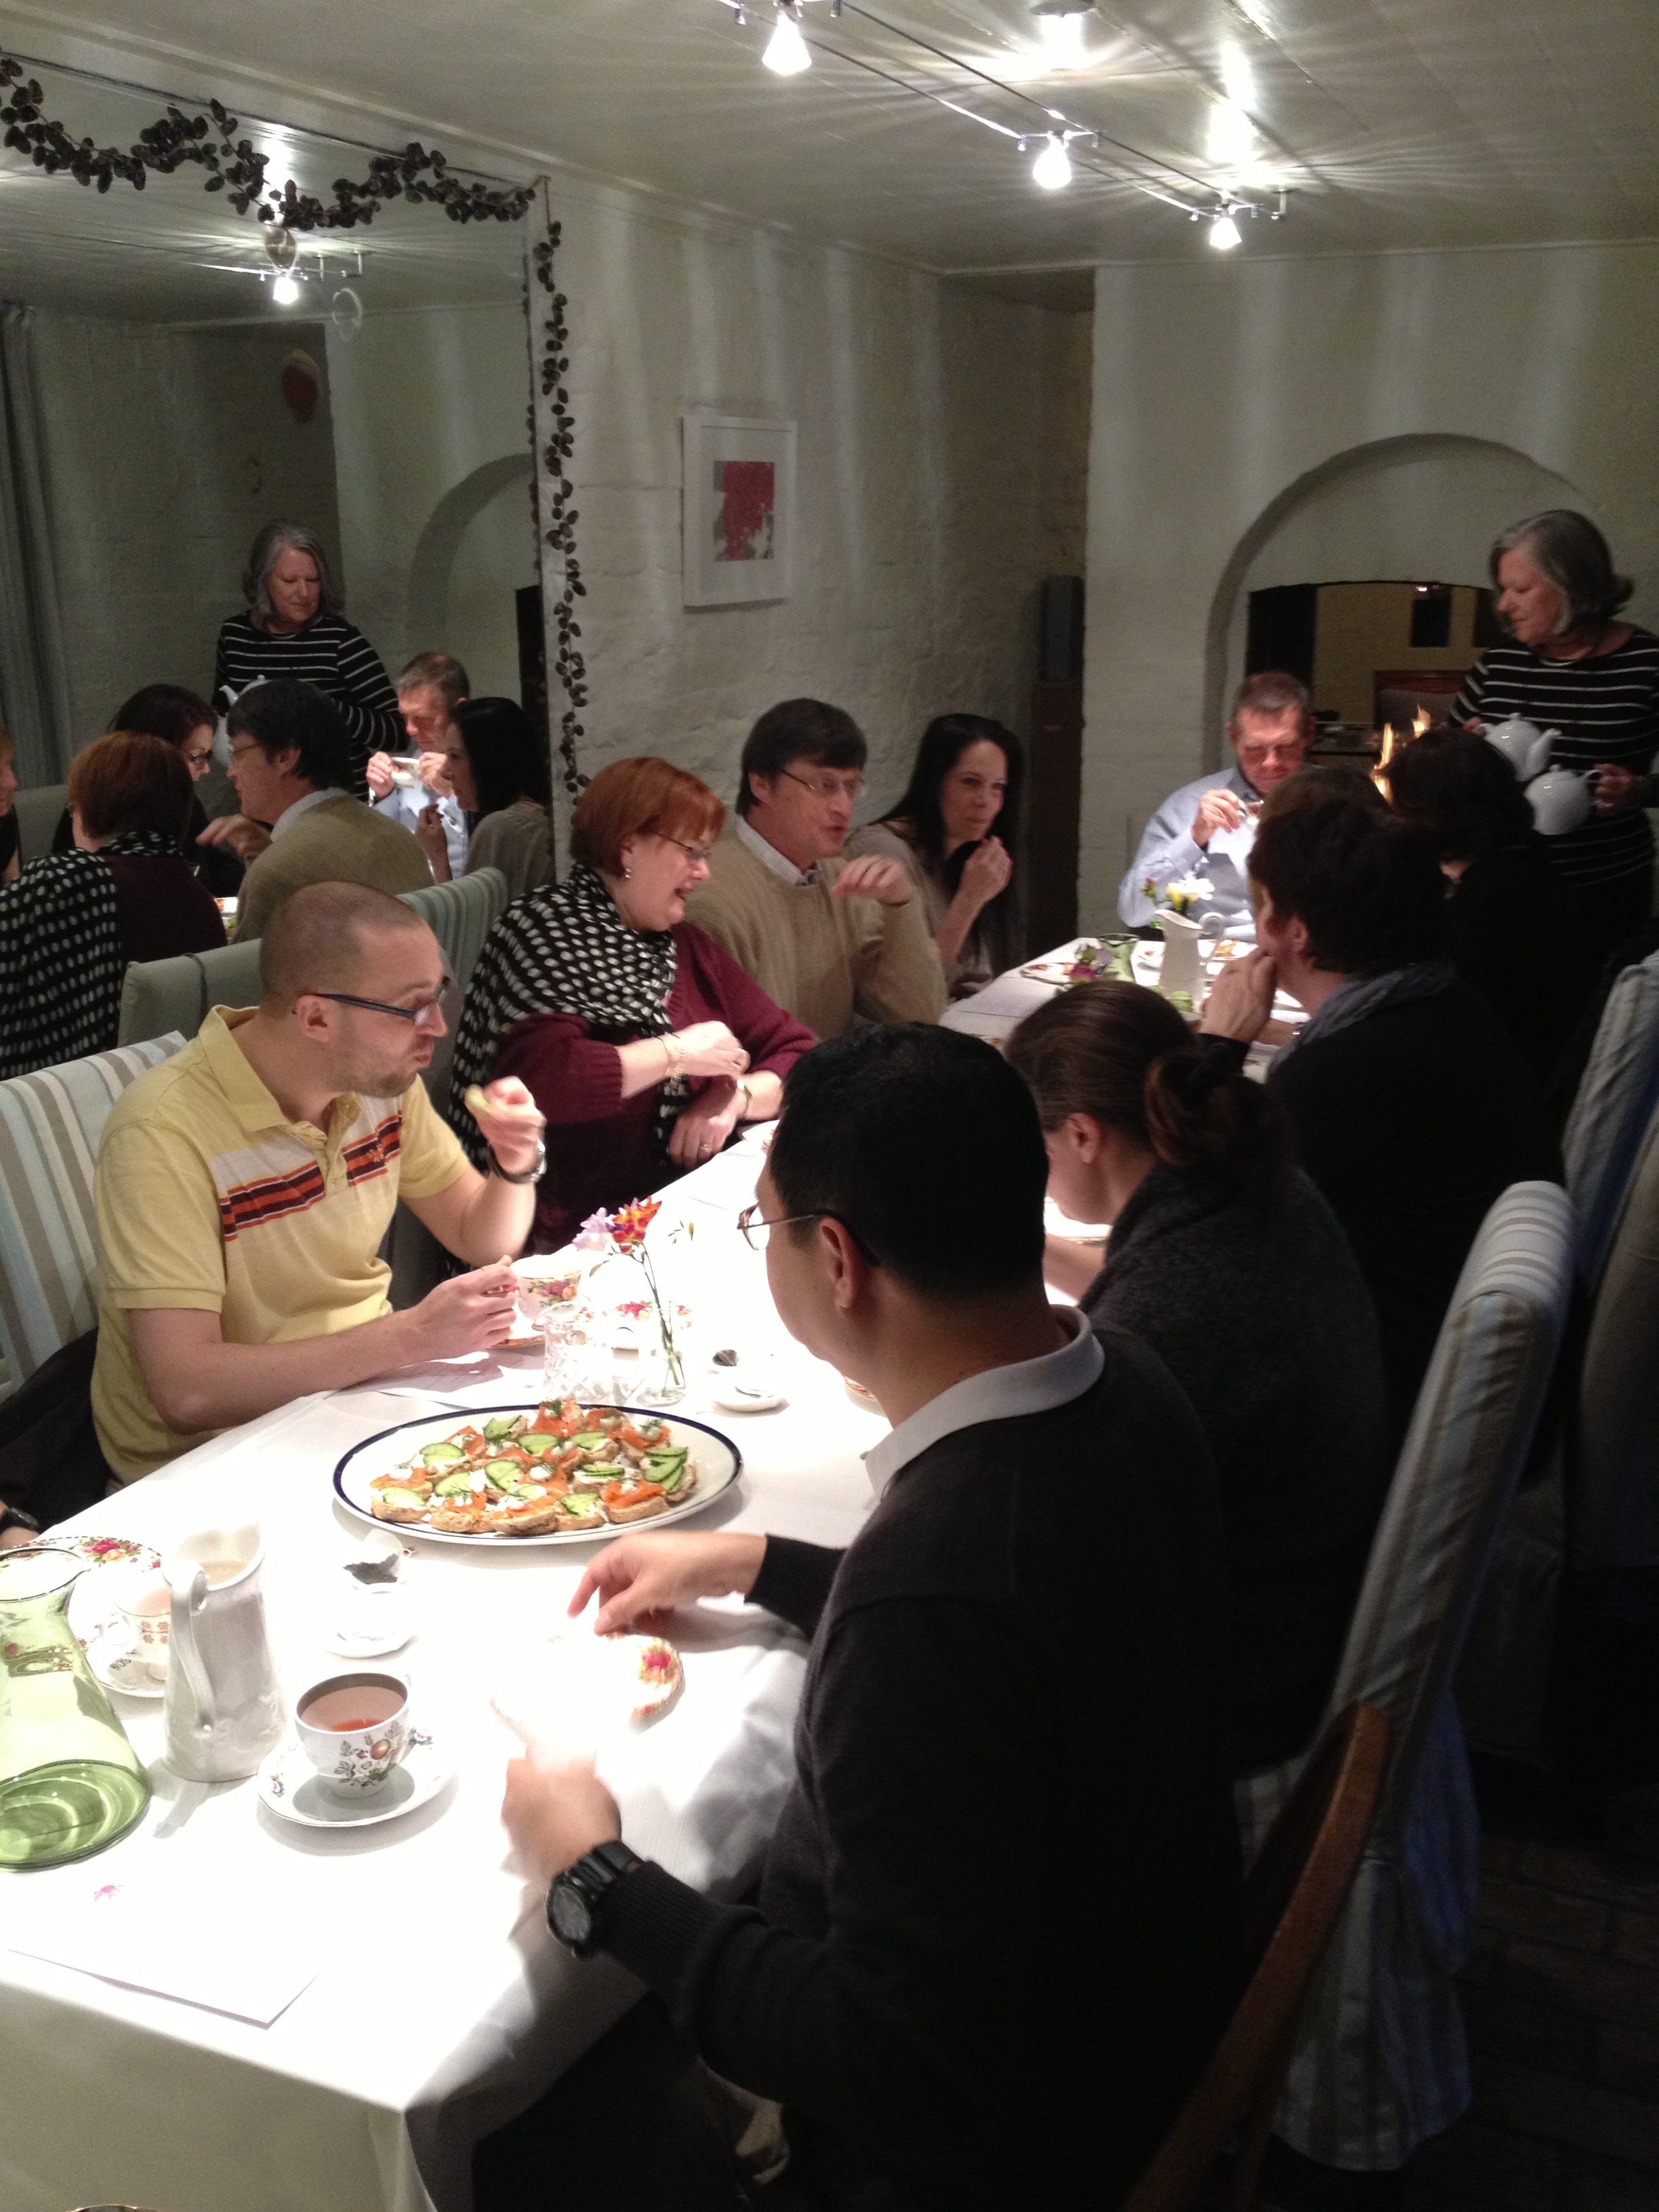
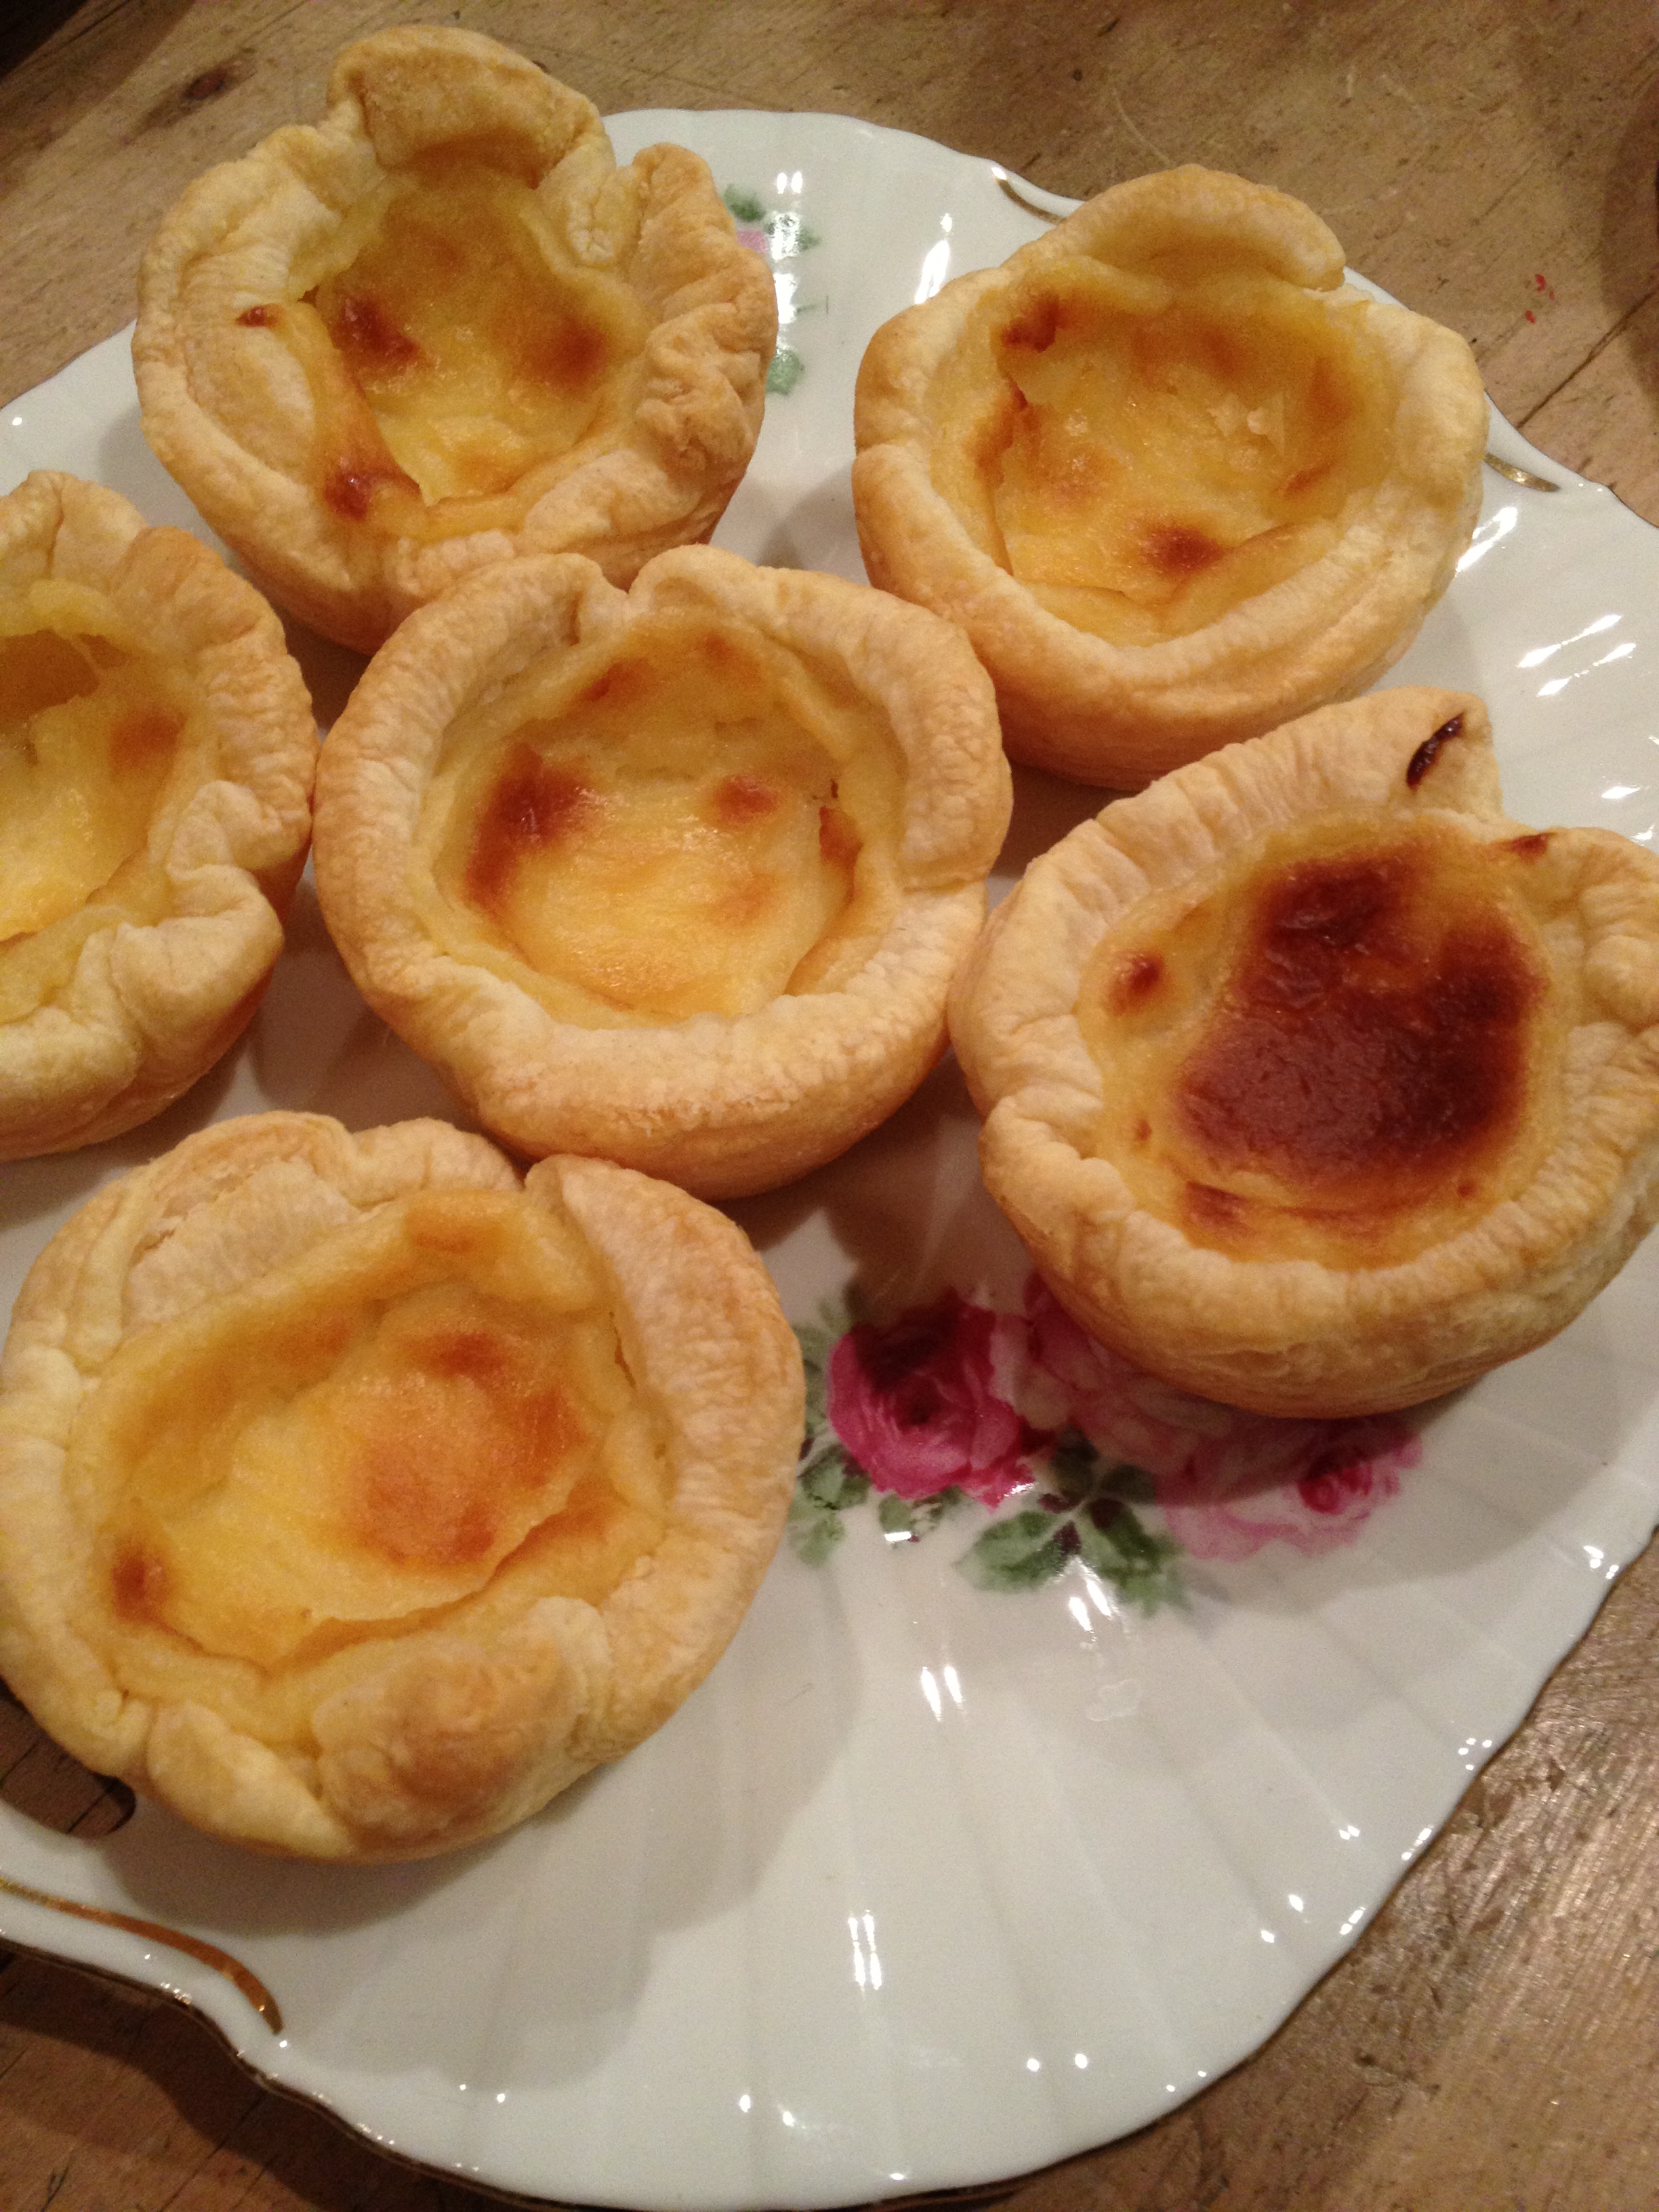
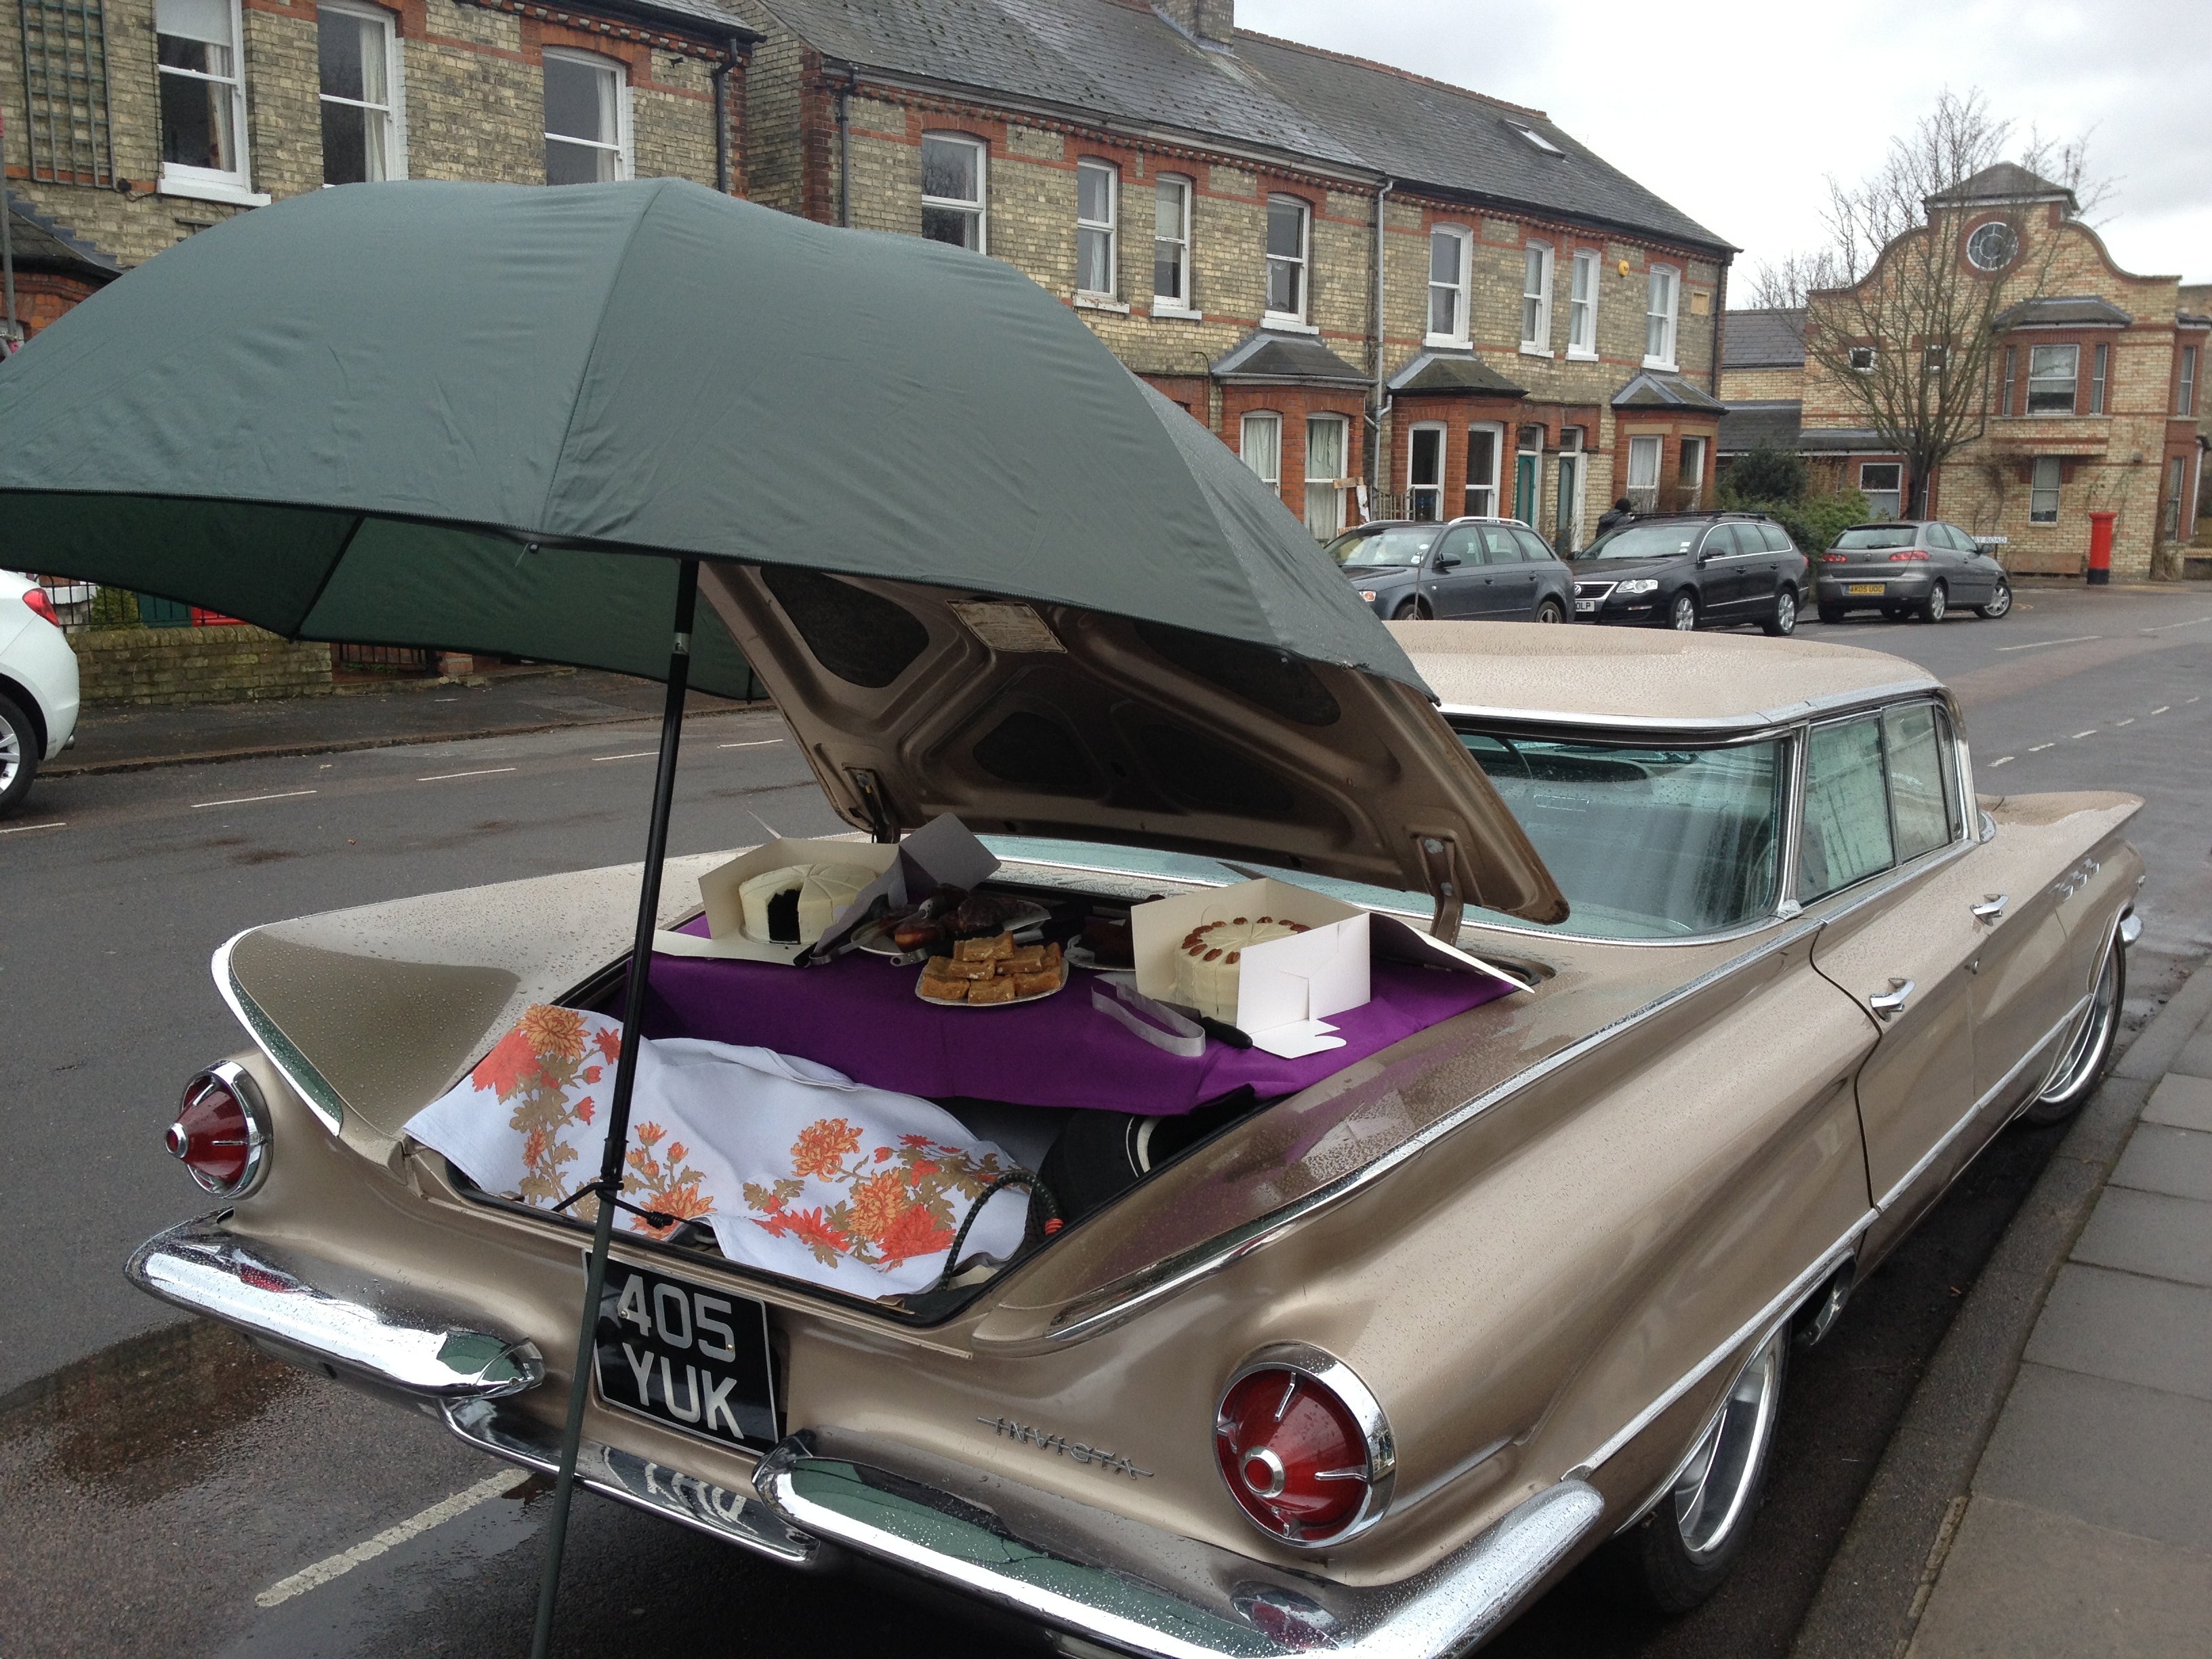
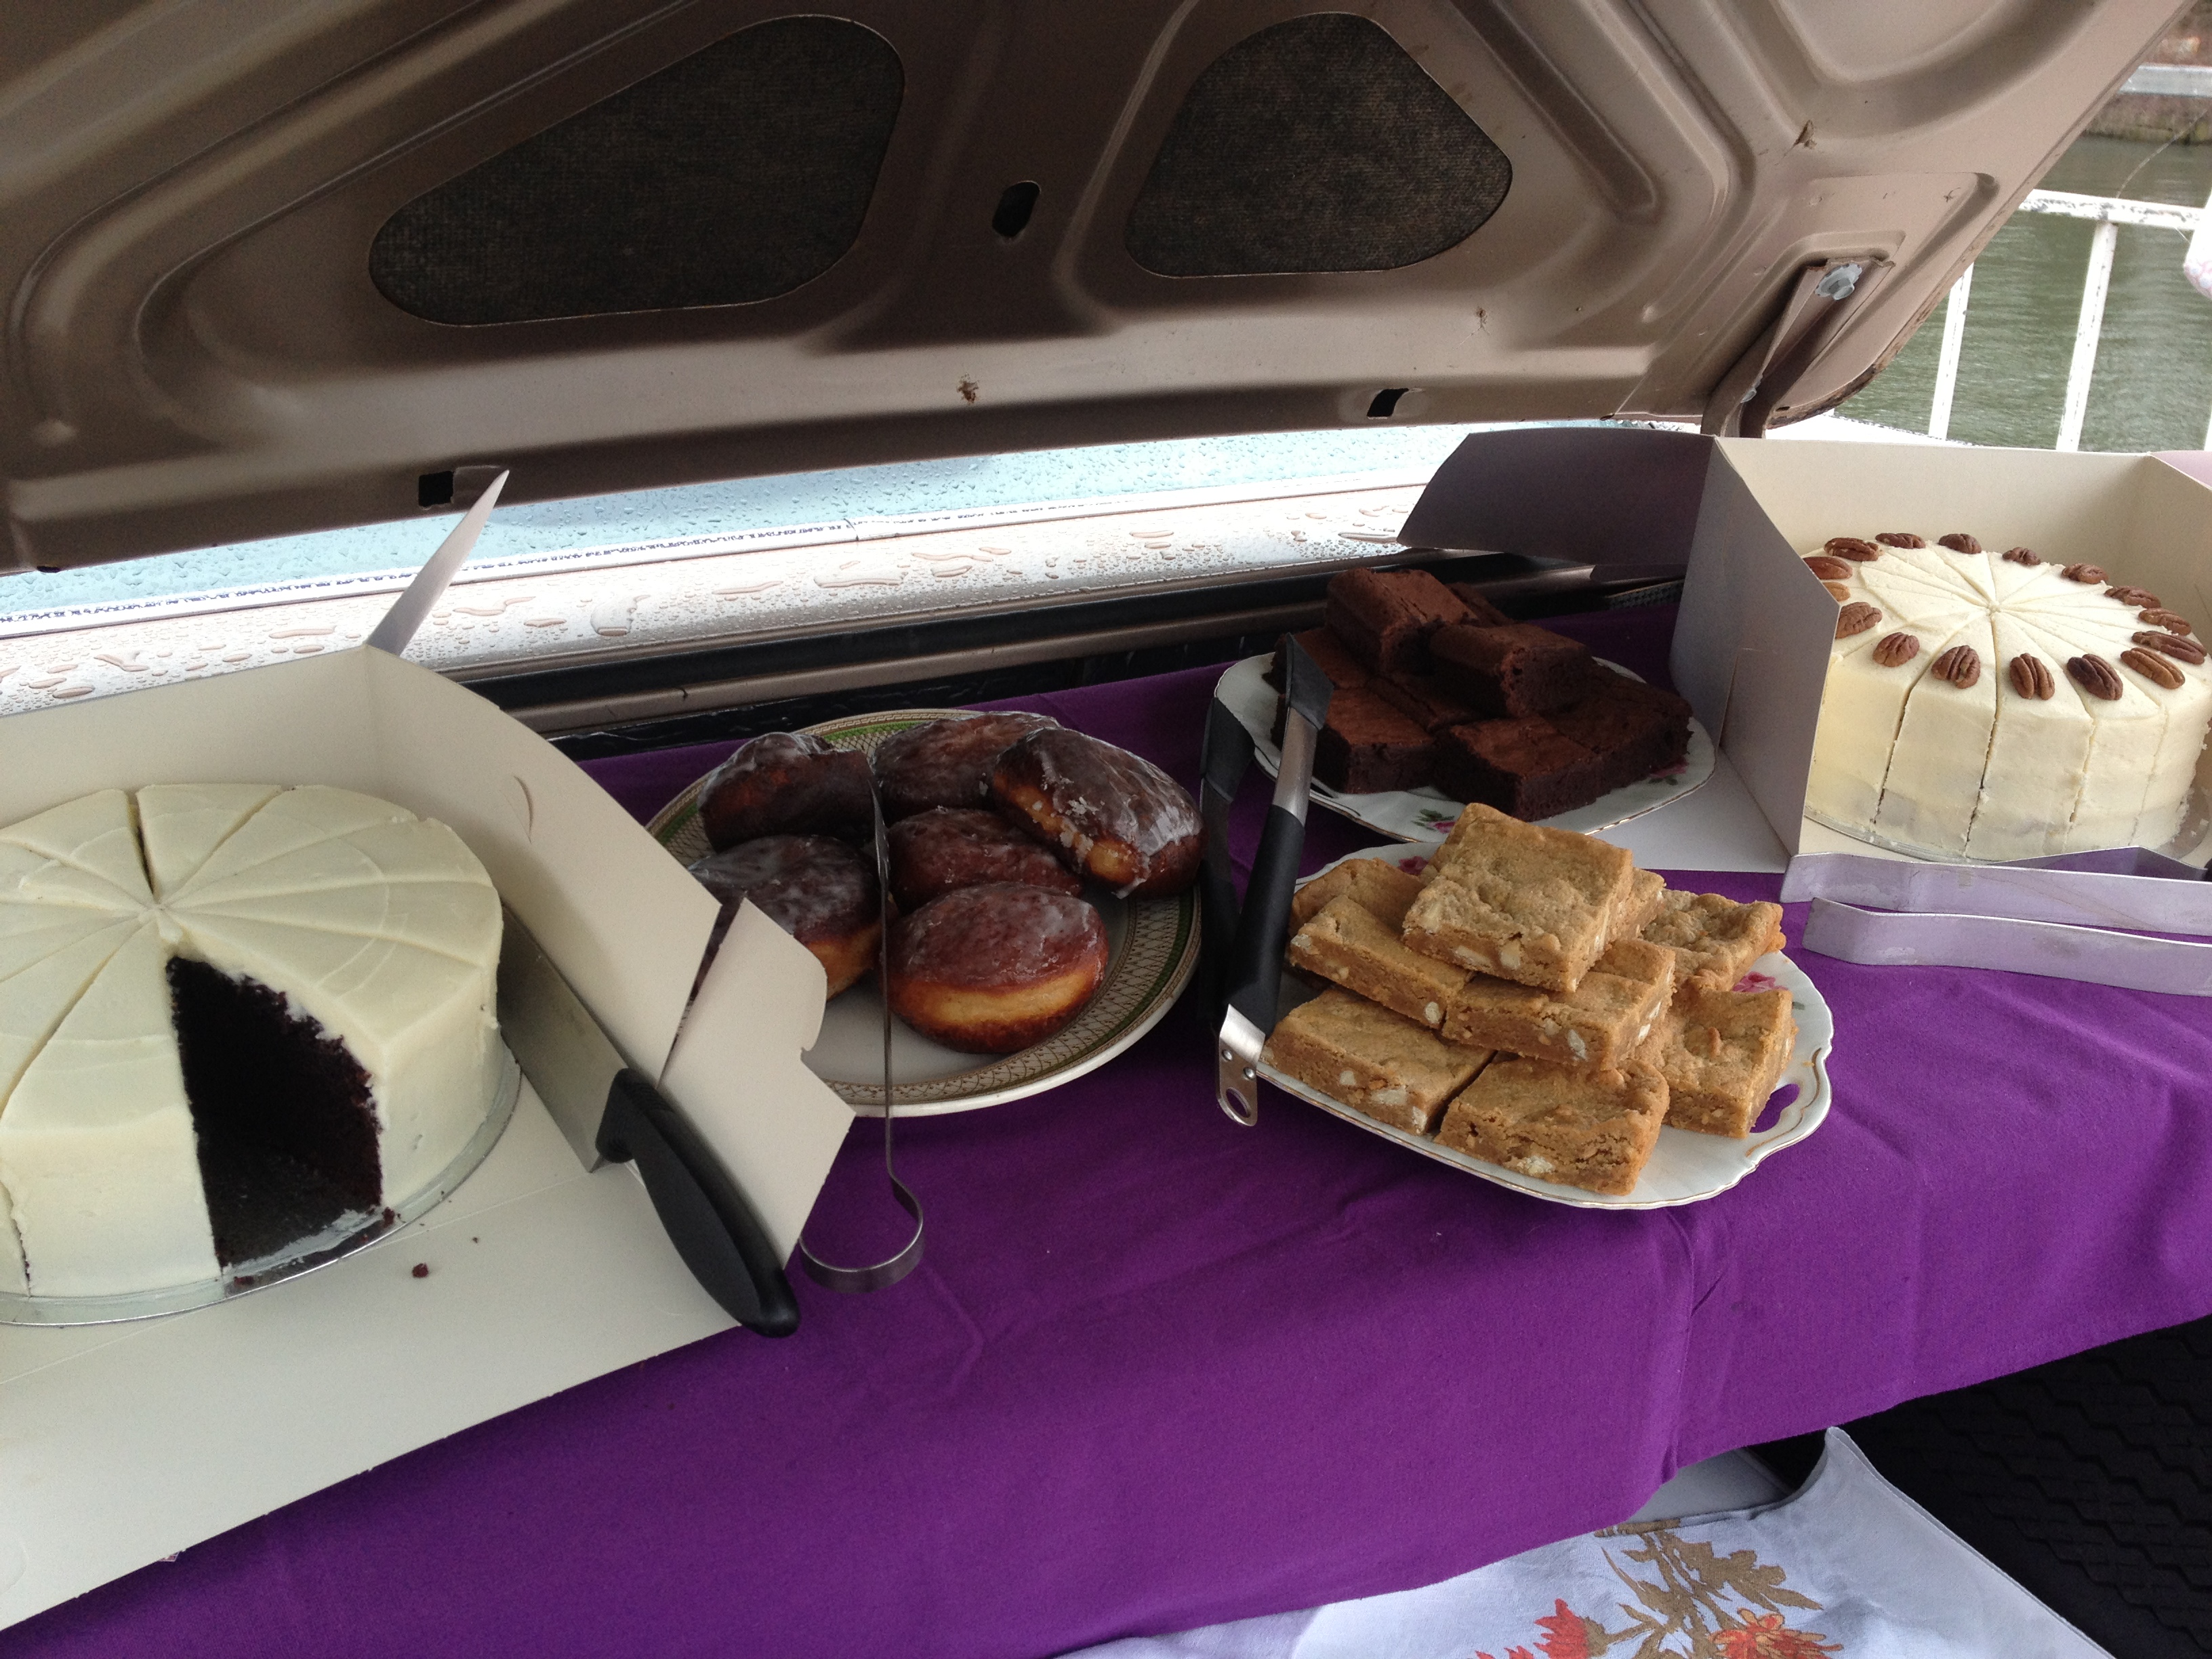
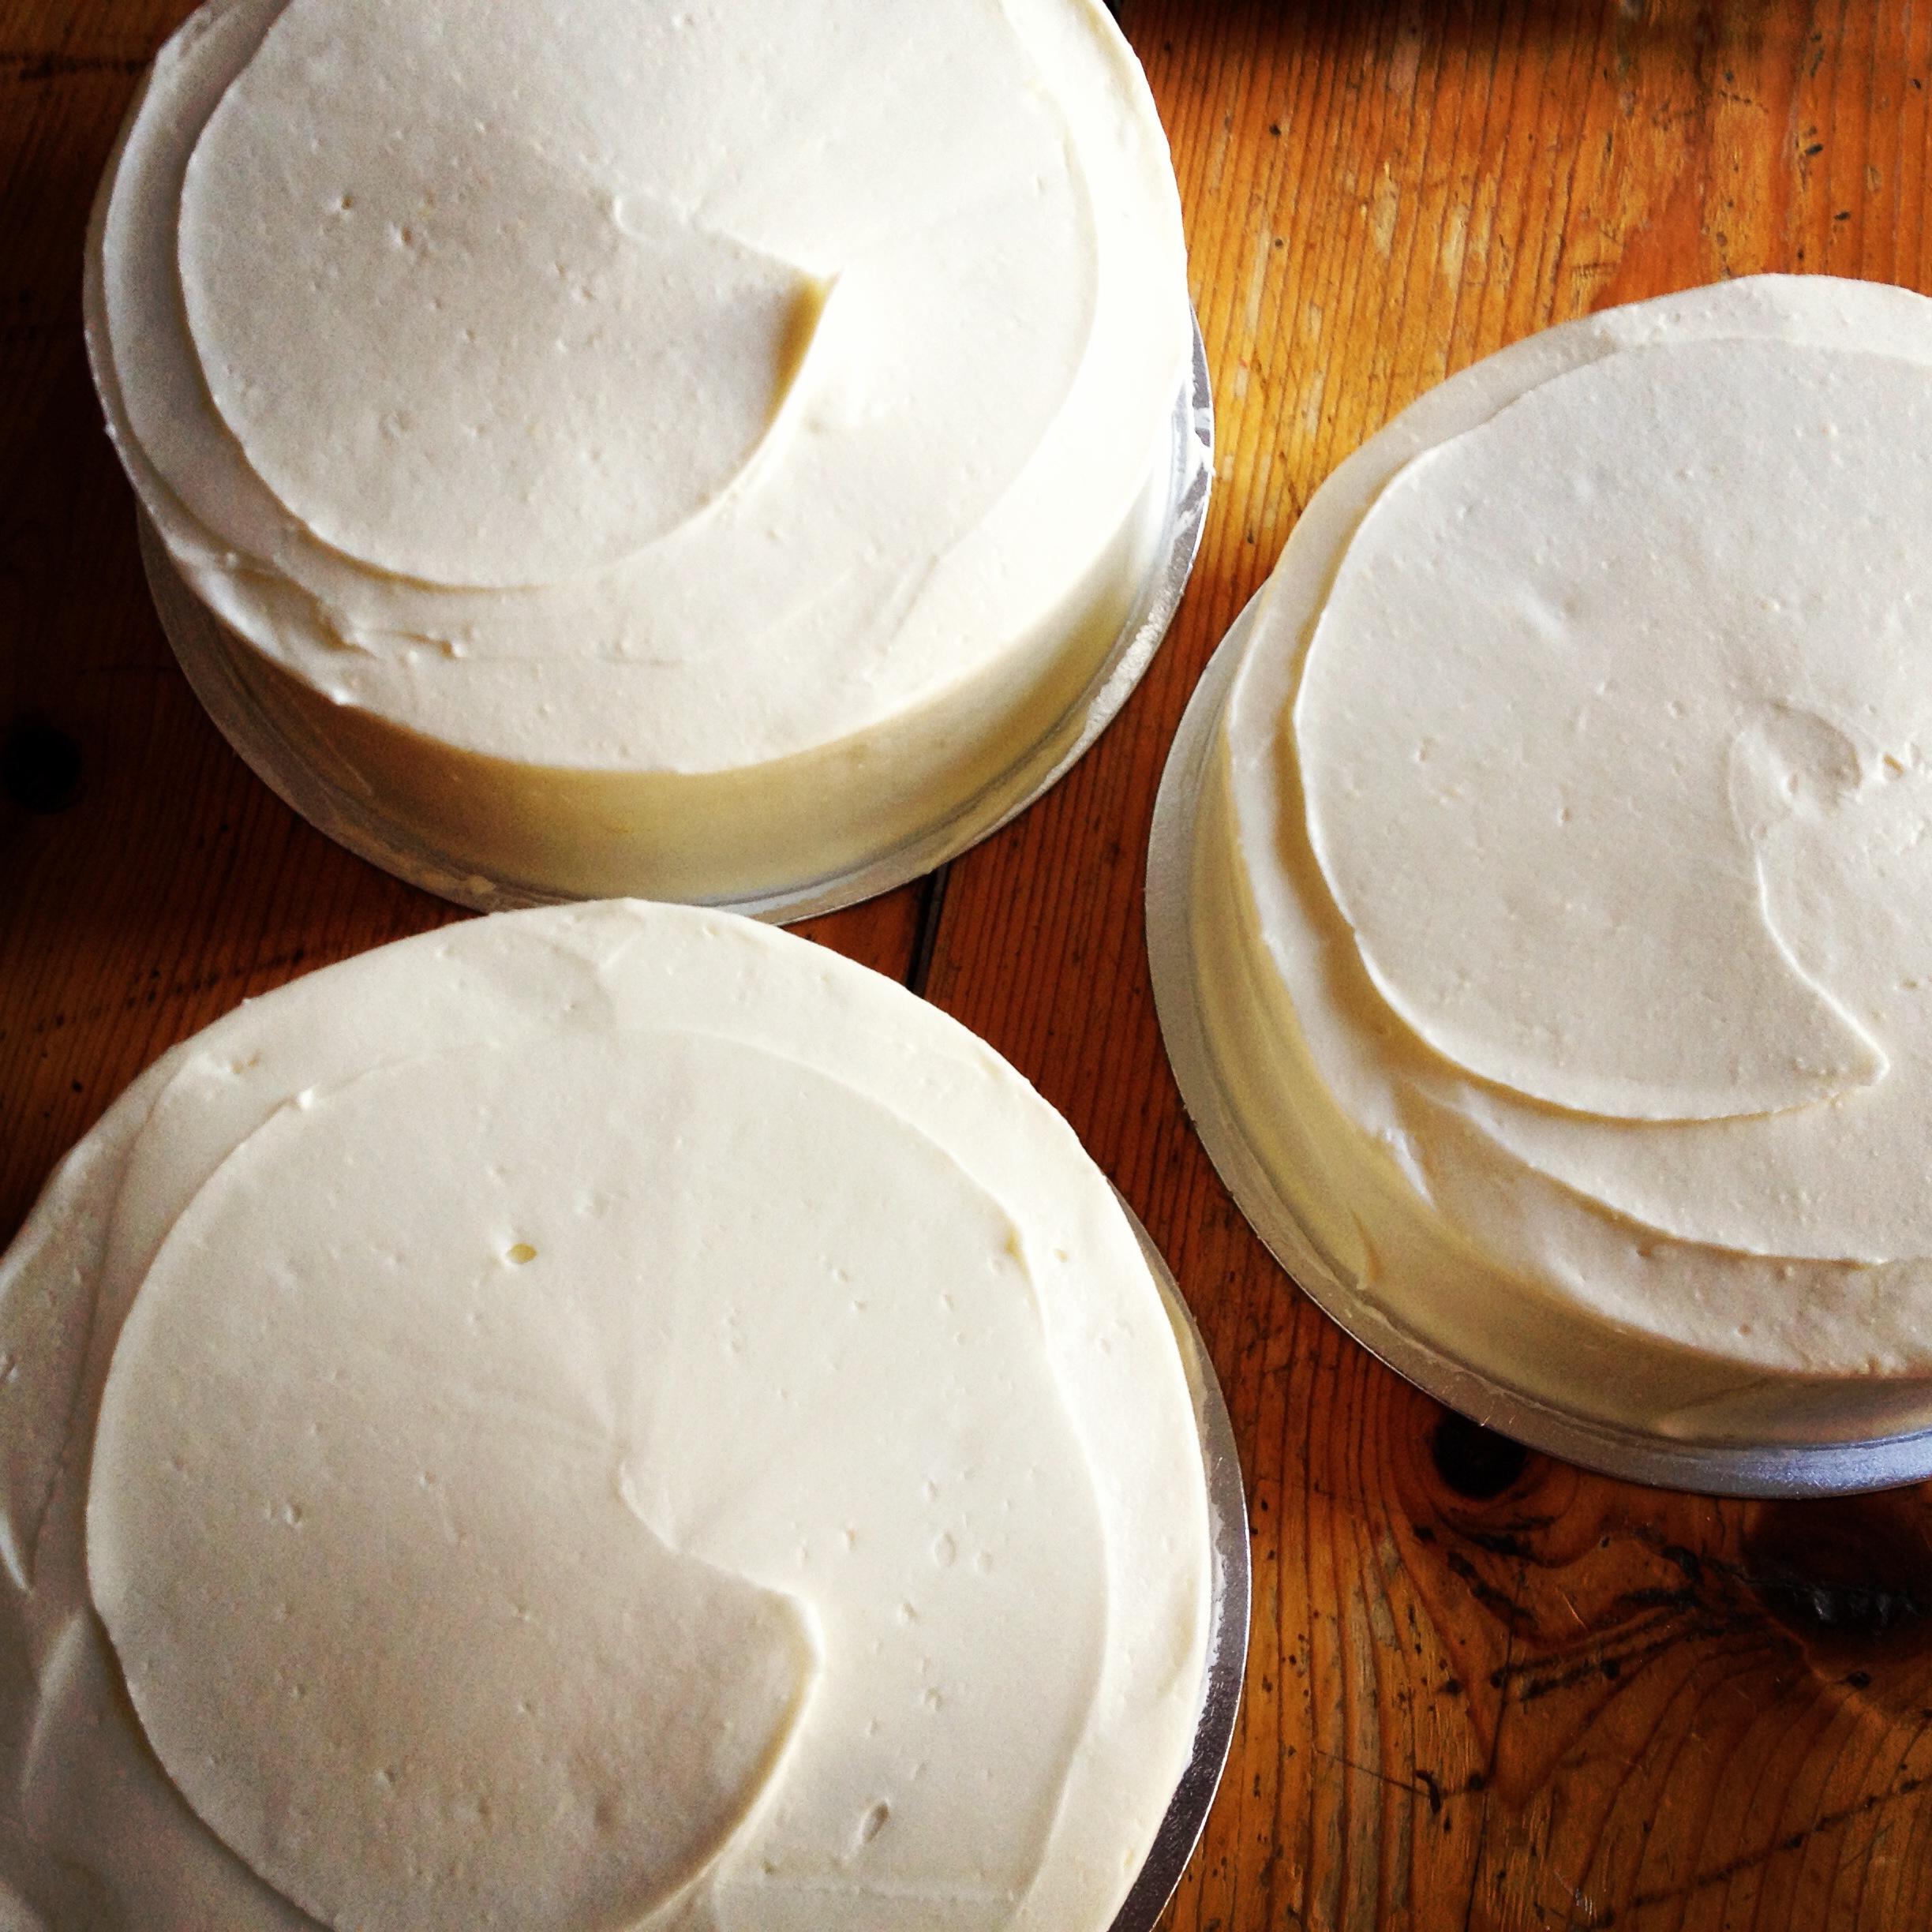
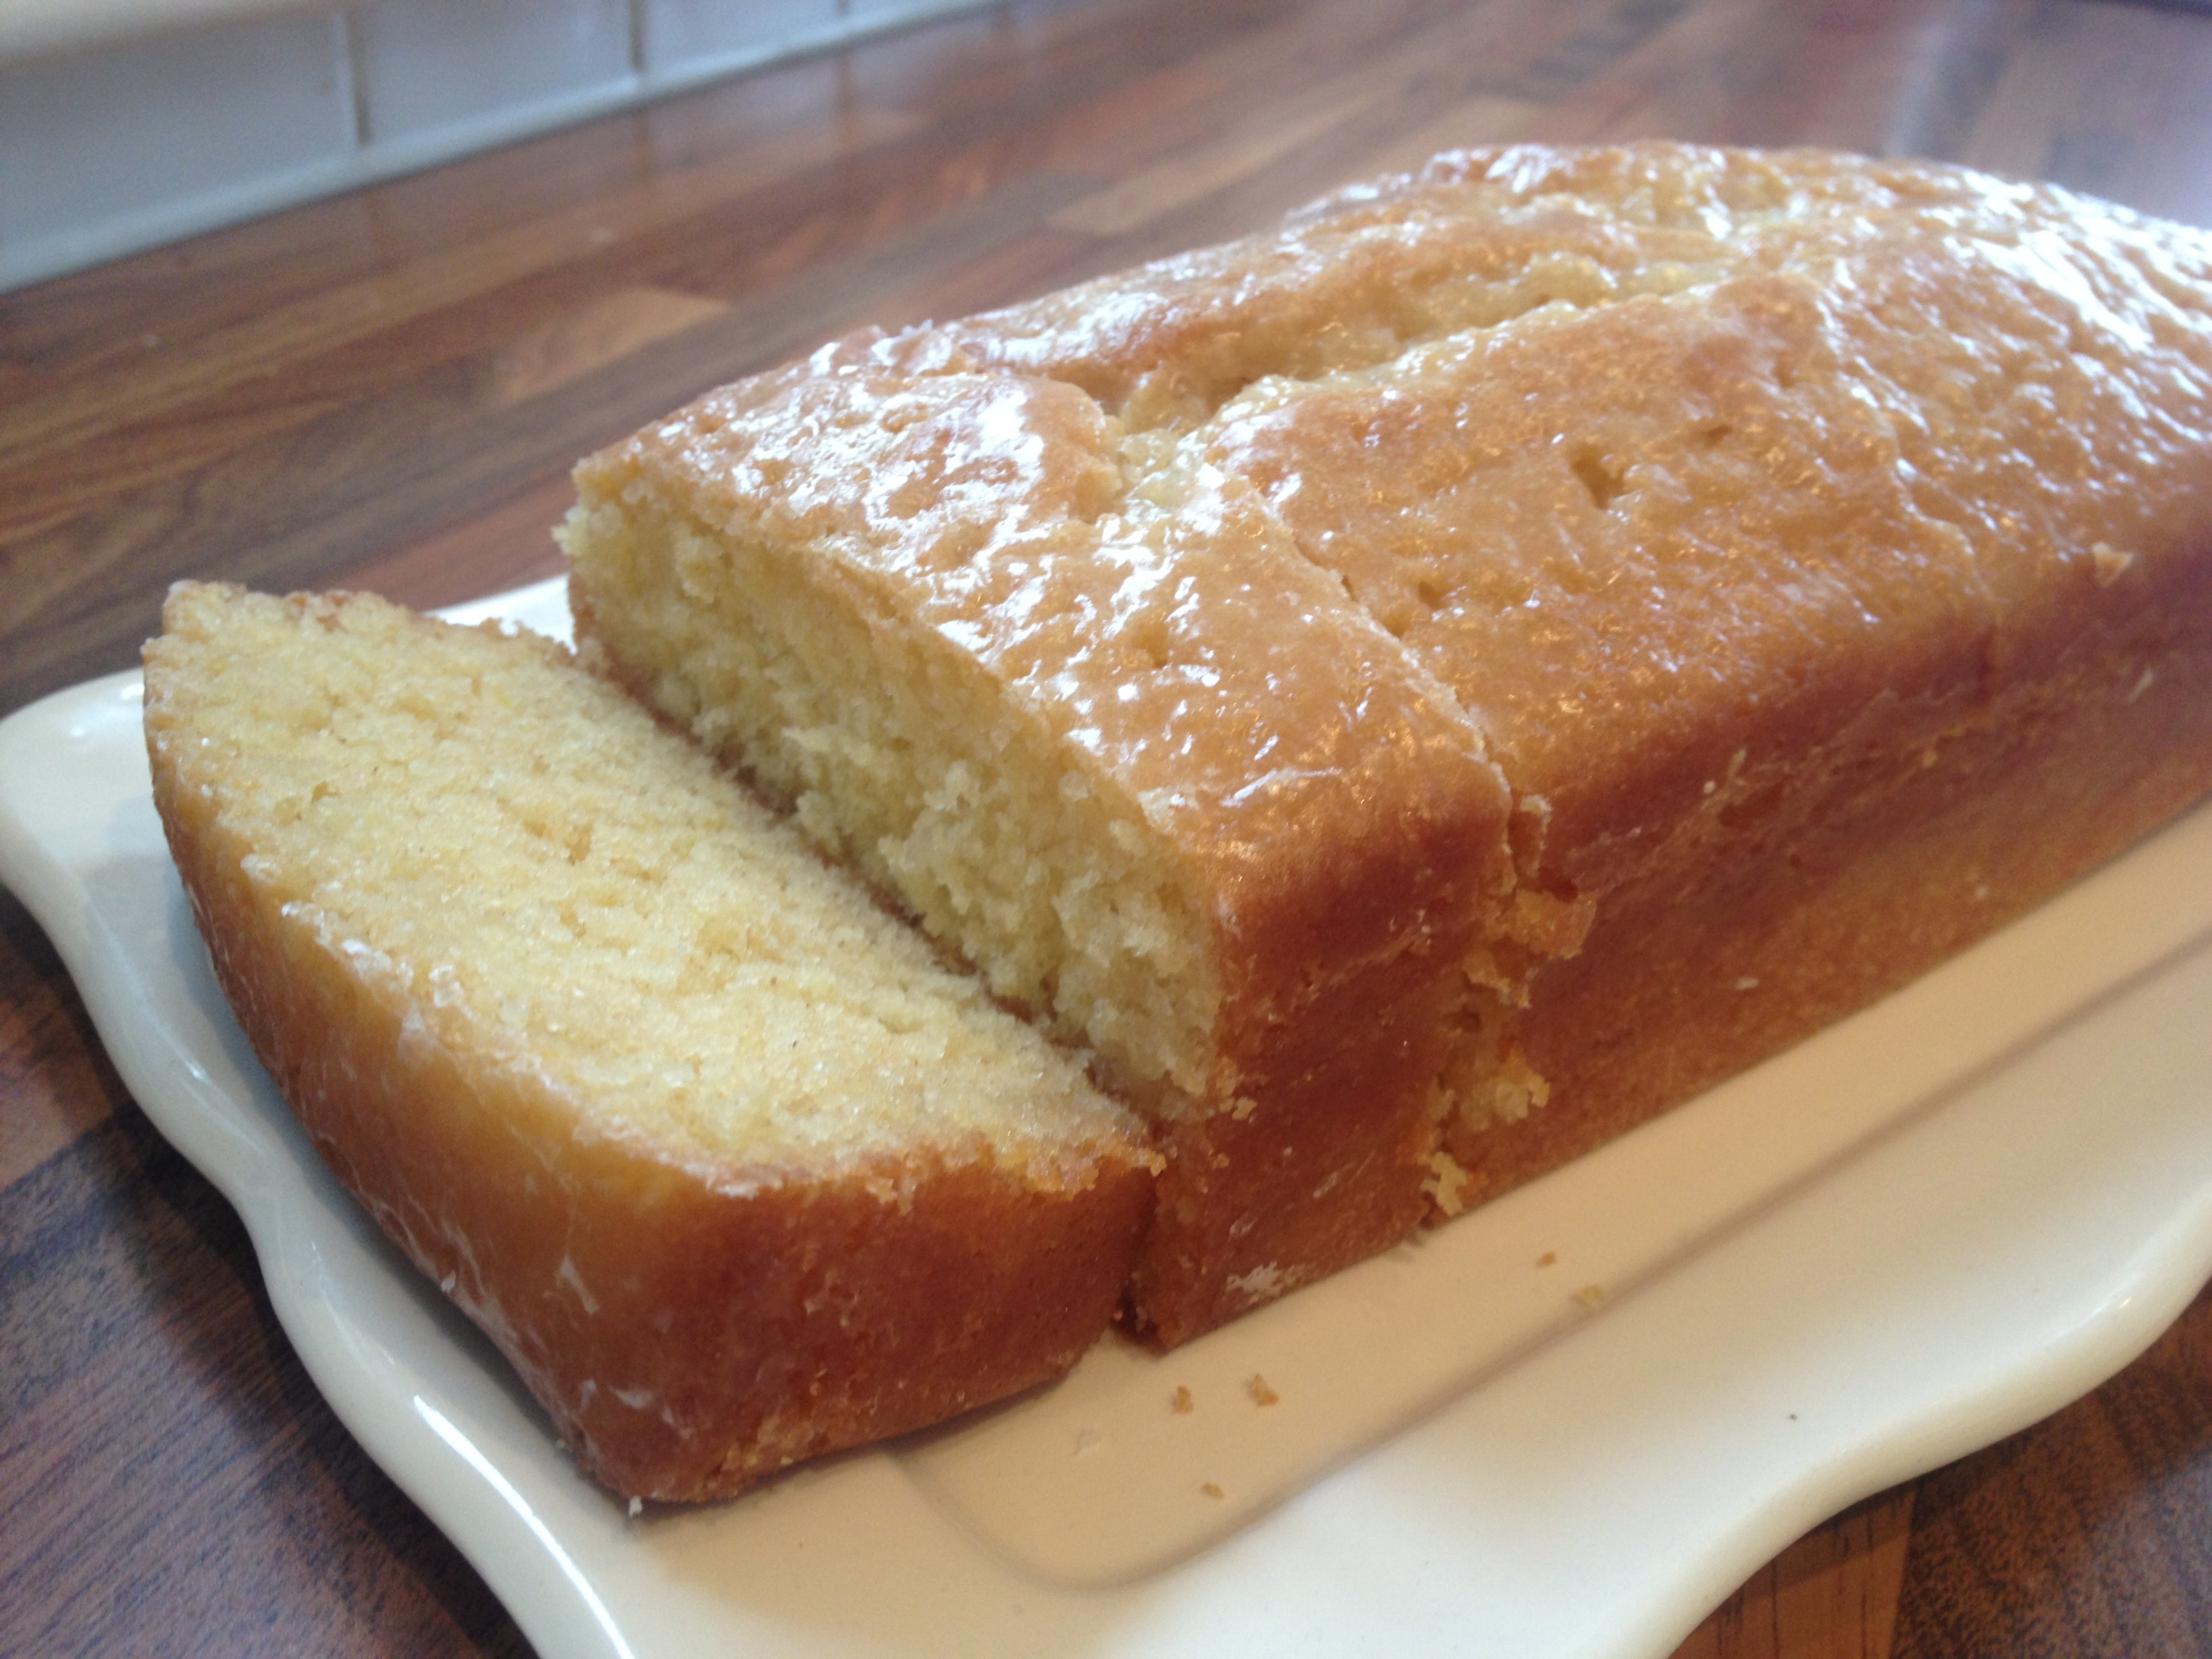
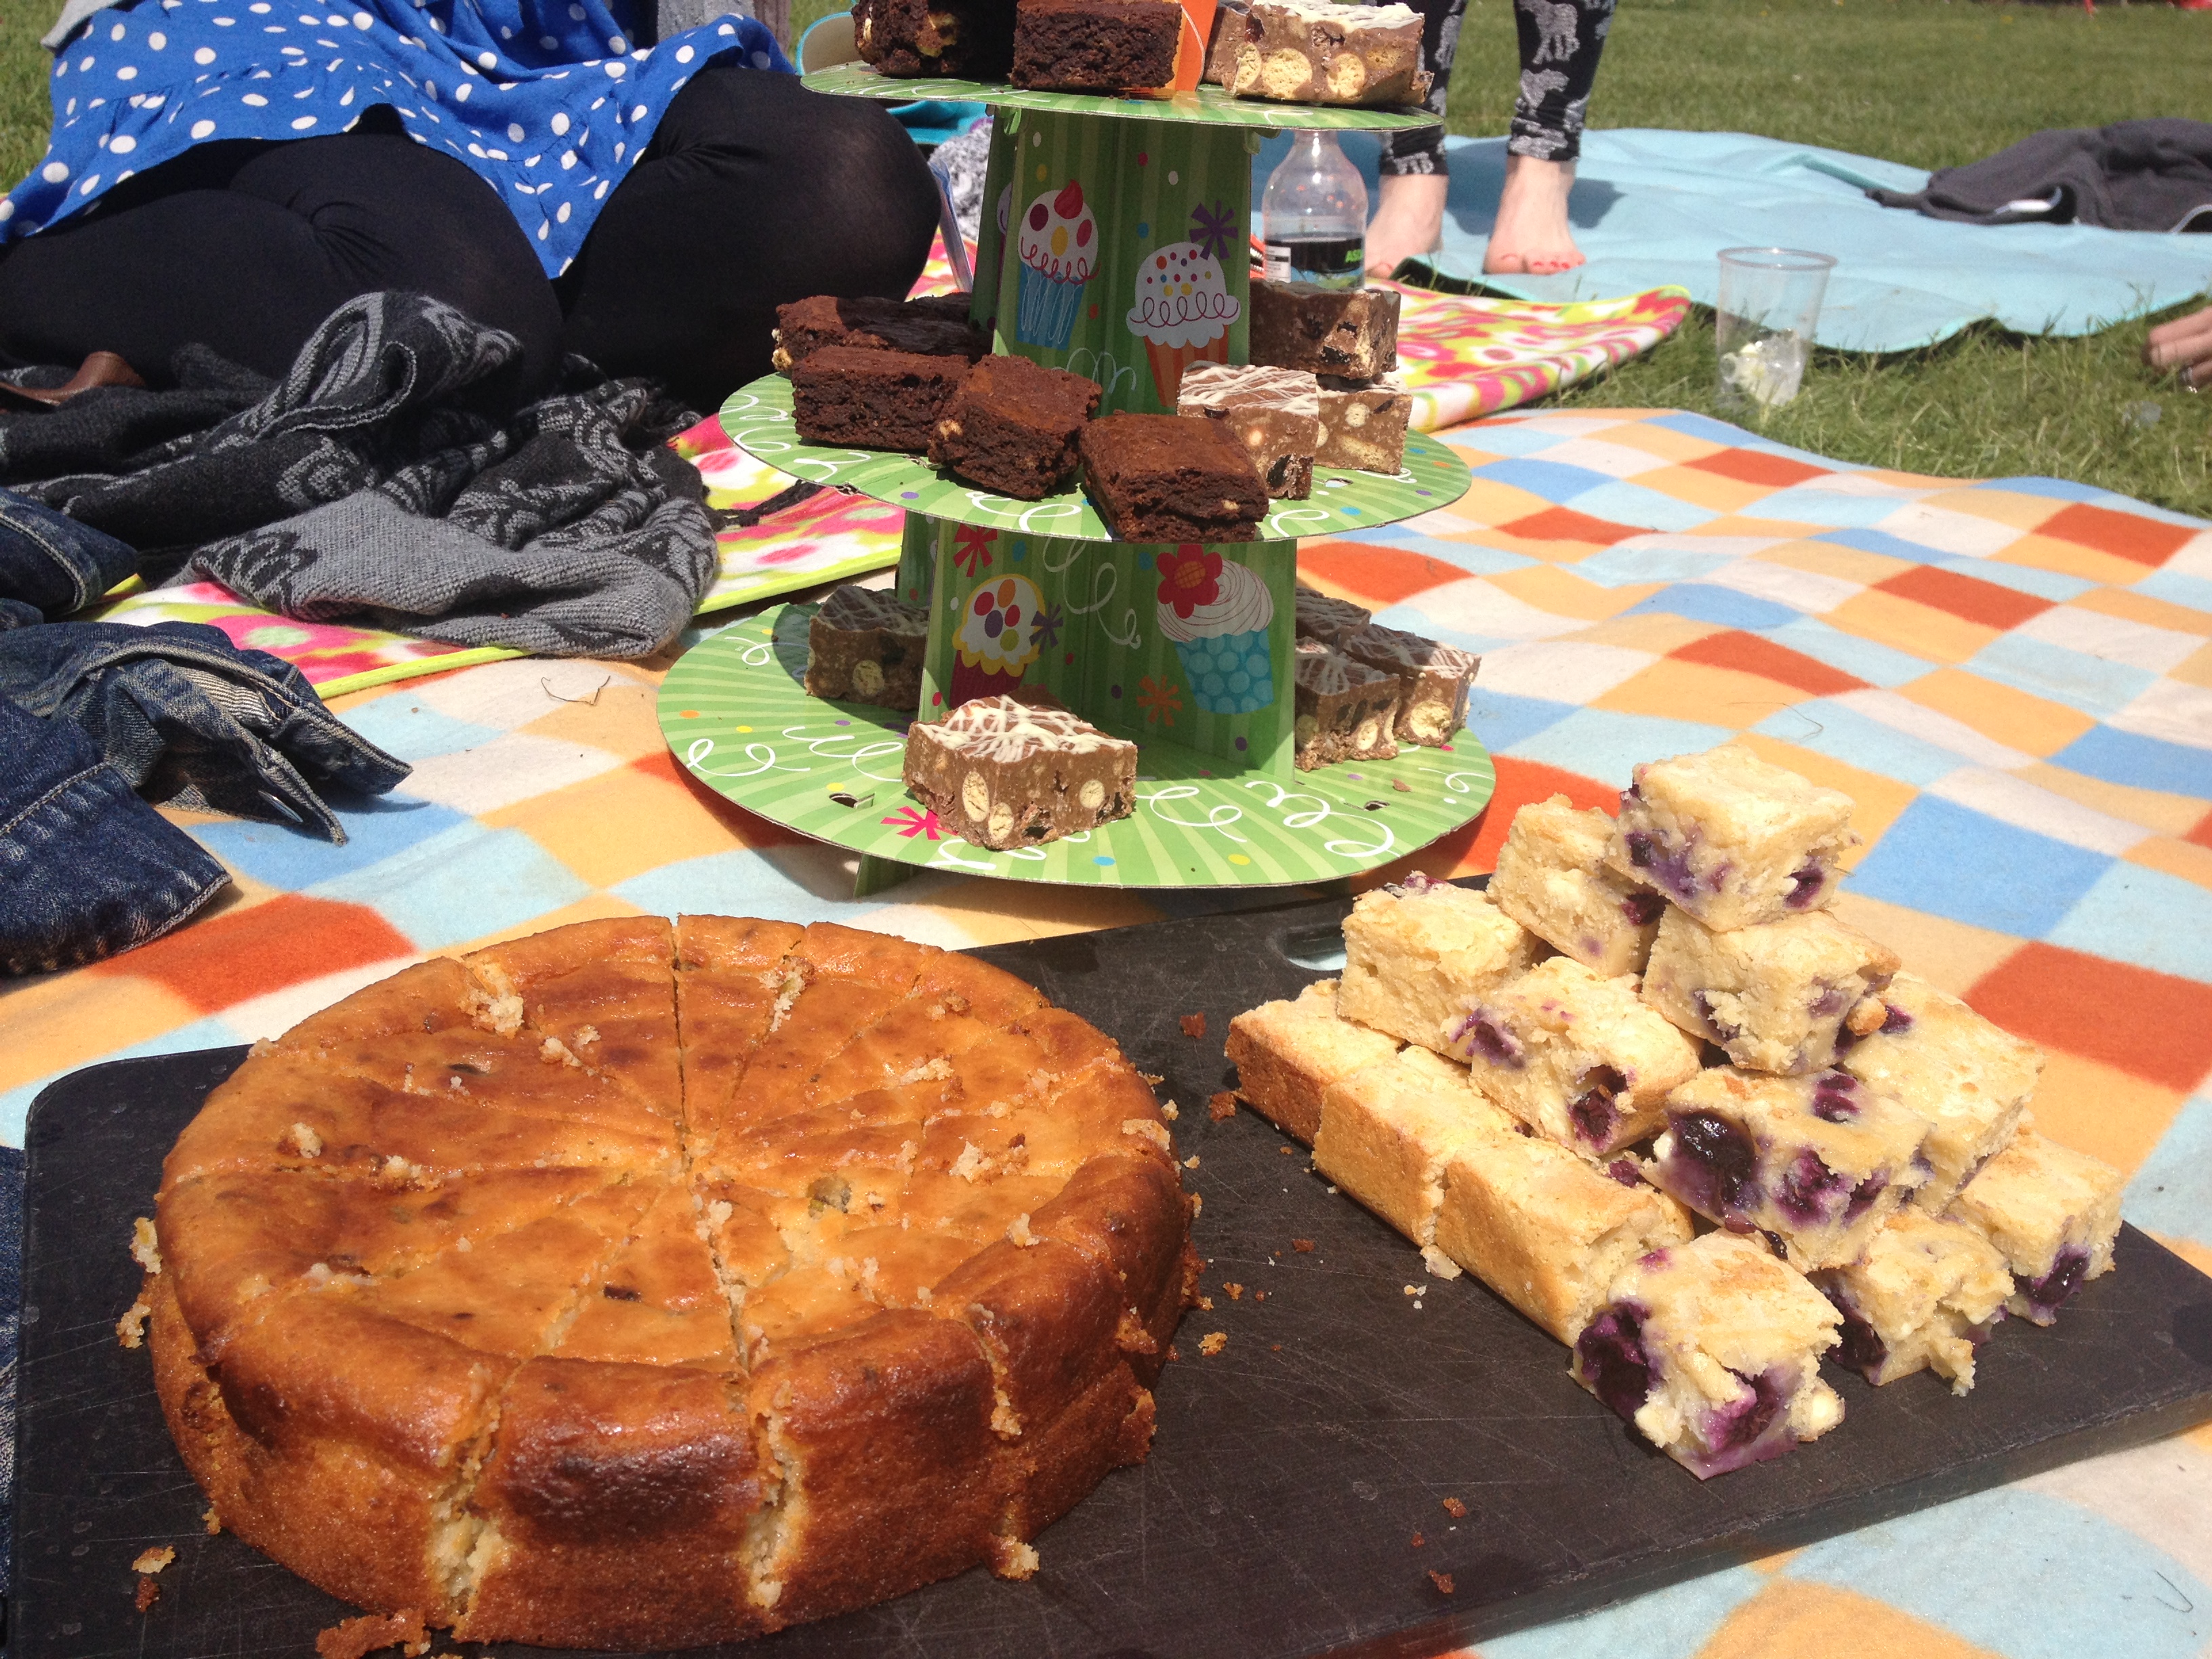
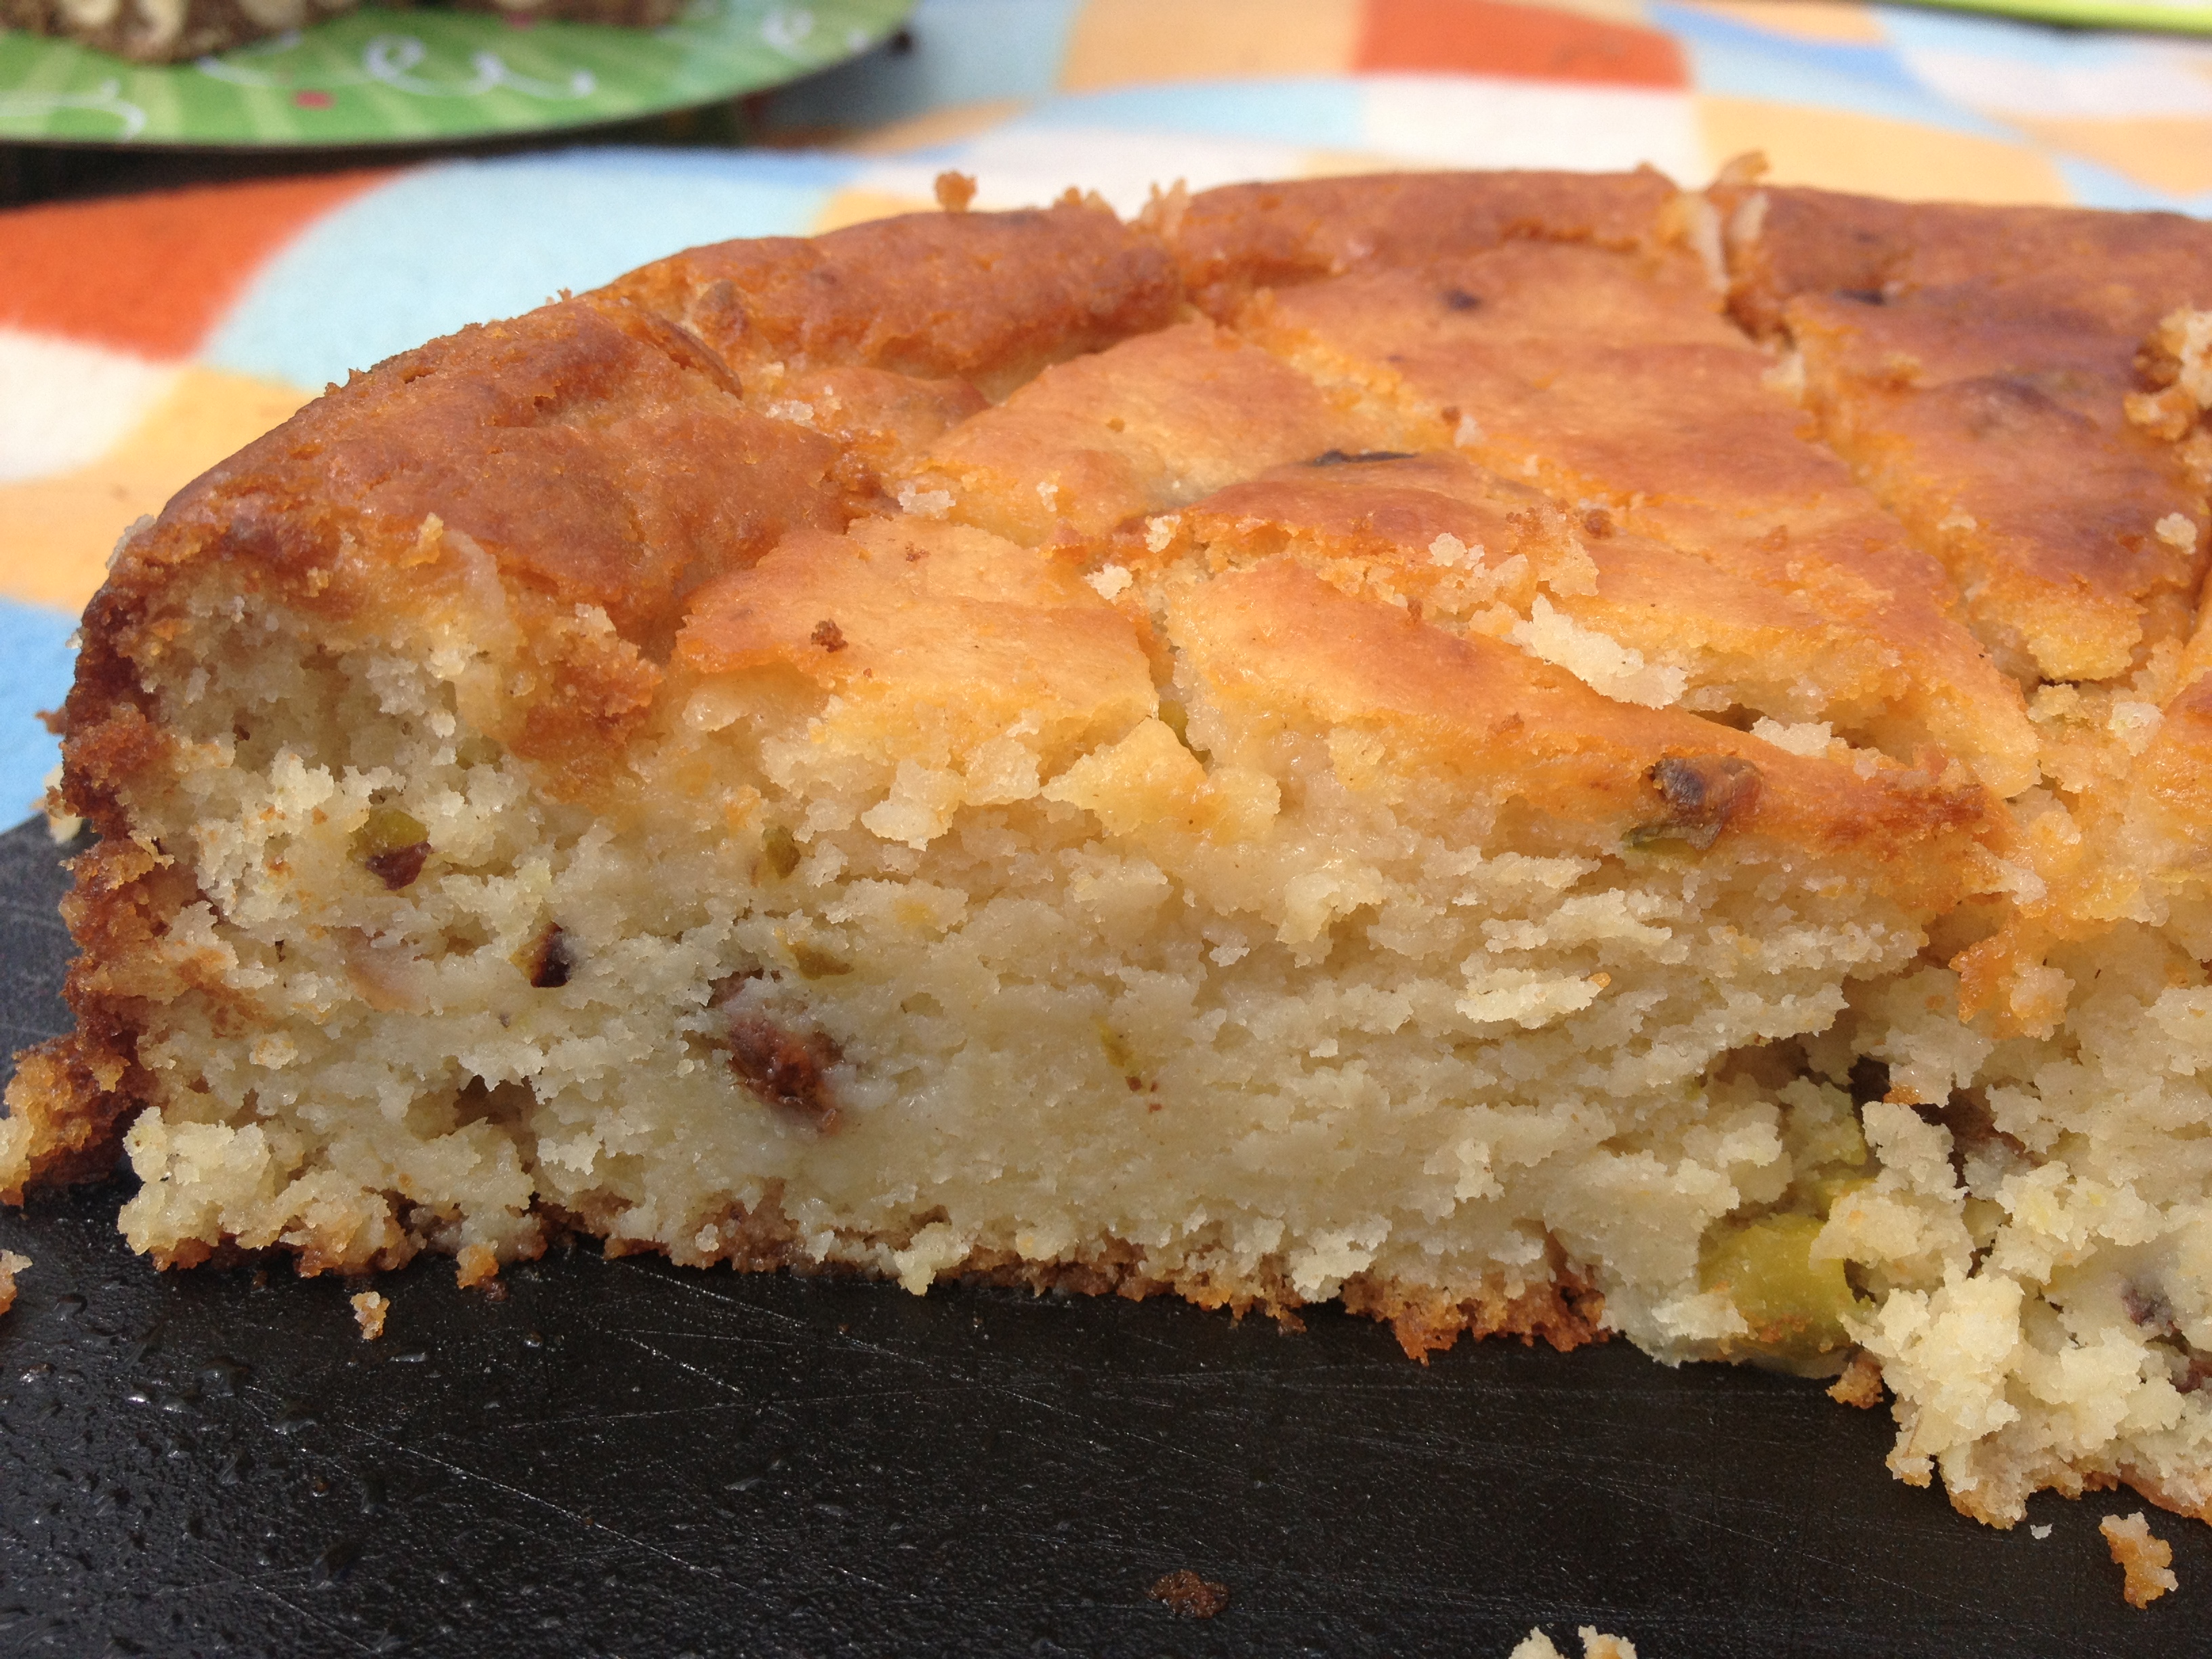
A few of us were asked to bring some baked goods with us so that we could have a little afternoon tea on Saturday afternoon. I’d had a bit of a busy week in the run up to the festival but I try to grab every opportunity I can to test some of the recipes that I find in cook books, rip out of magazines, find online and take photos of. I’m continually hoarding these recipe snippets in a ‘must try’ pile, and here was my chance to give a couple a go. I went for a yoghurt, lime and pistachio cake with rosewater and lime drizzle (if you’ve had enough of my wittering you can just scroll to the bottom of the post for the recipe)…

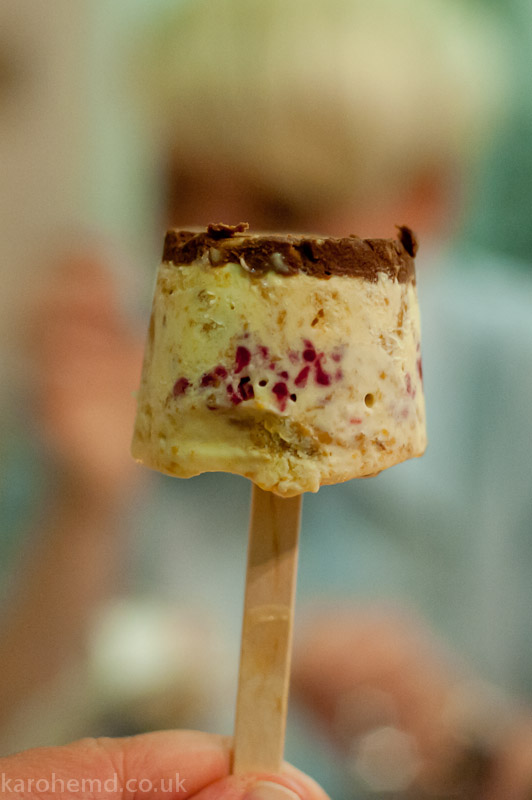
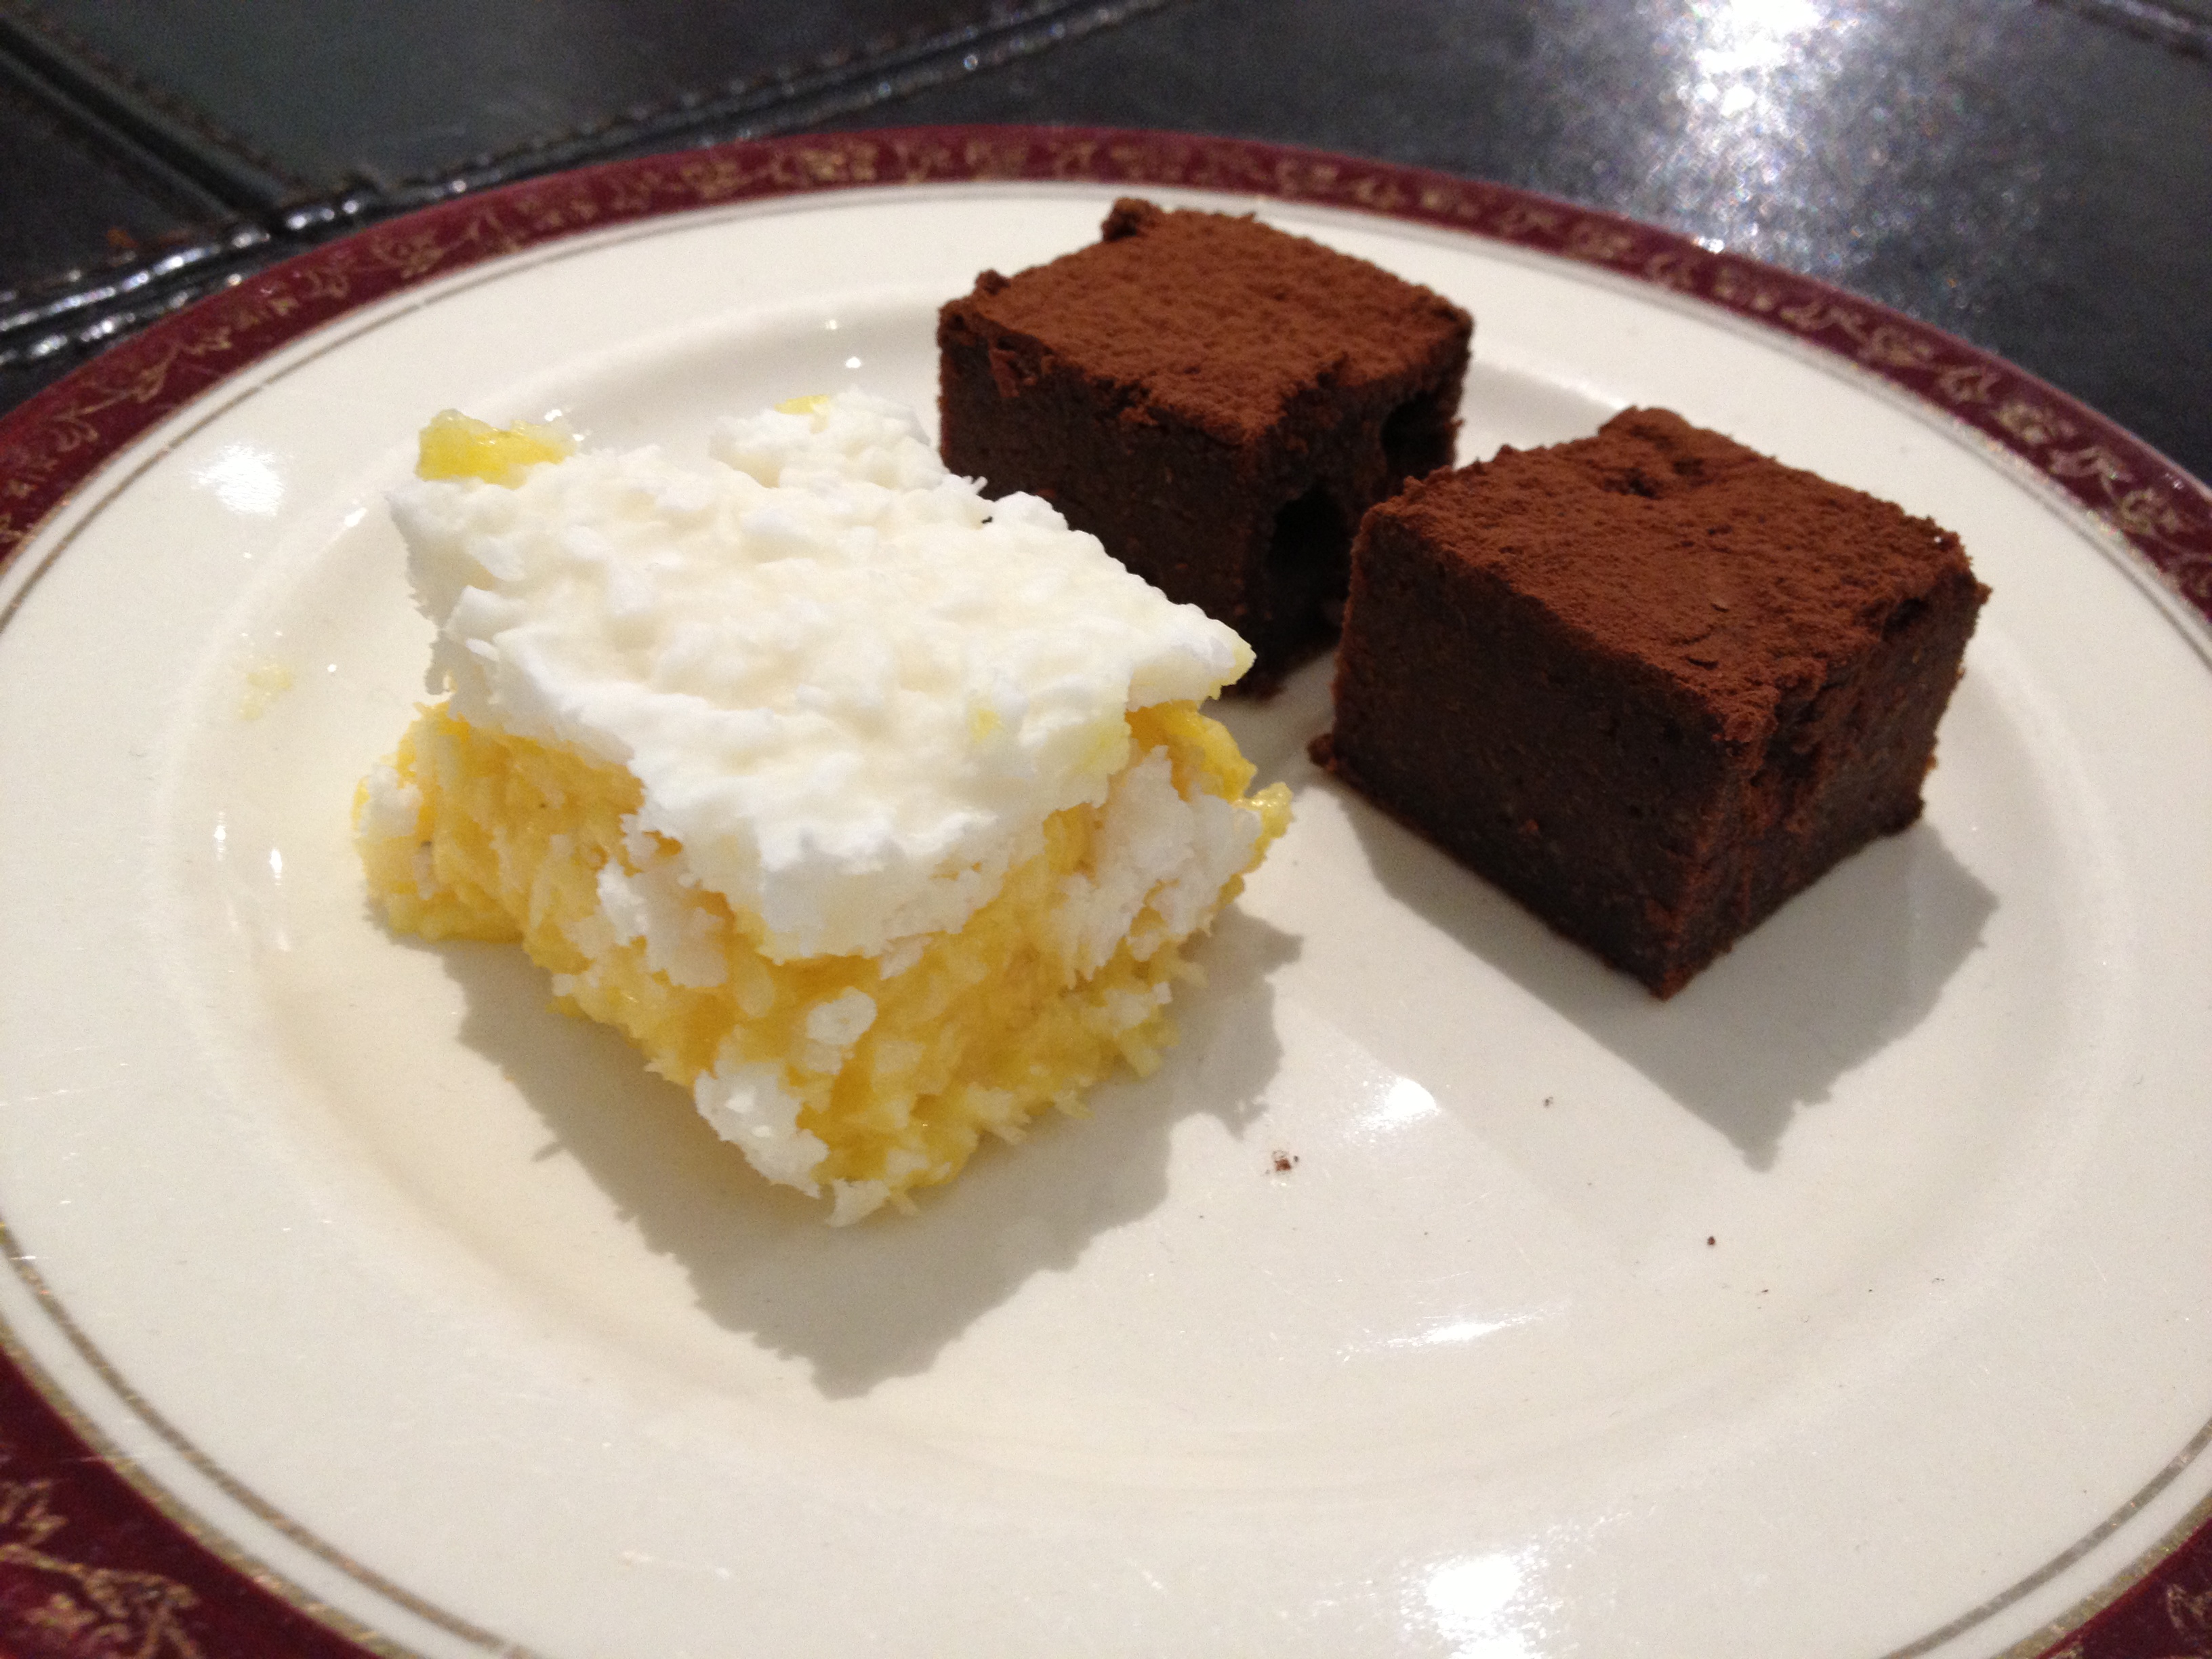
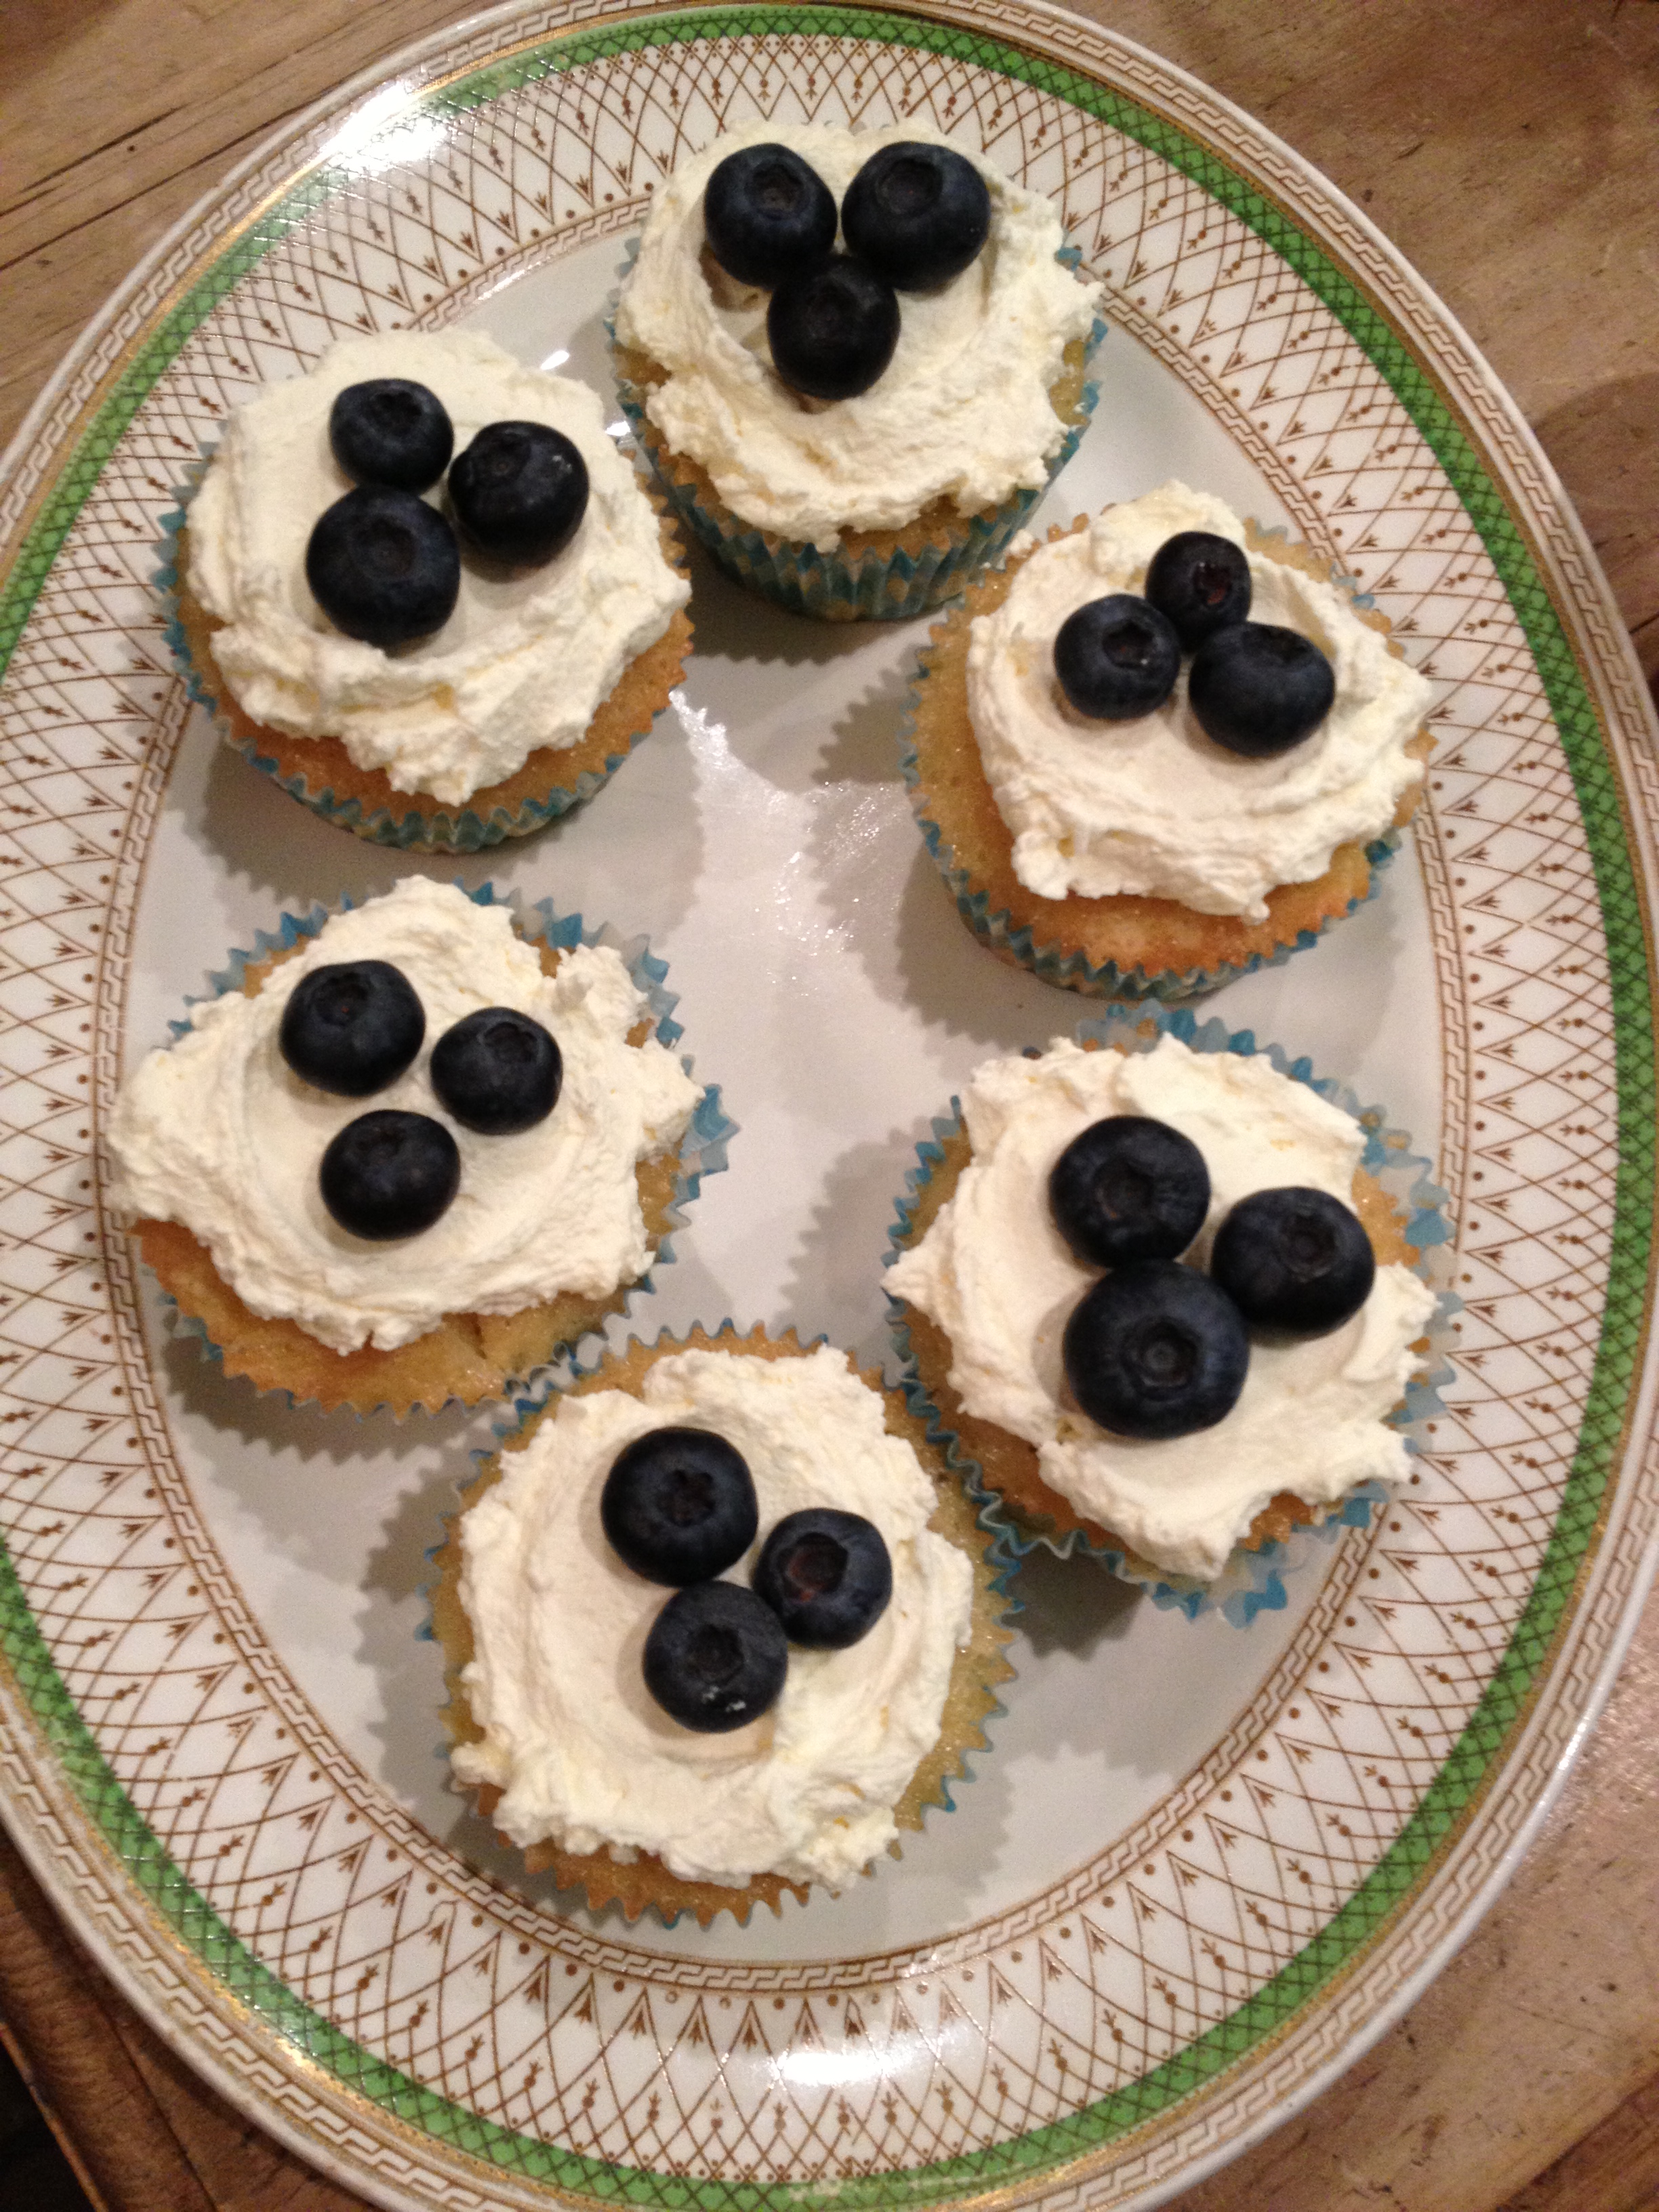
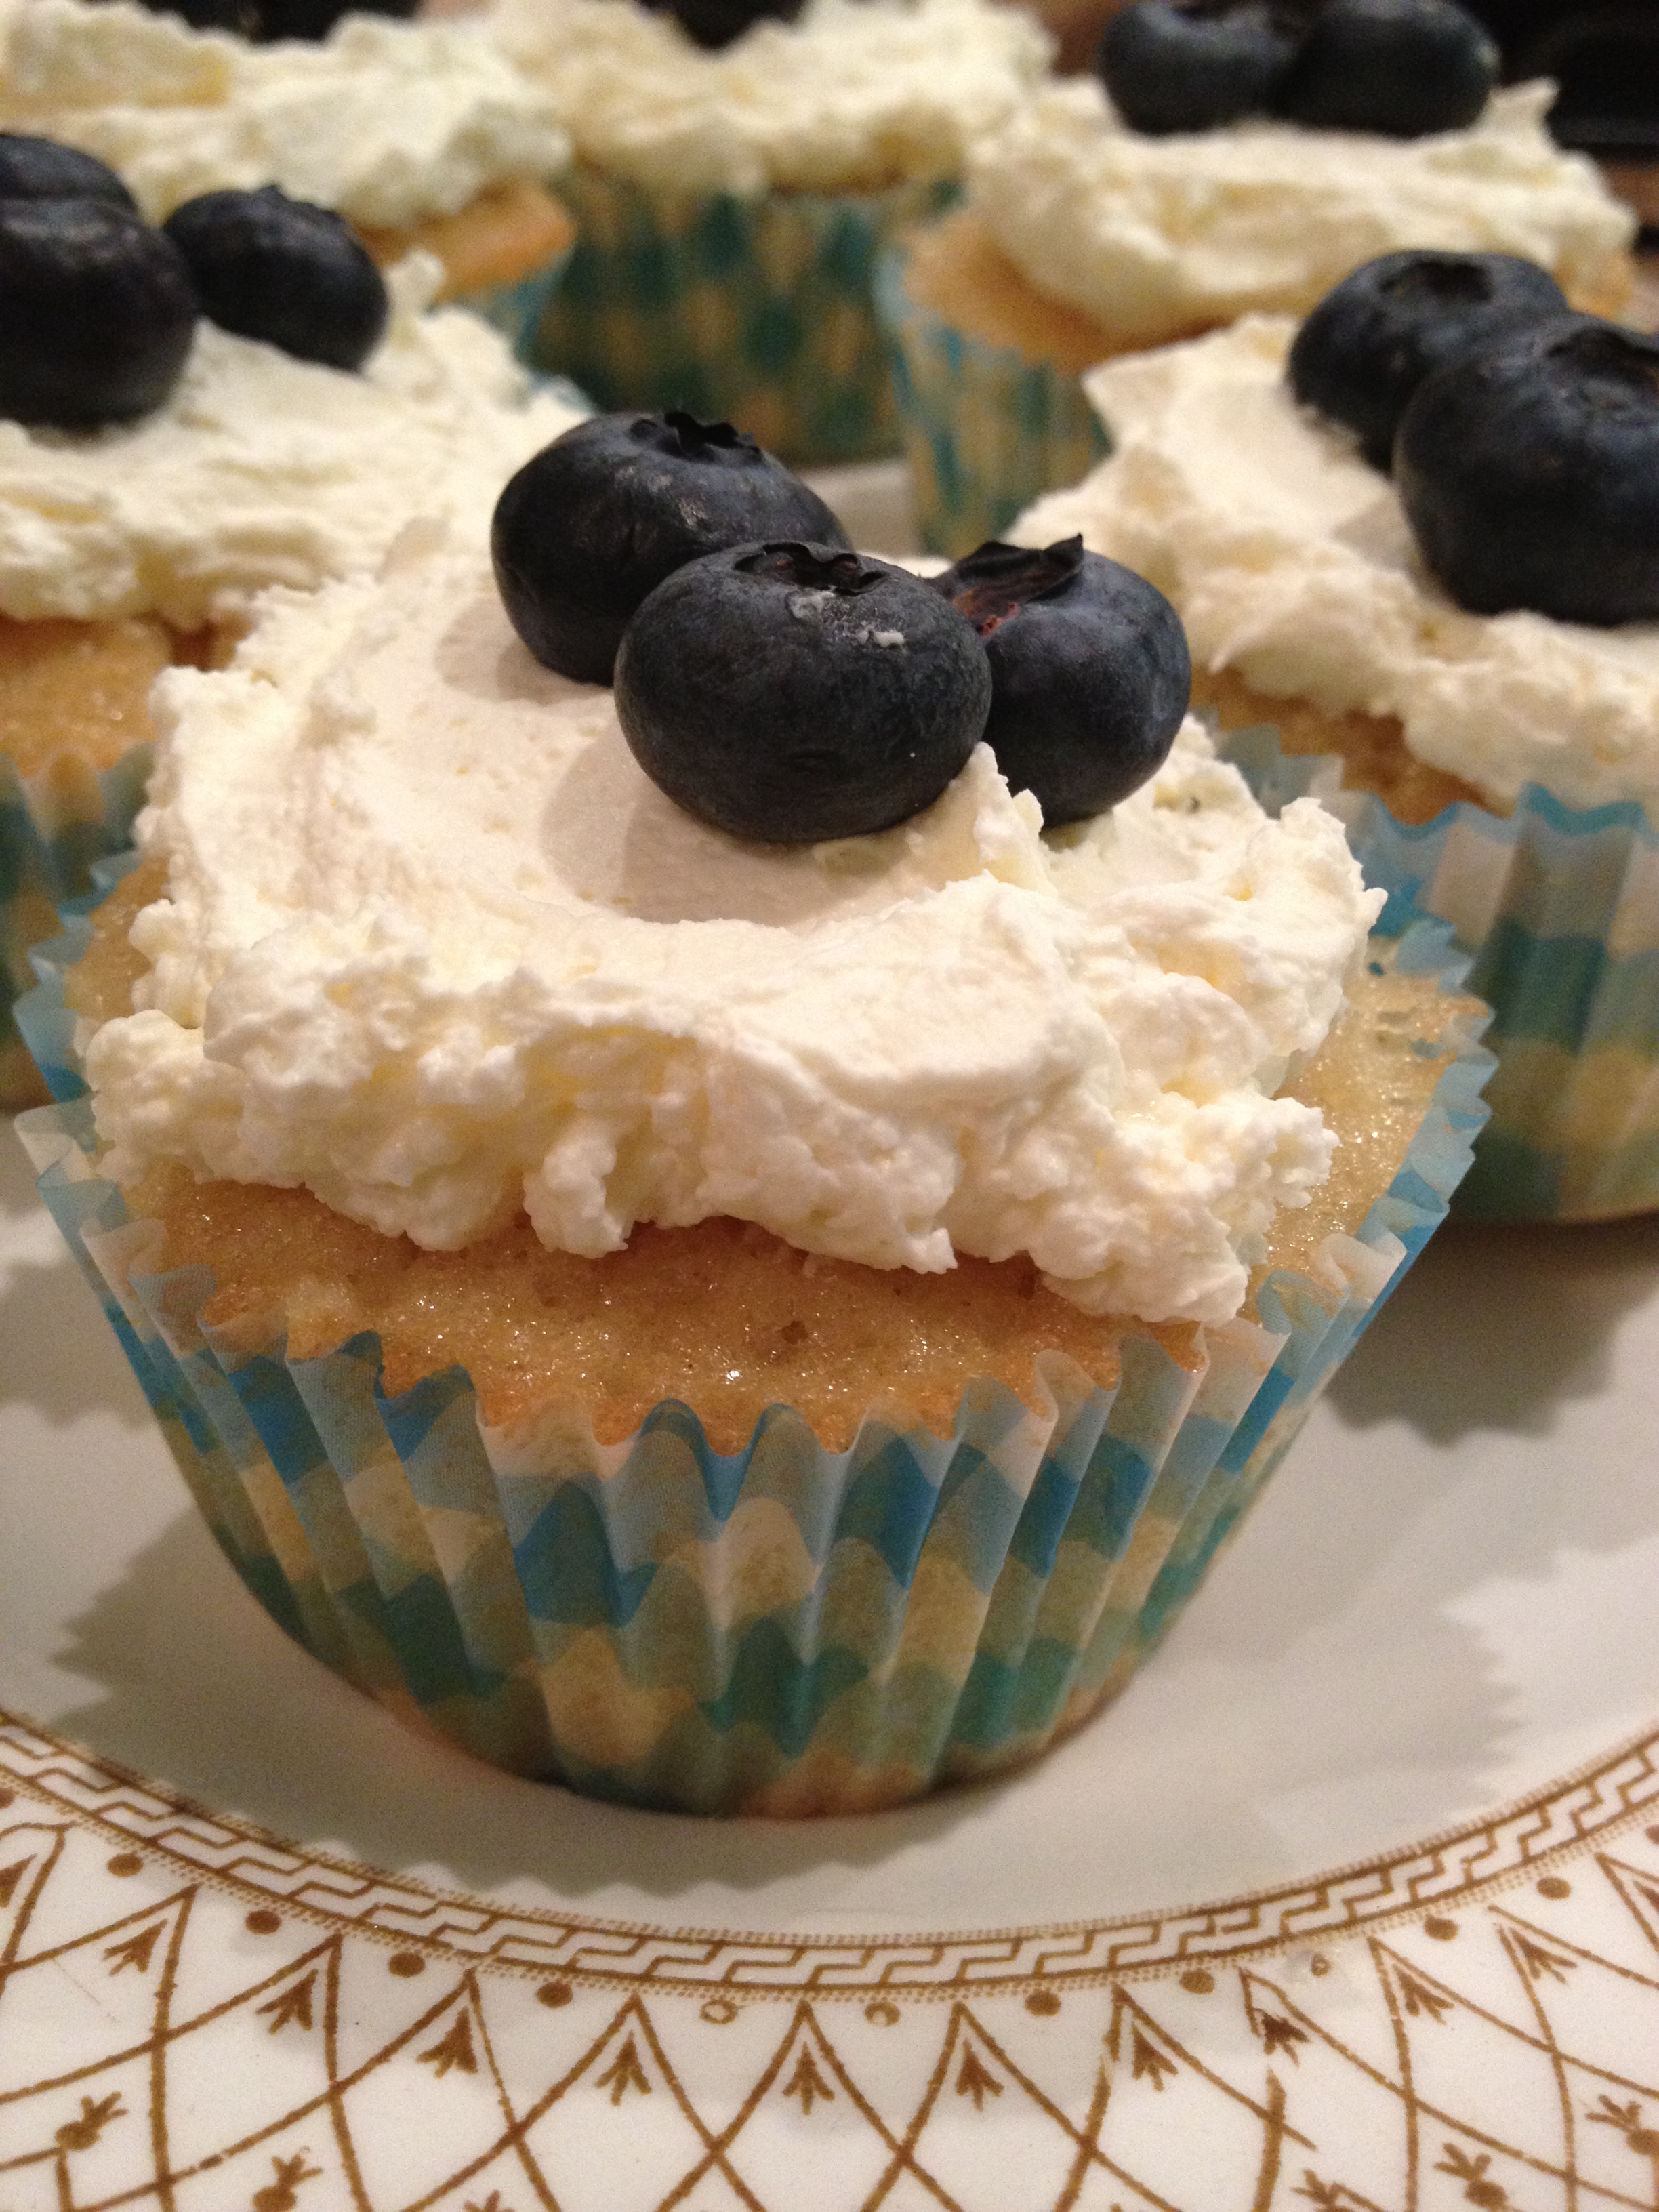
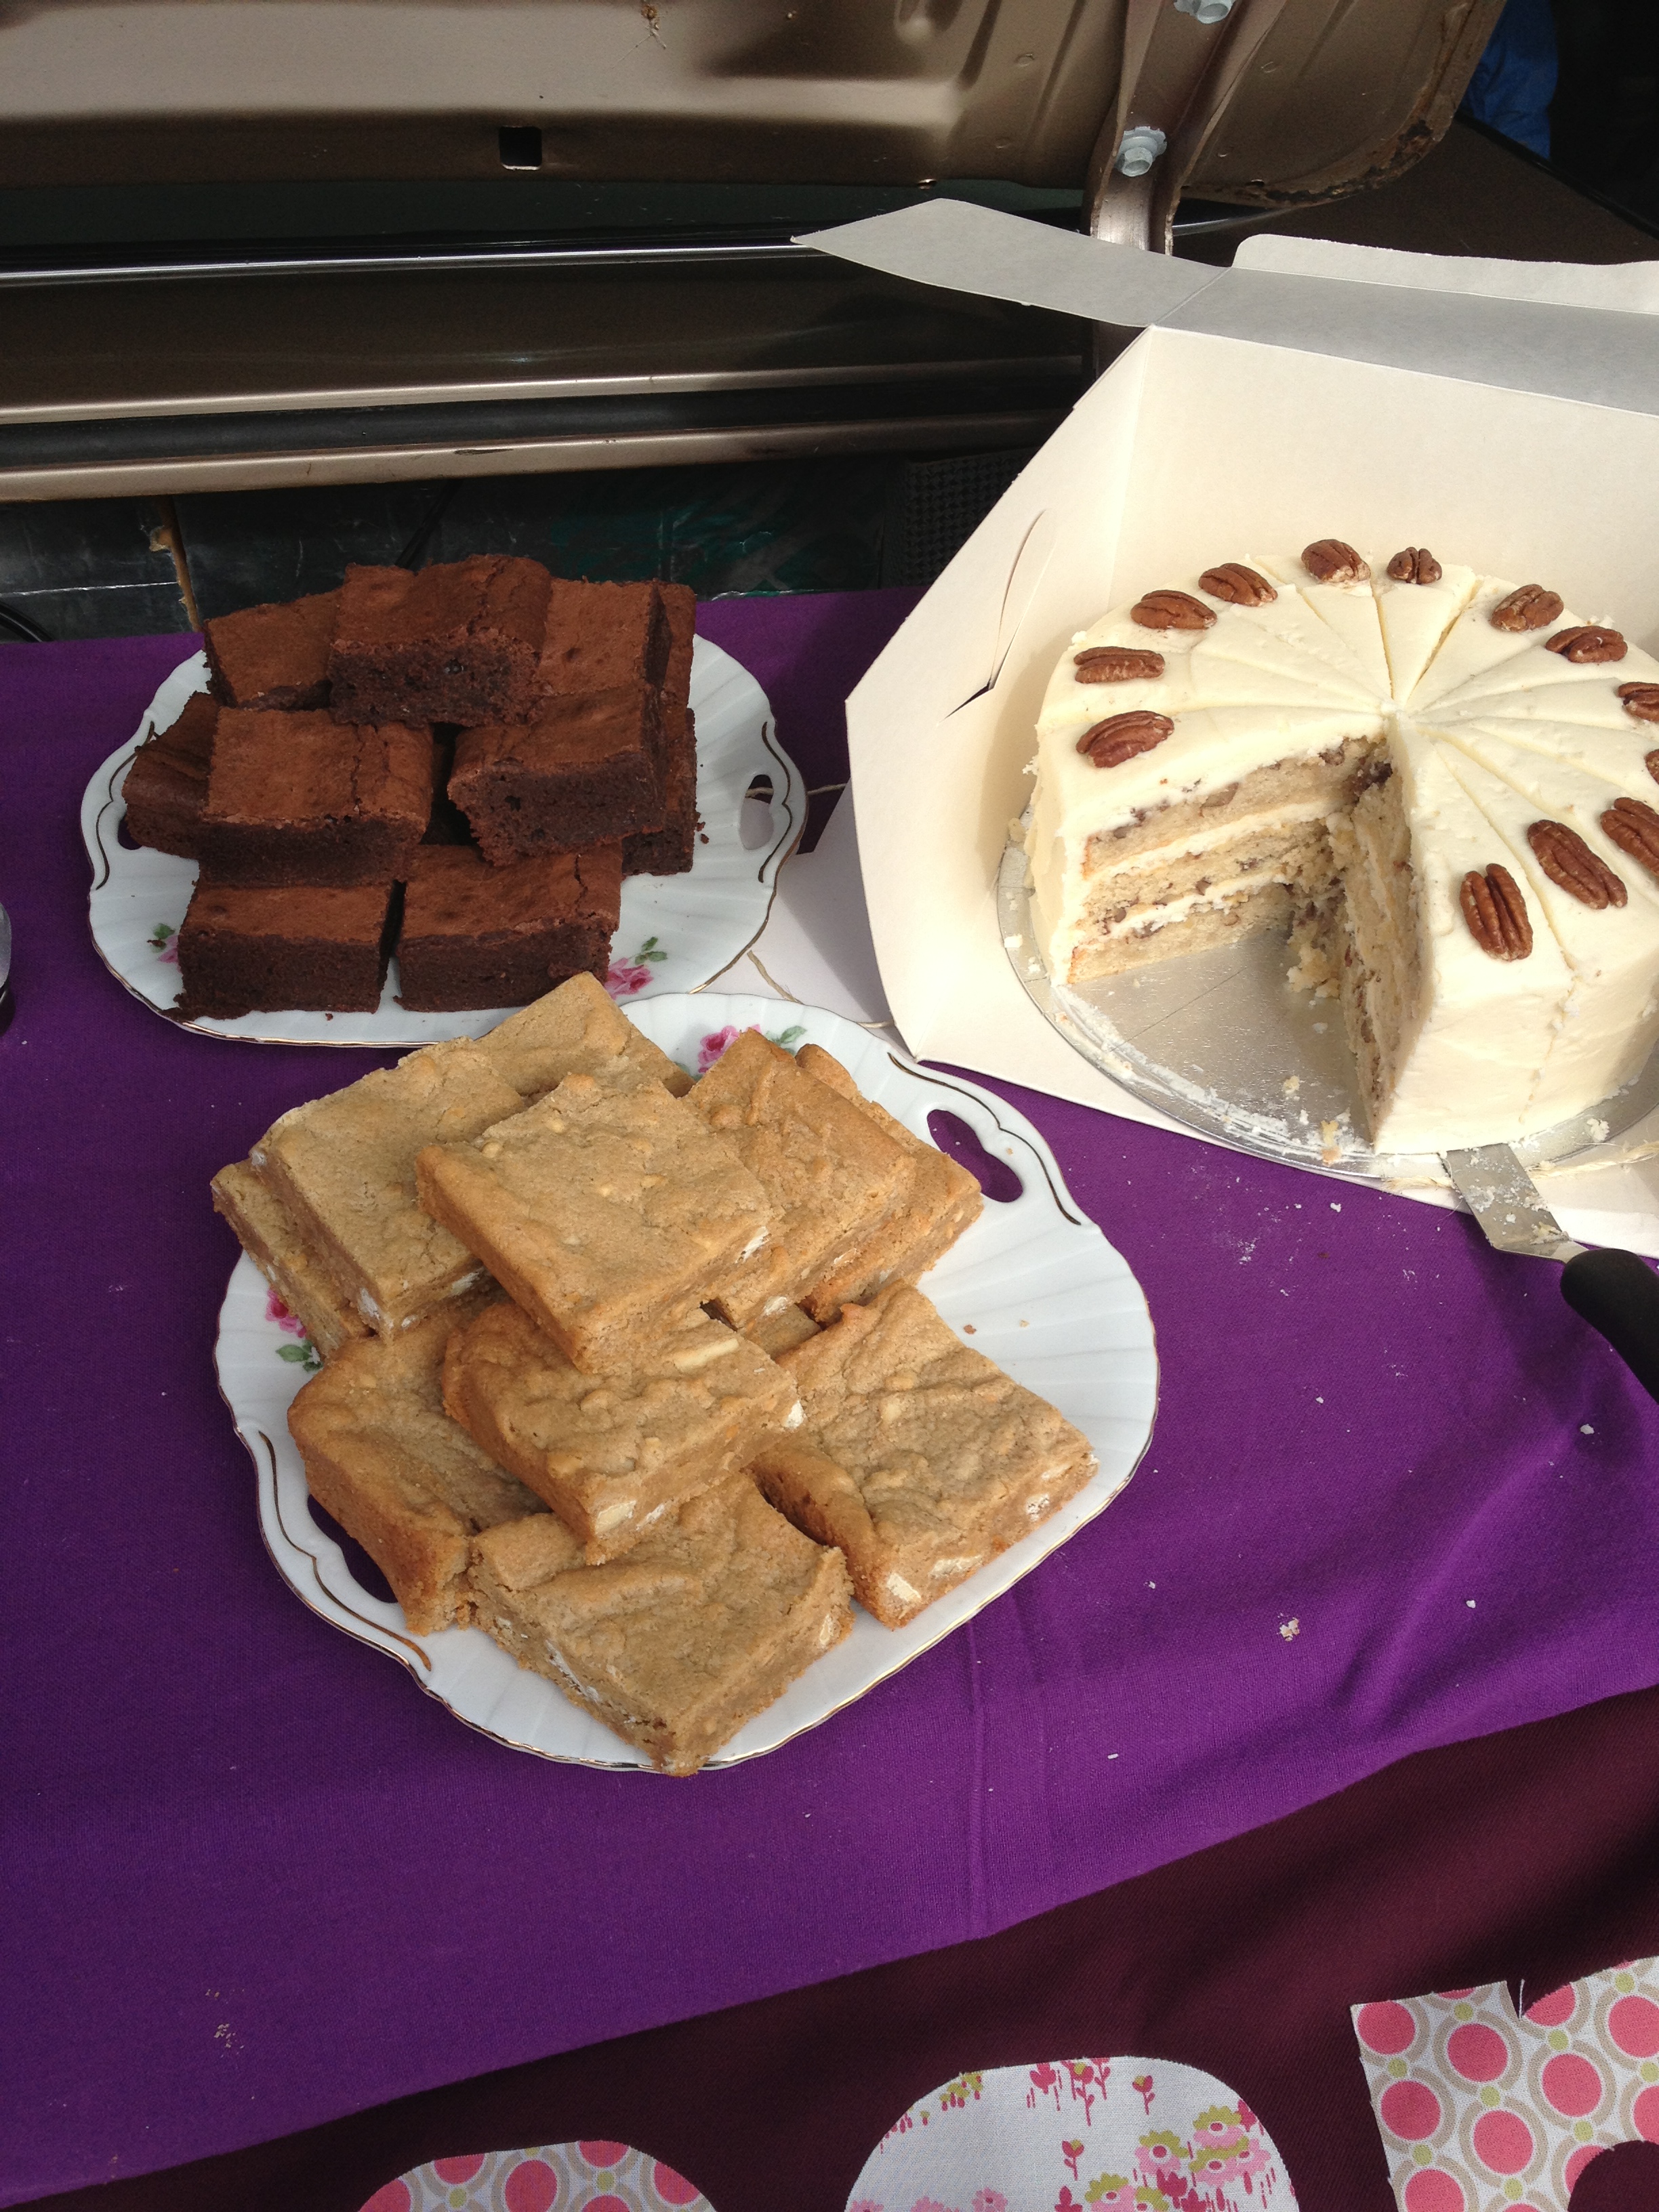
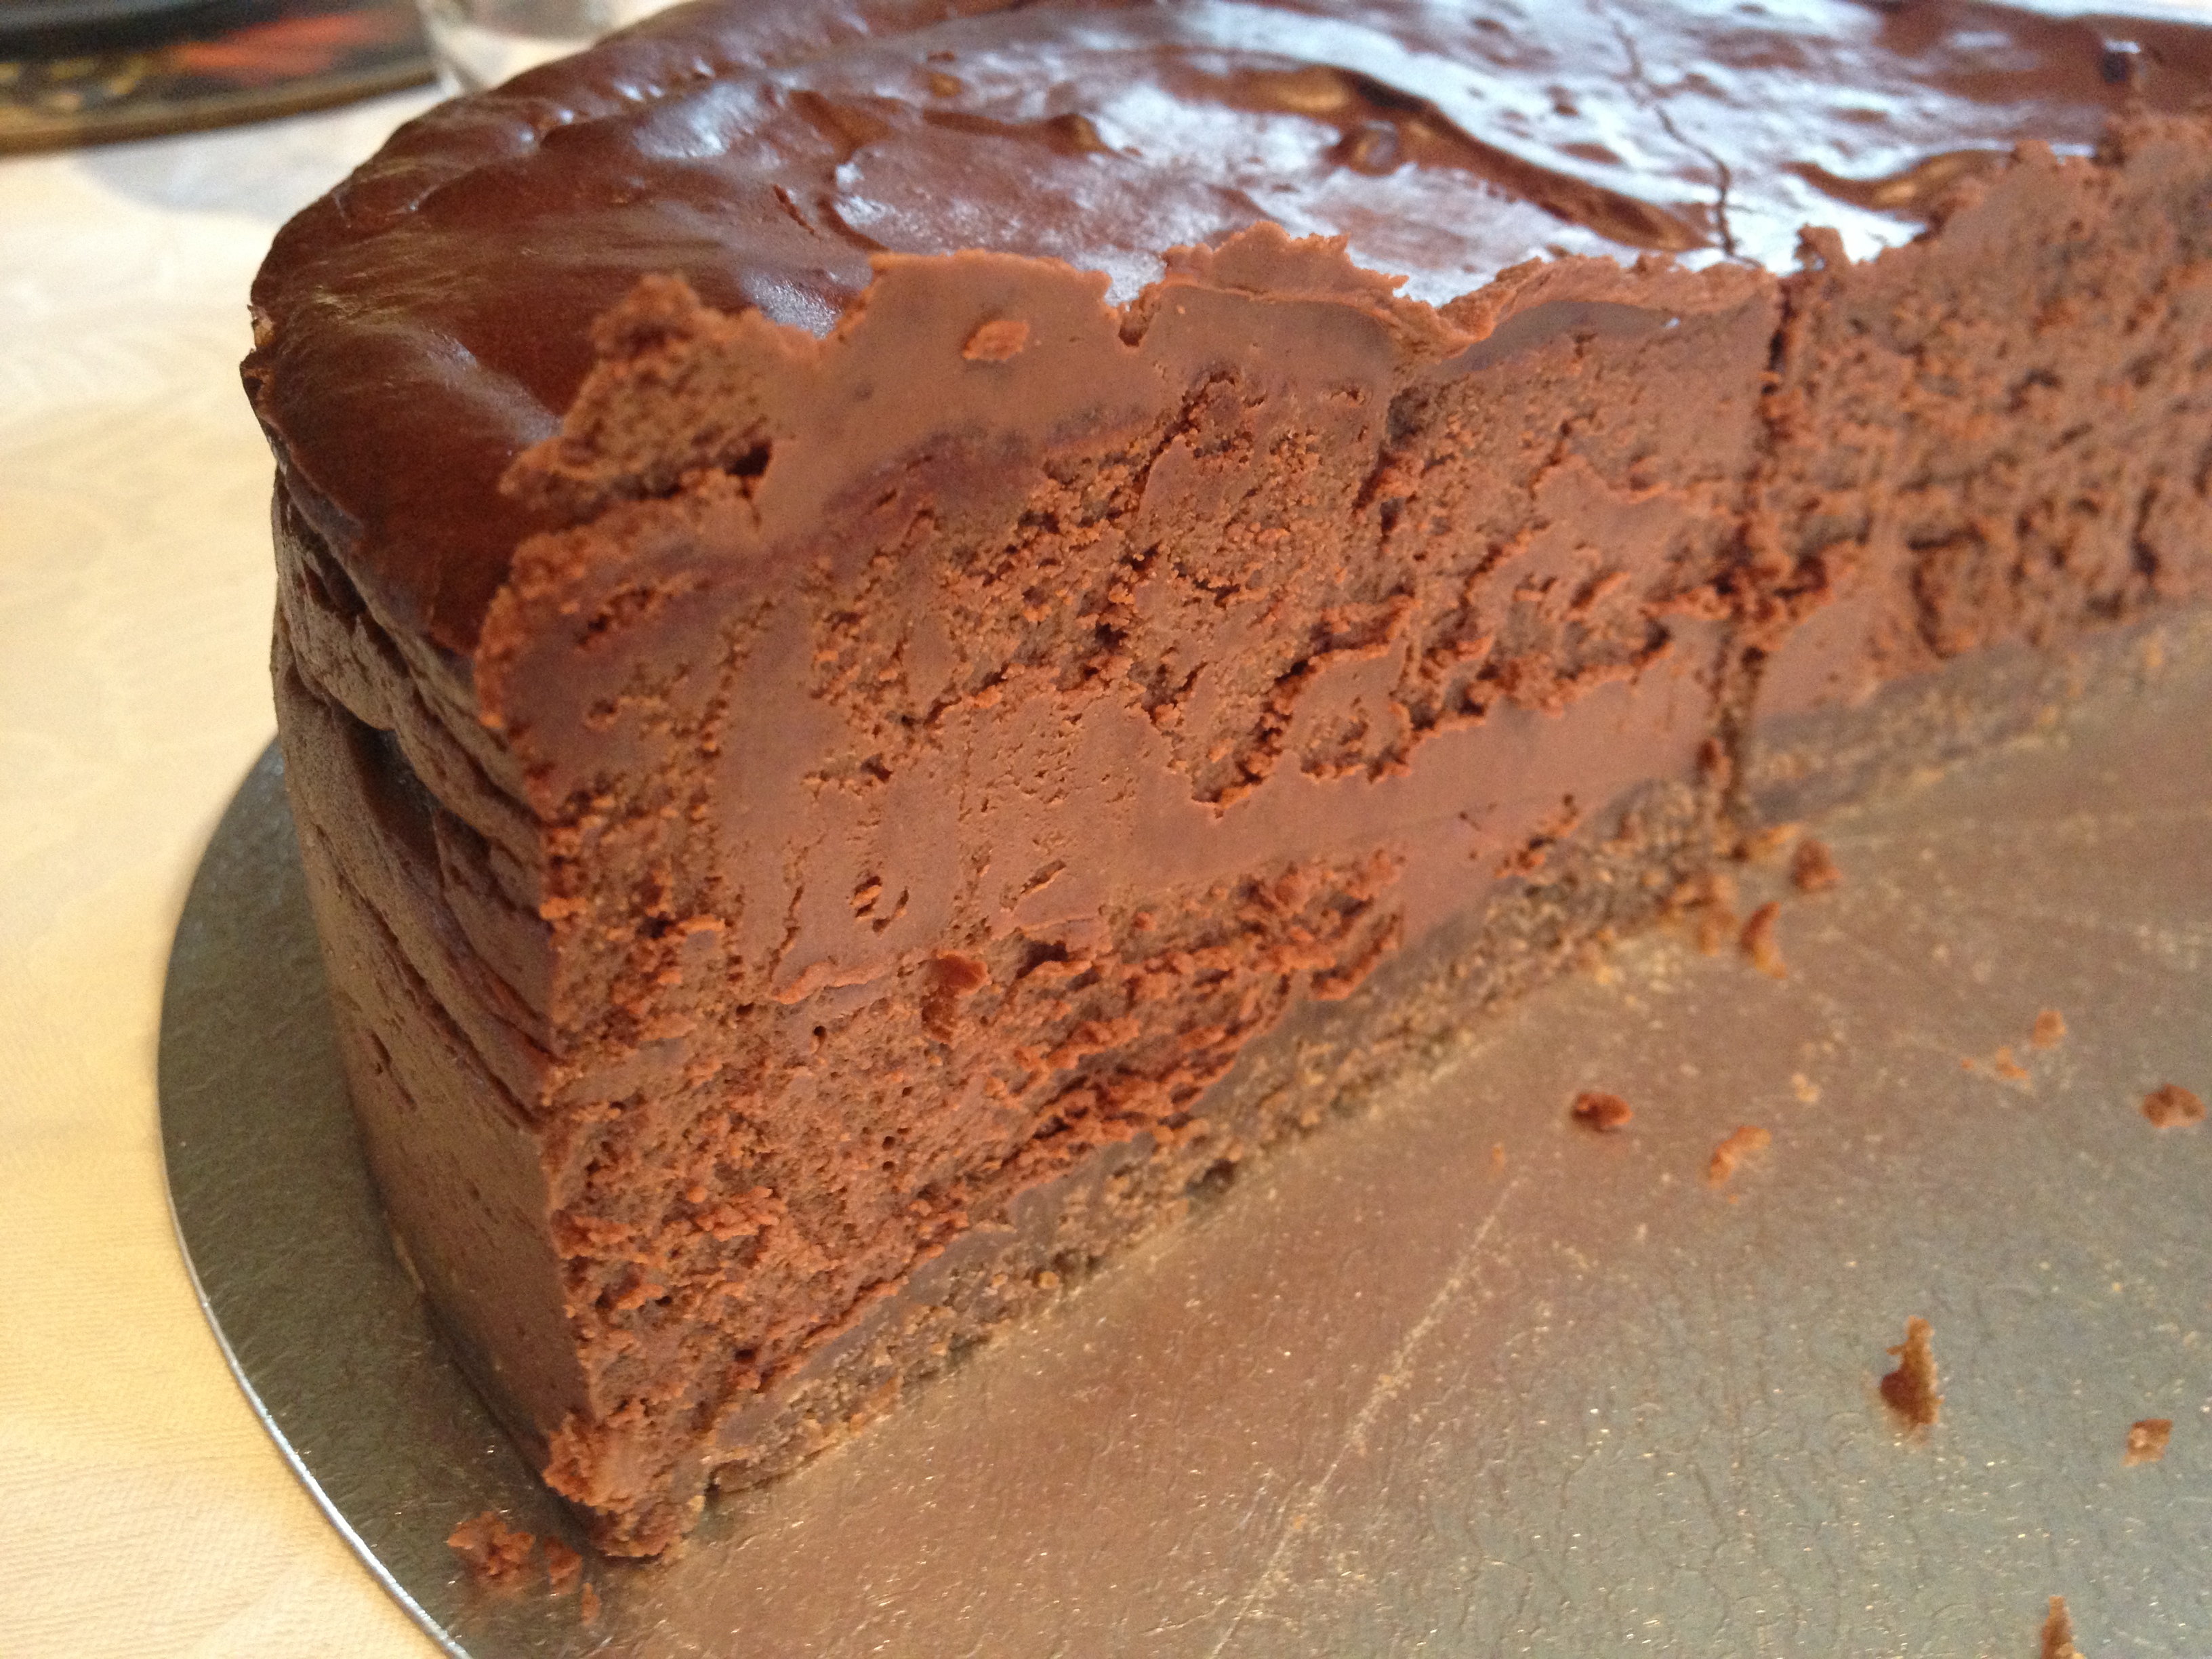
and a white chocolate, almond and blueberry blondie…
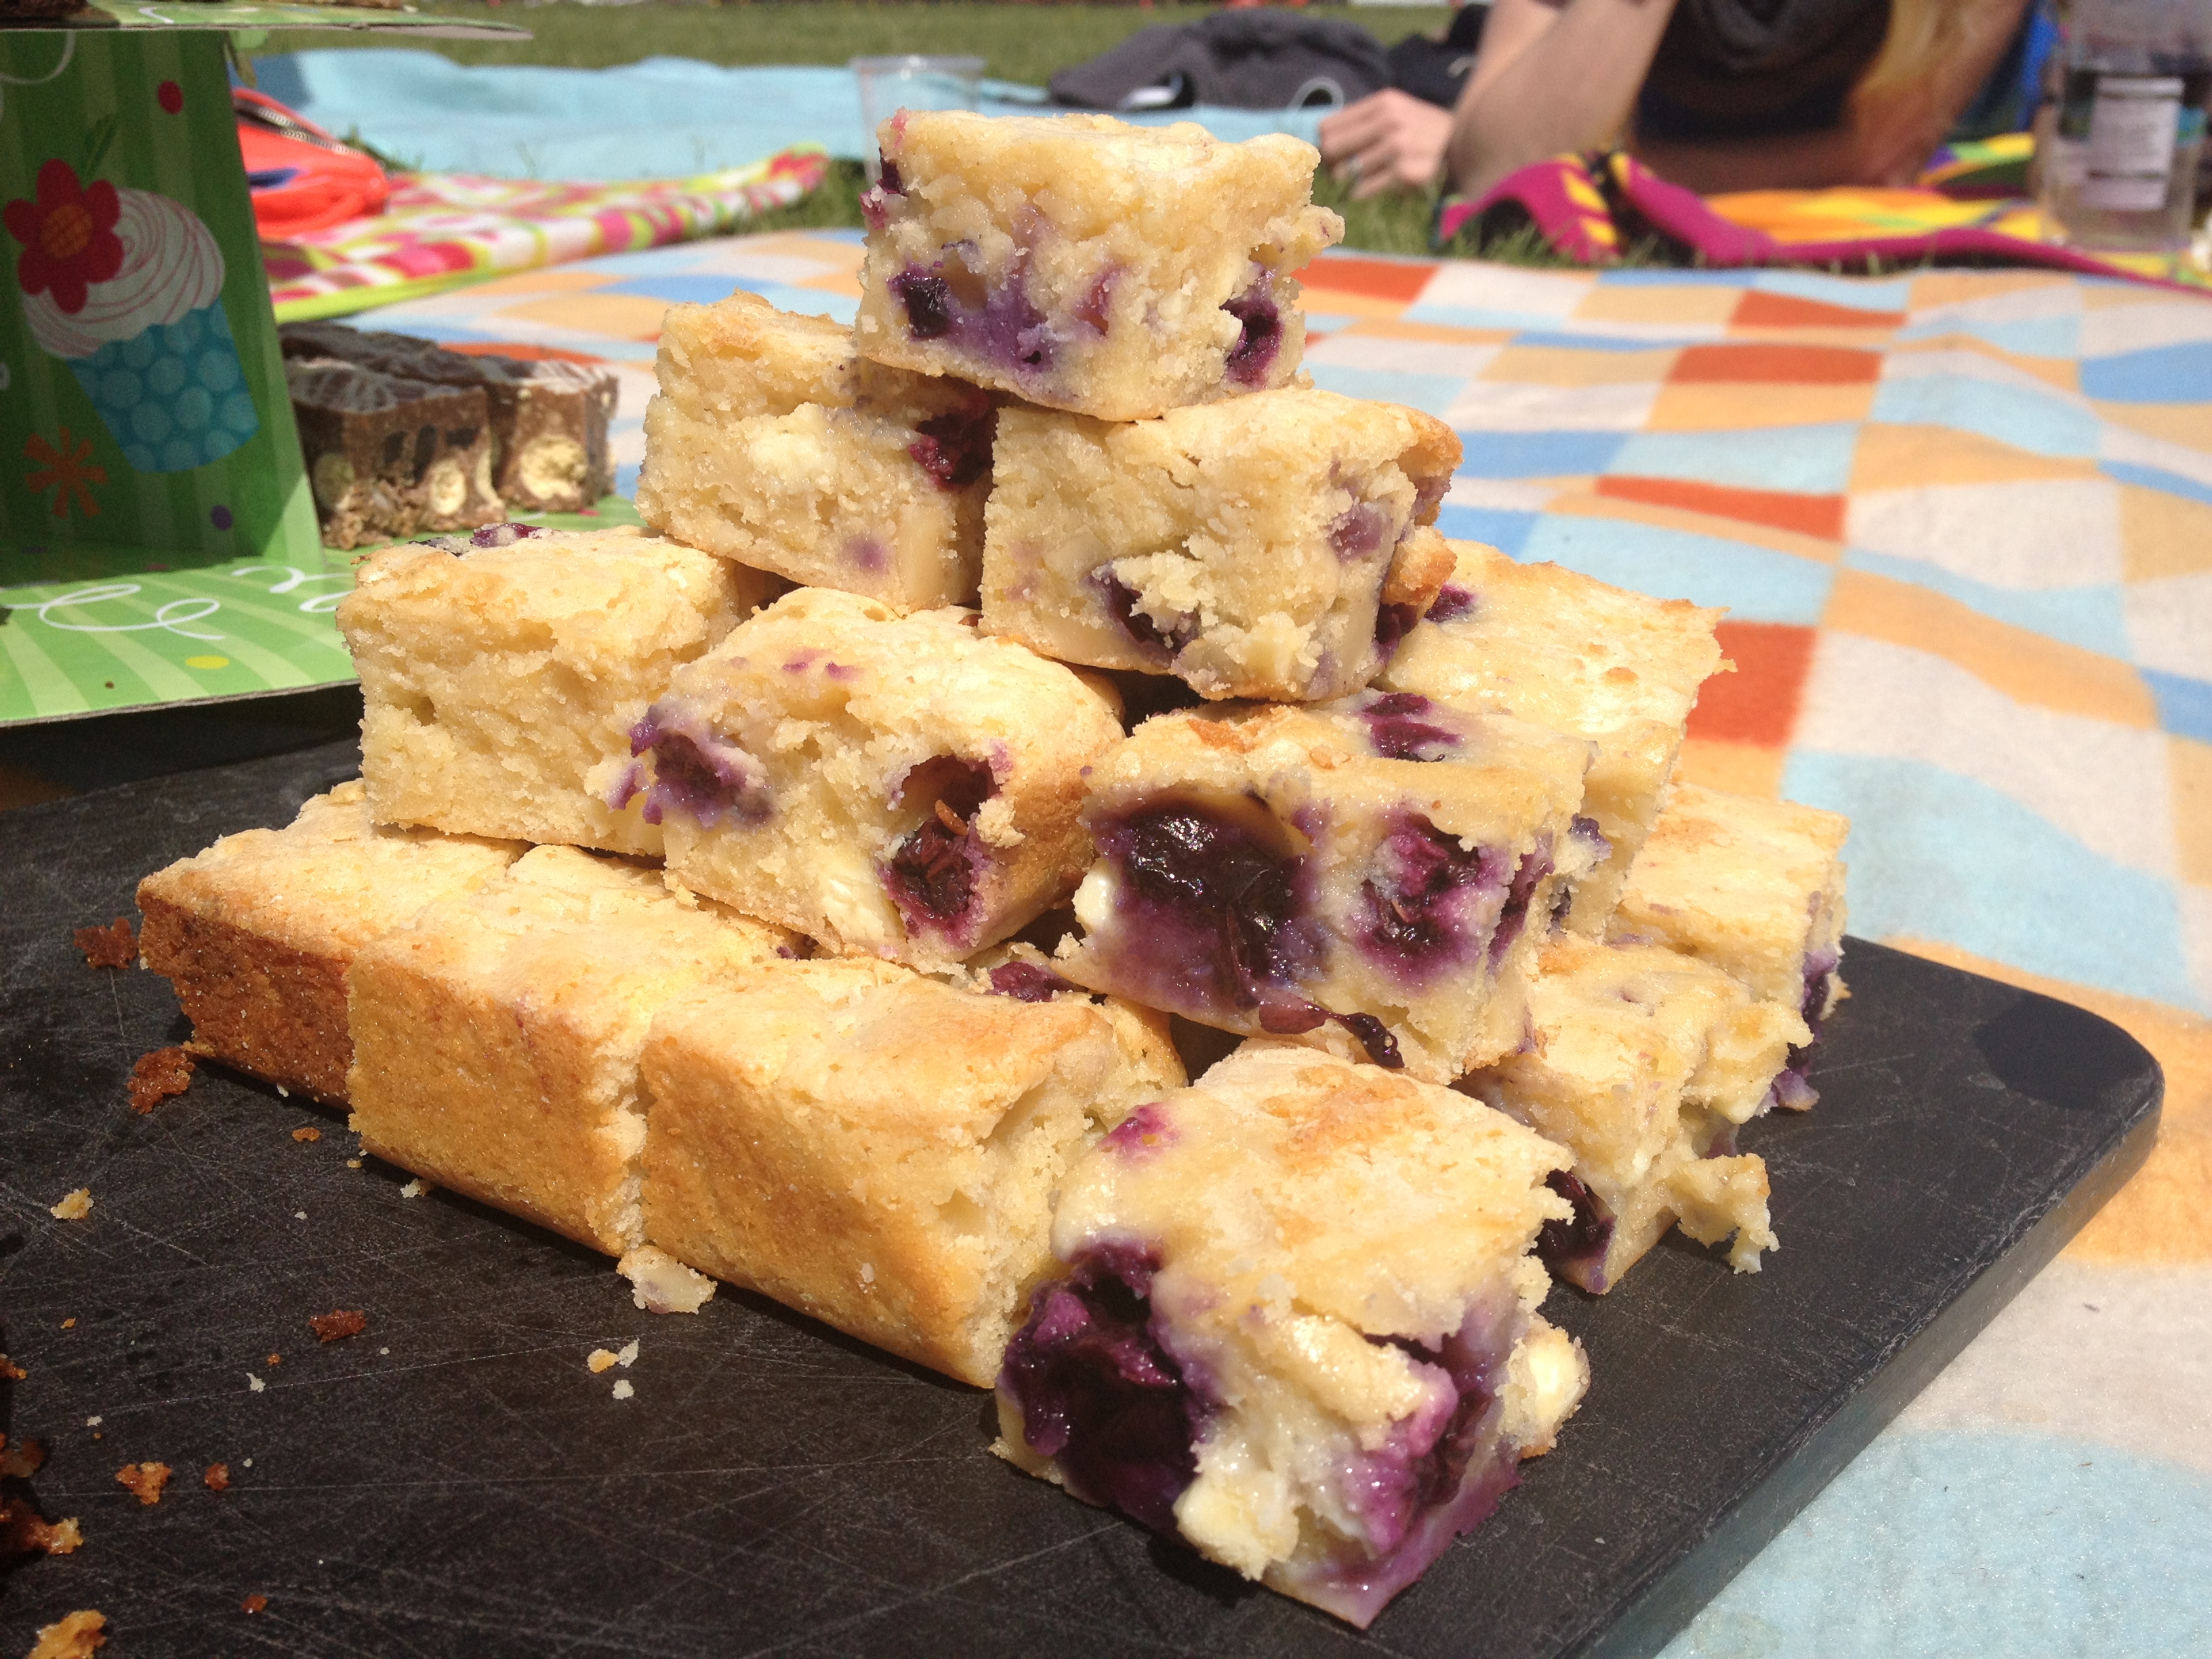
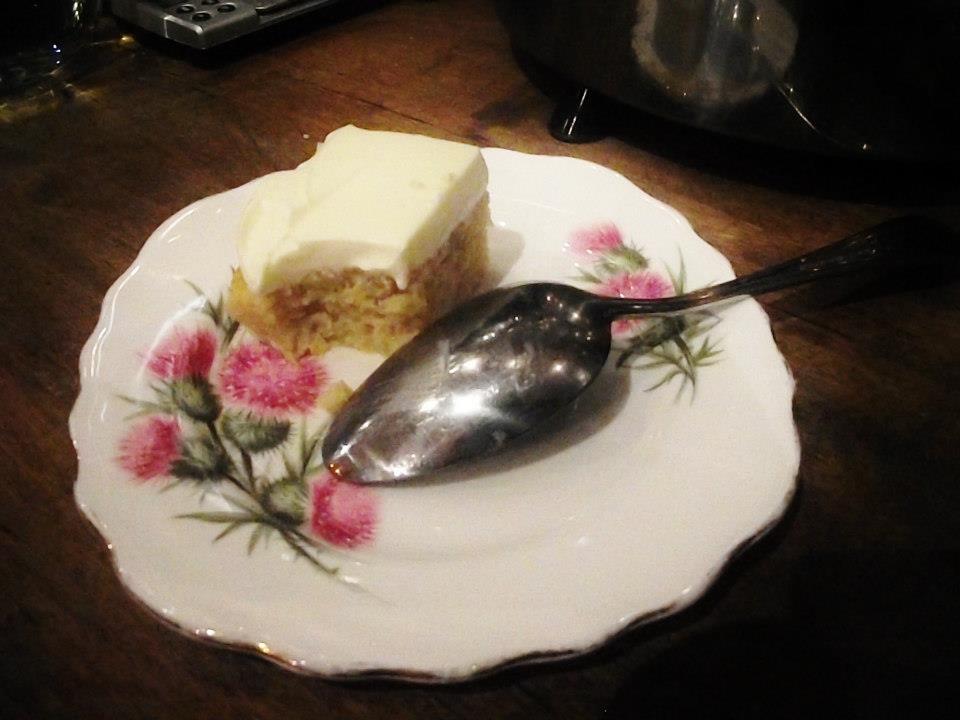
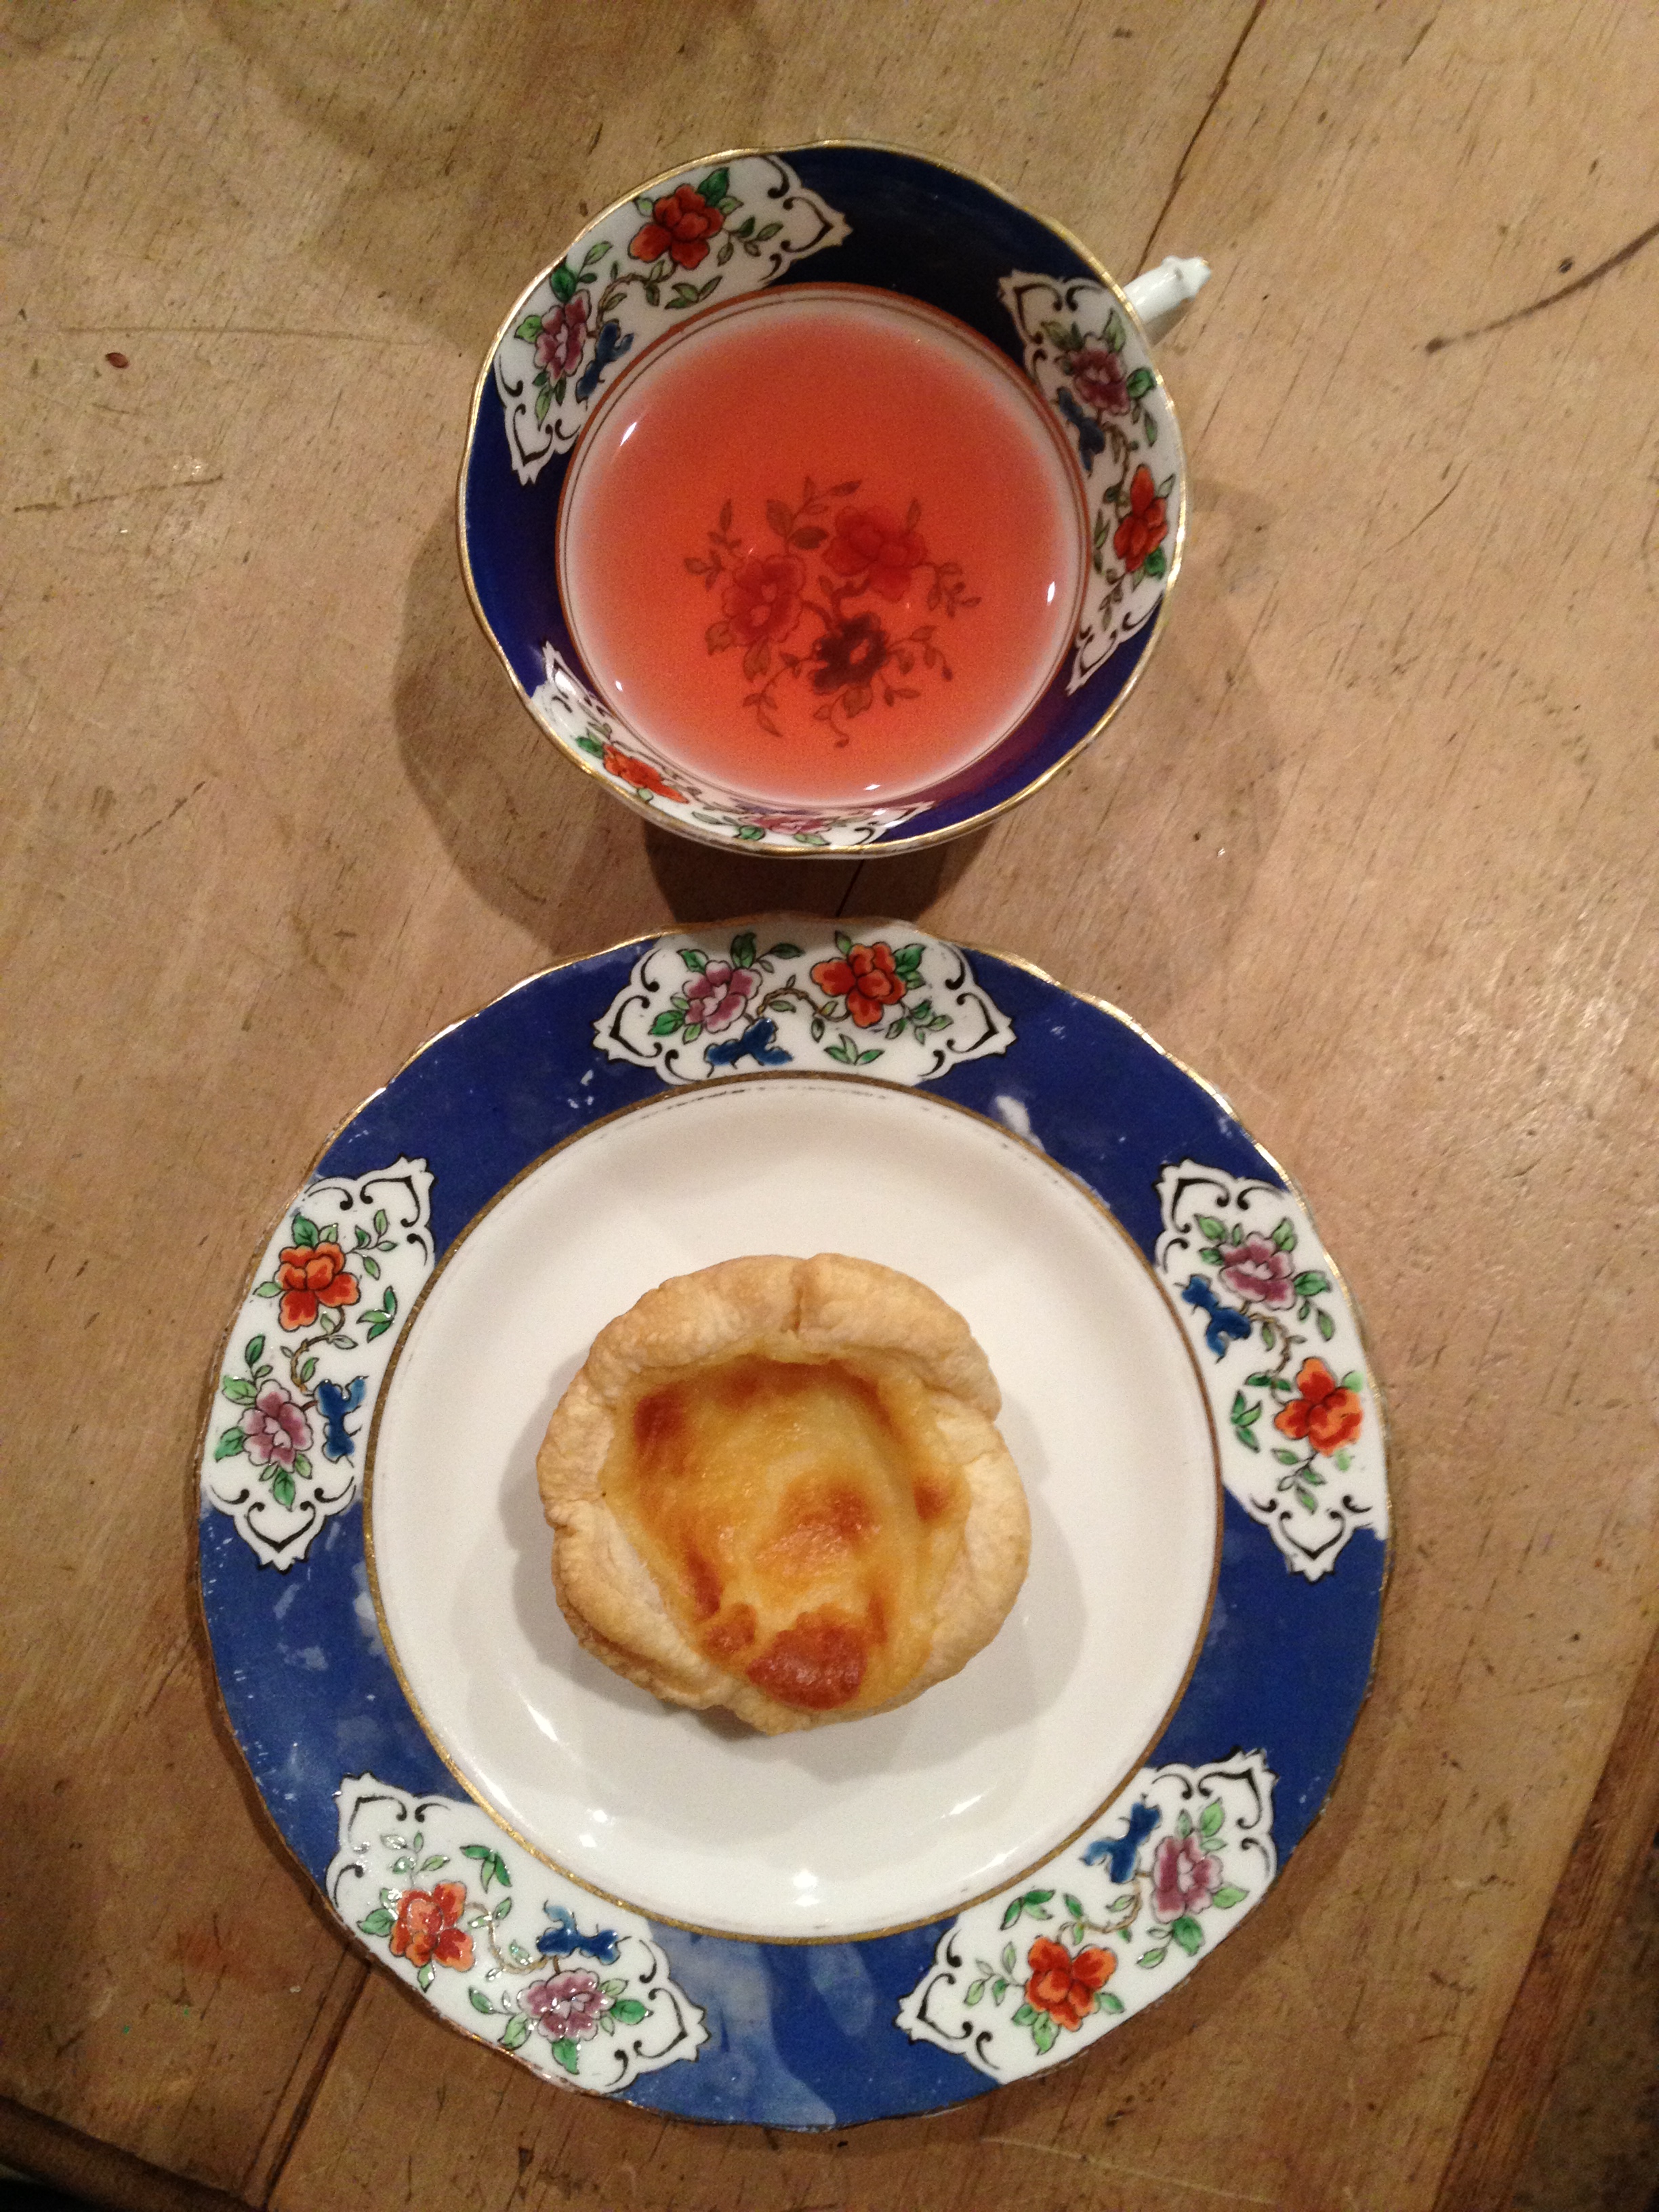
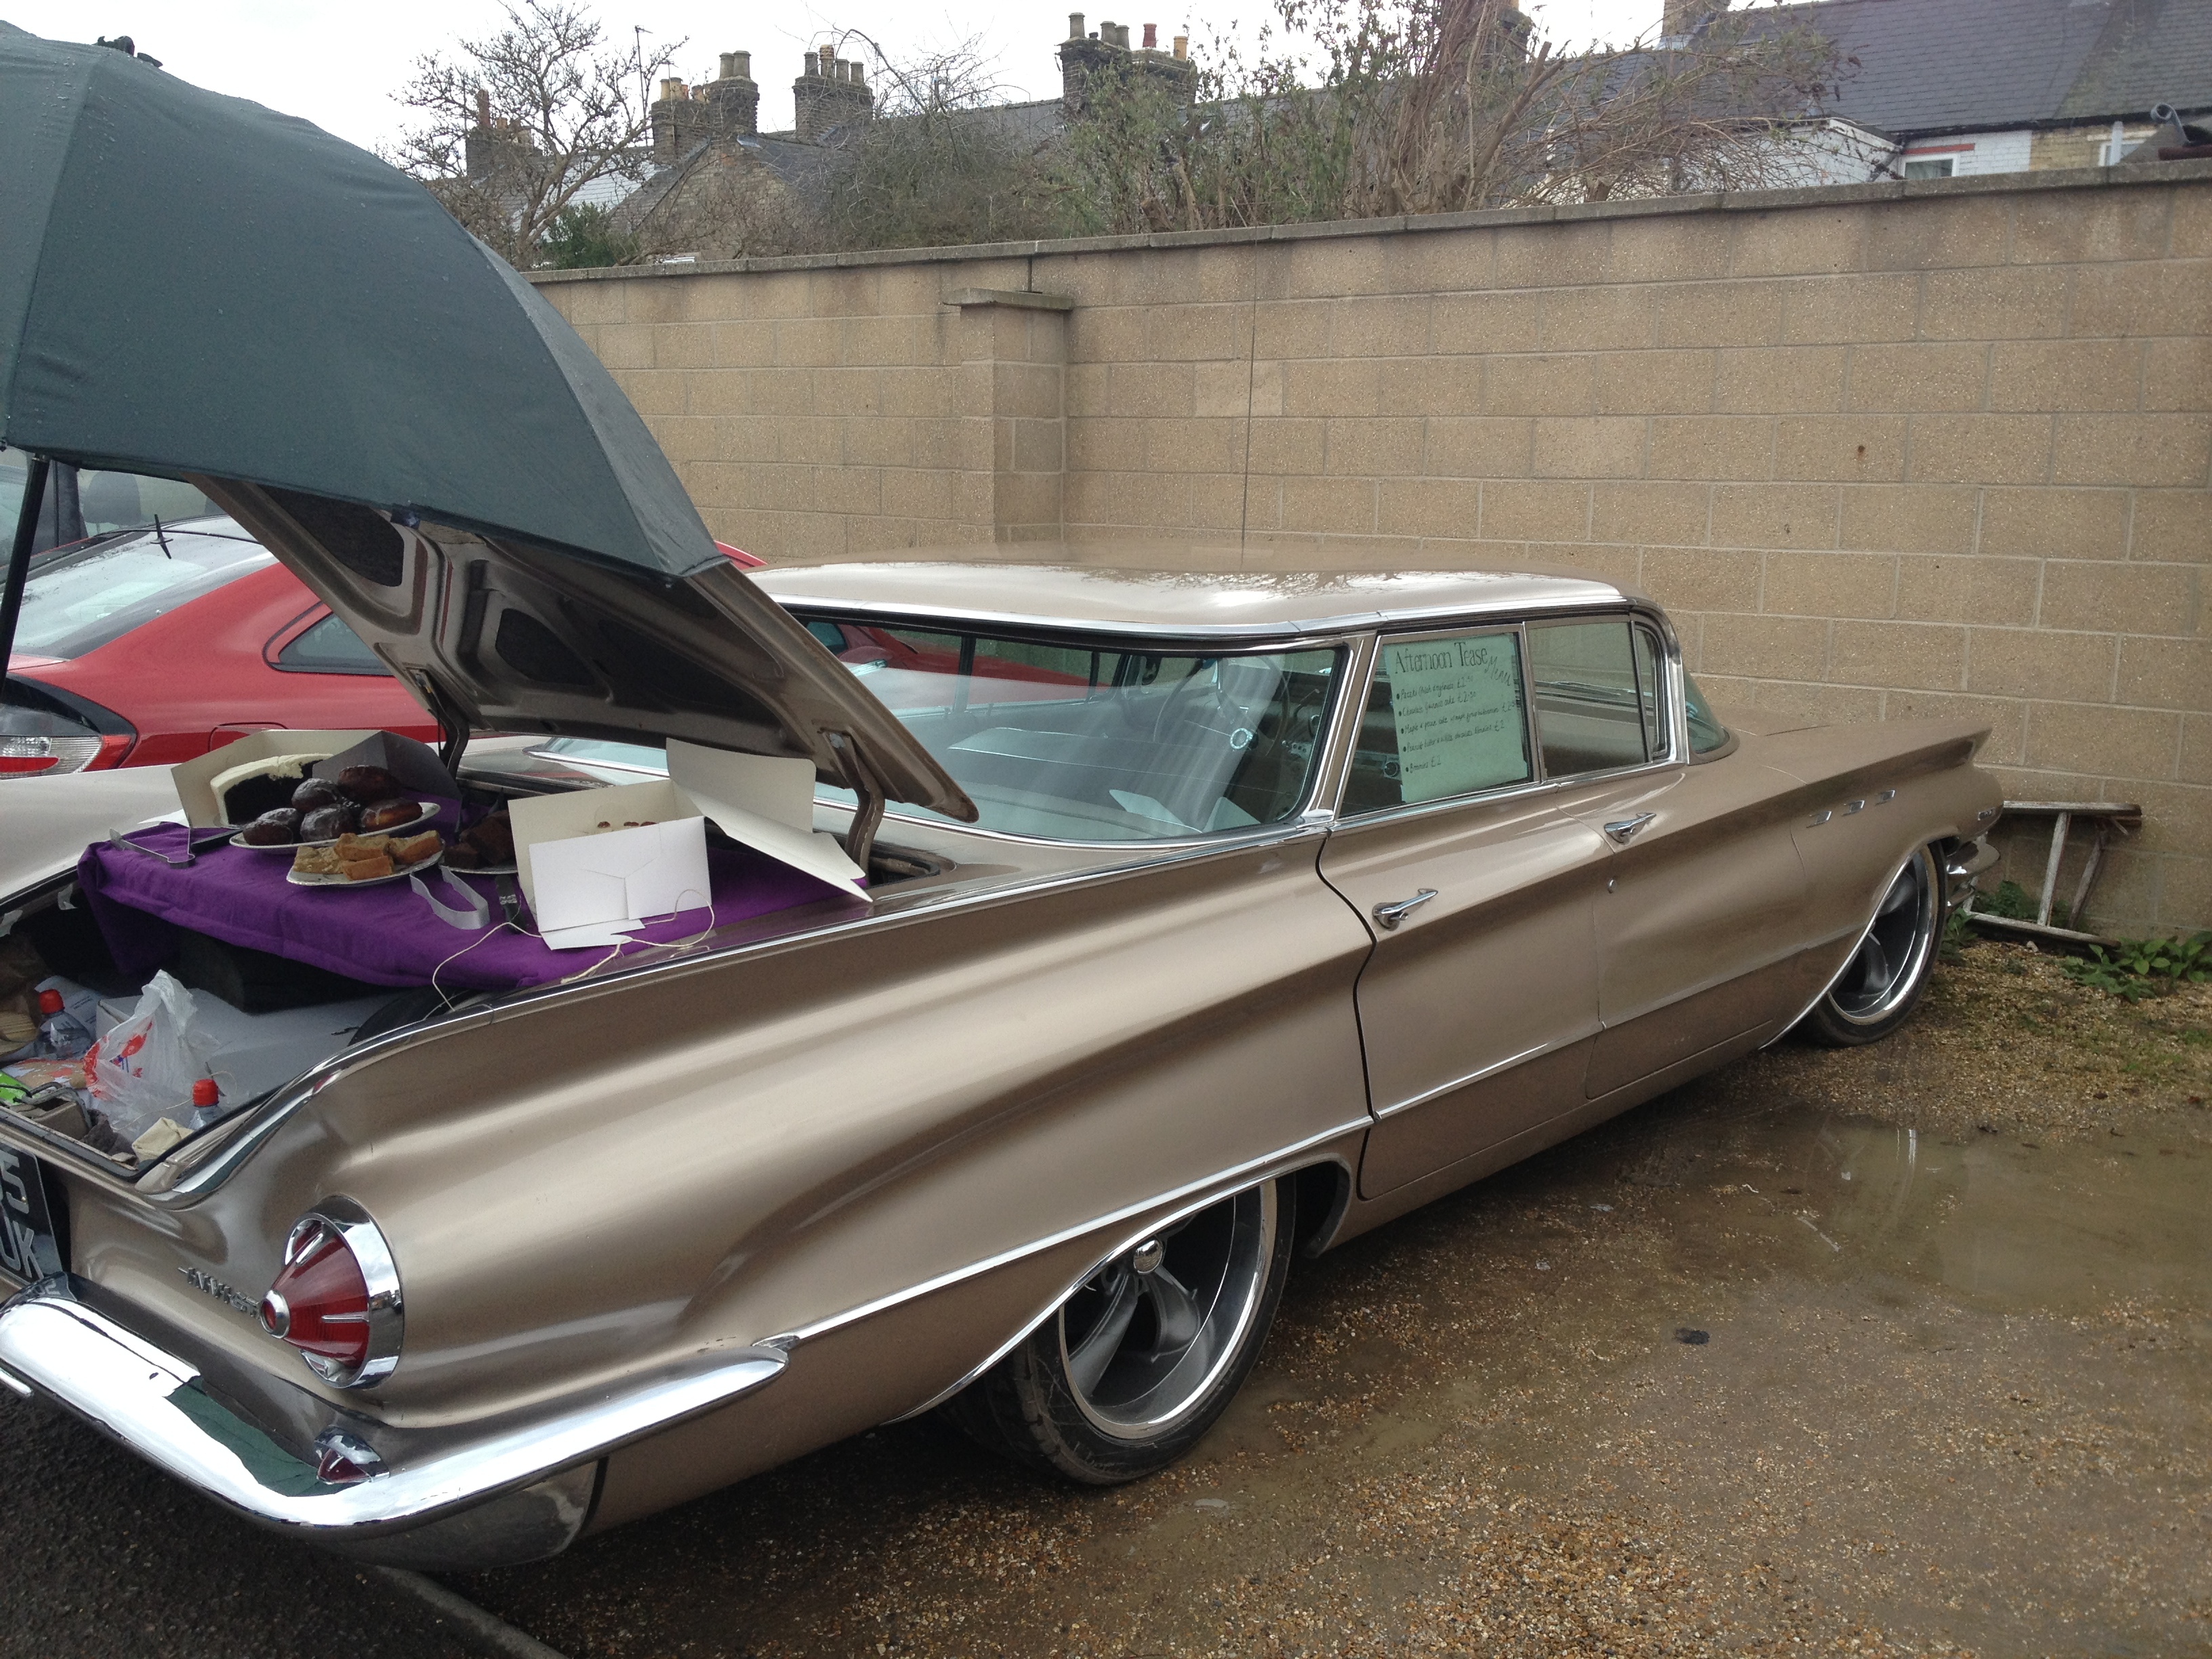
Please forgive me for the rubbish standard of the photos…I’m using the excuse that all I had to cut the cakes with was a blunt butter knife and…I was in the middle of a field! 🙂
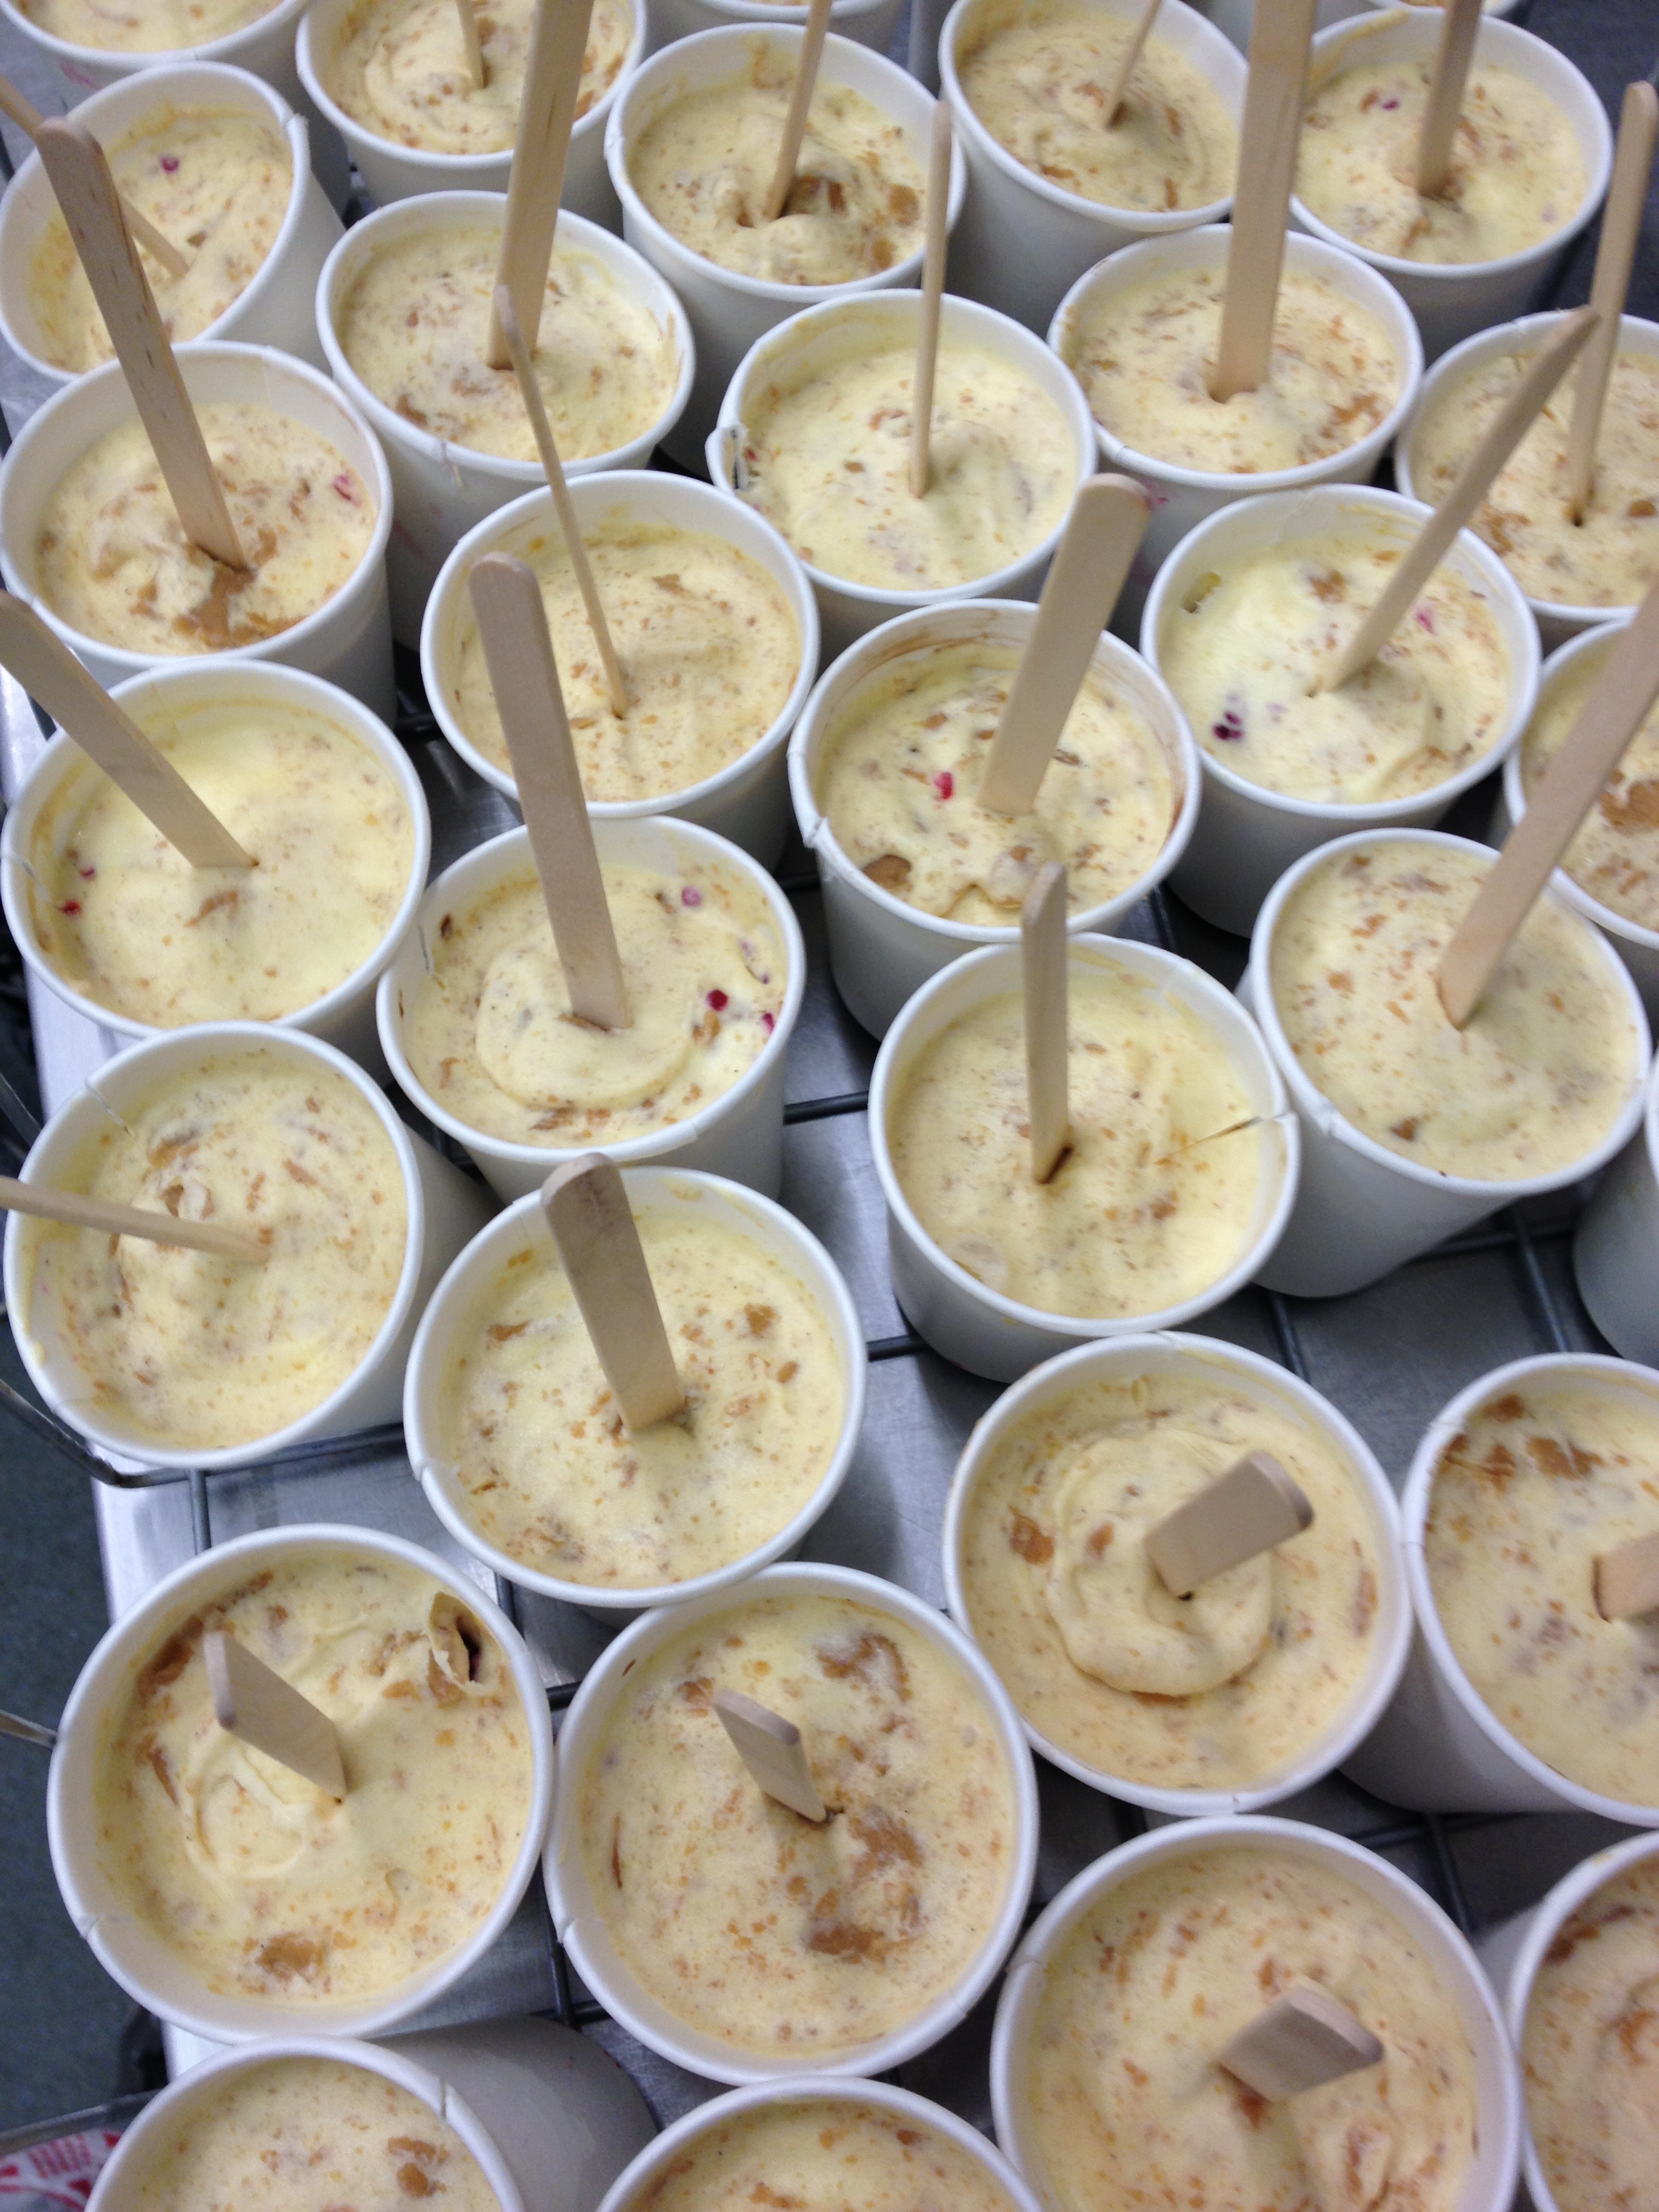
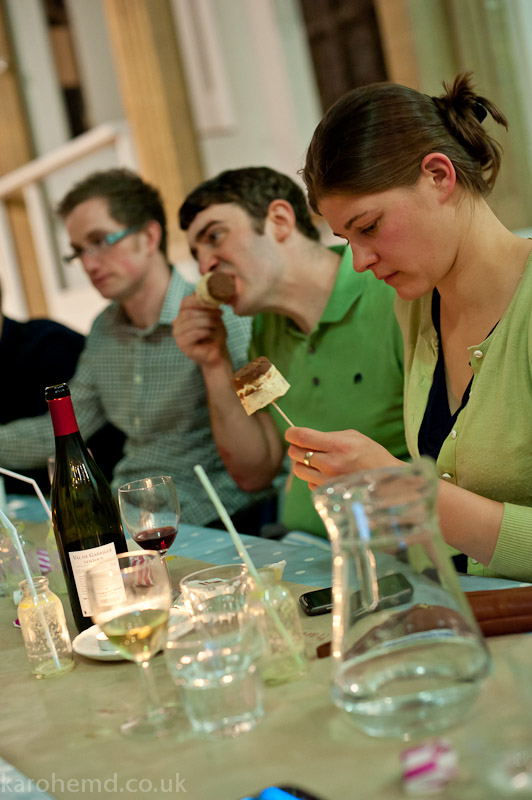
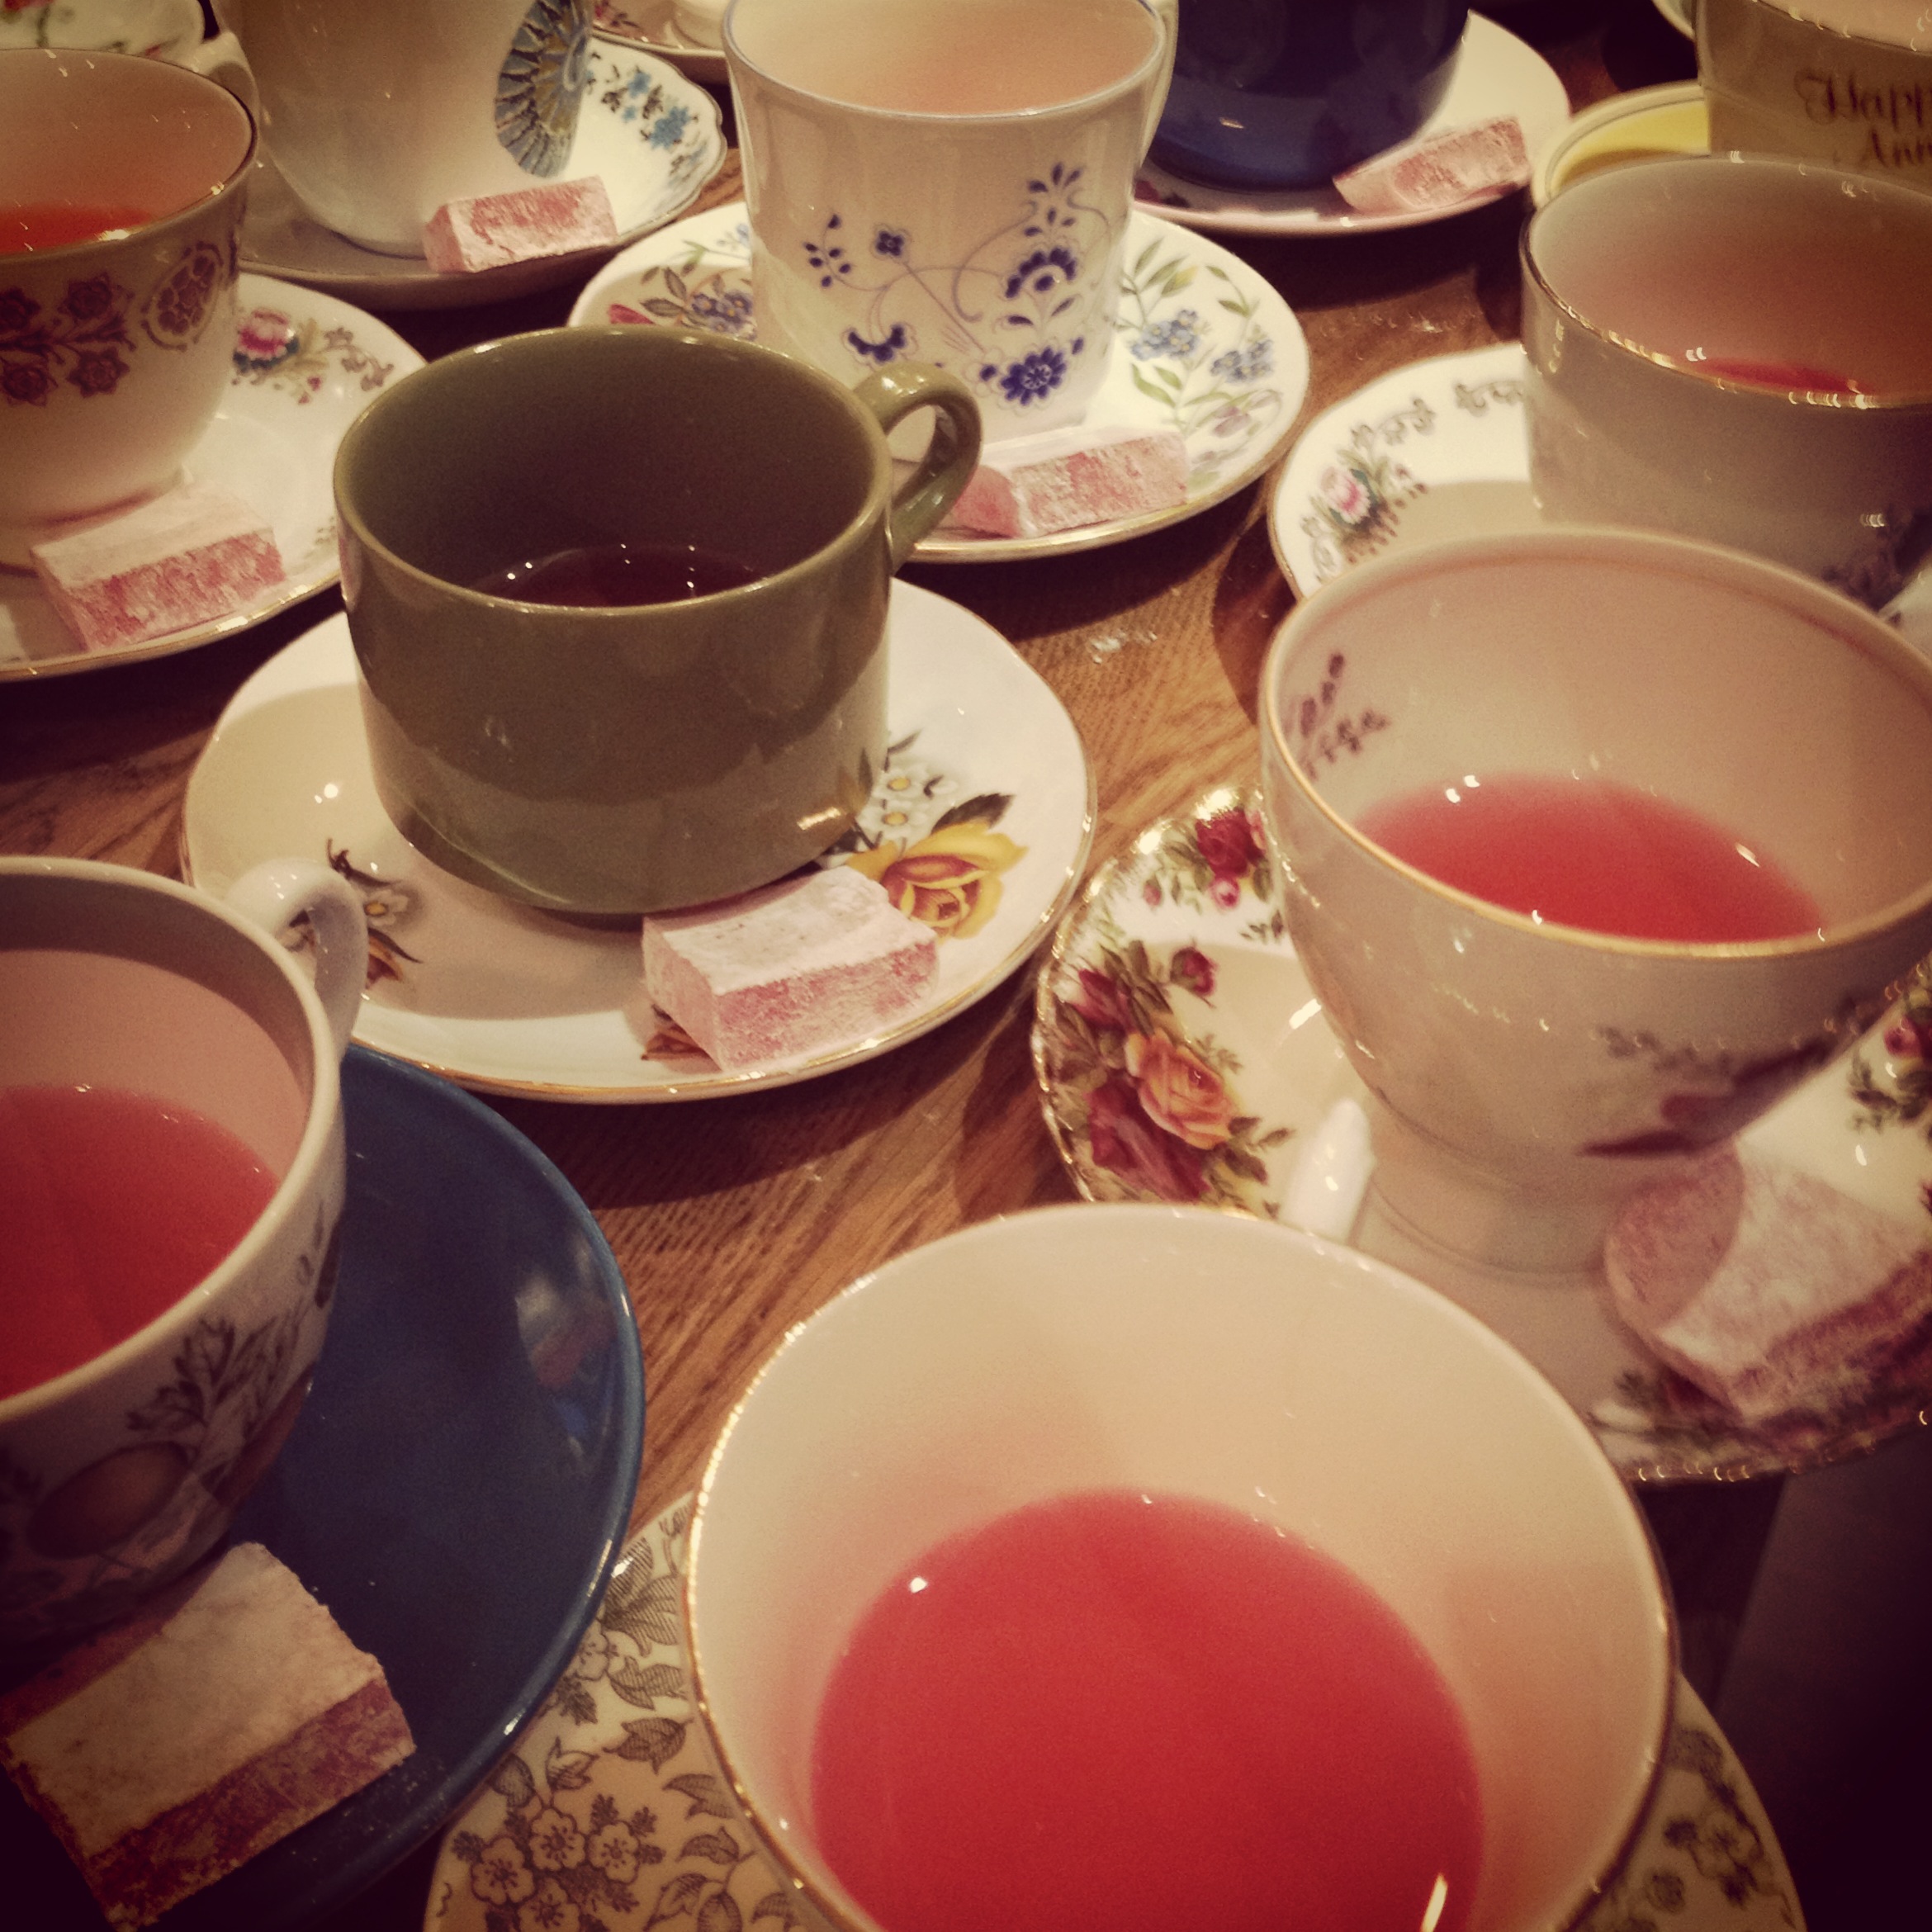
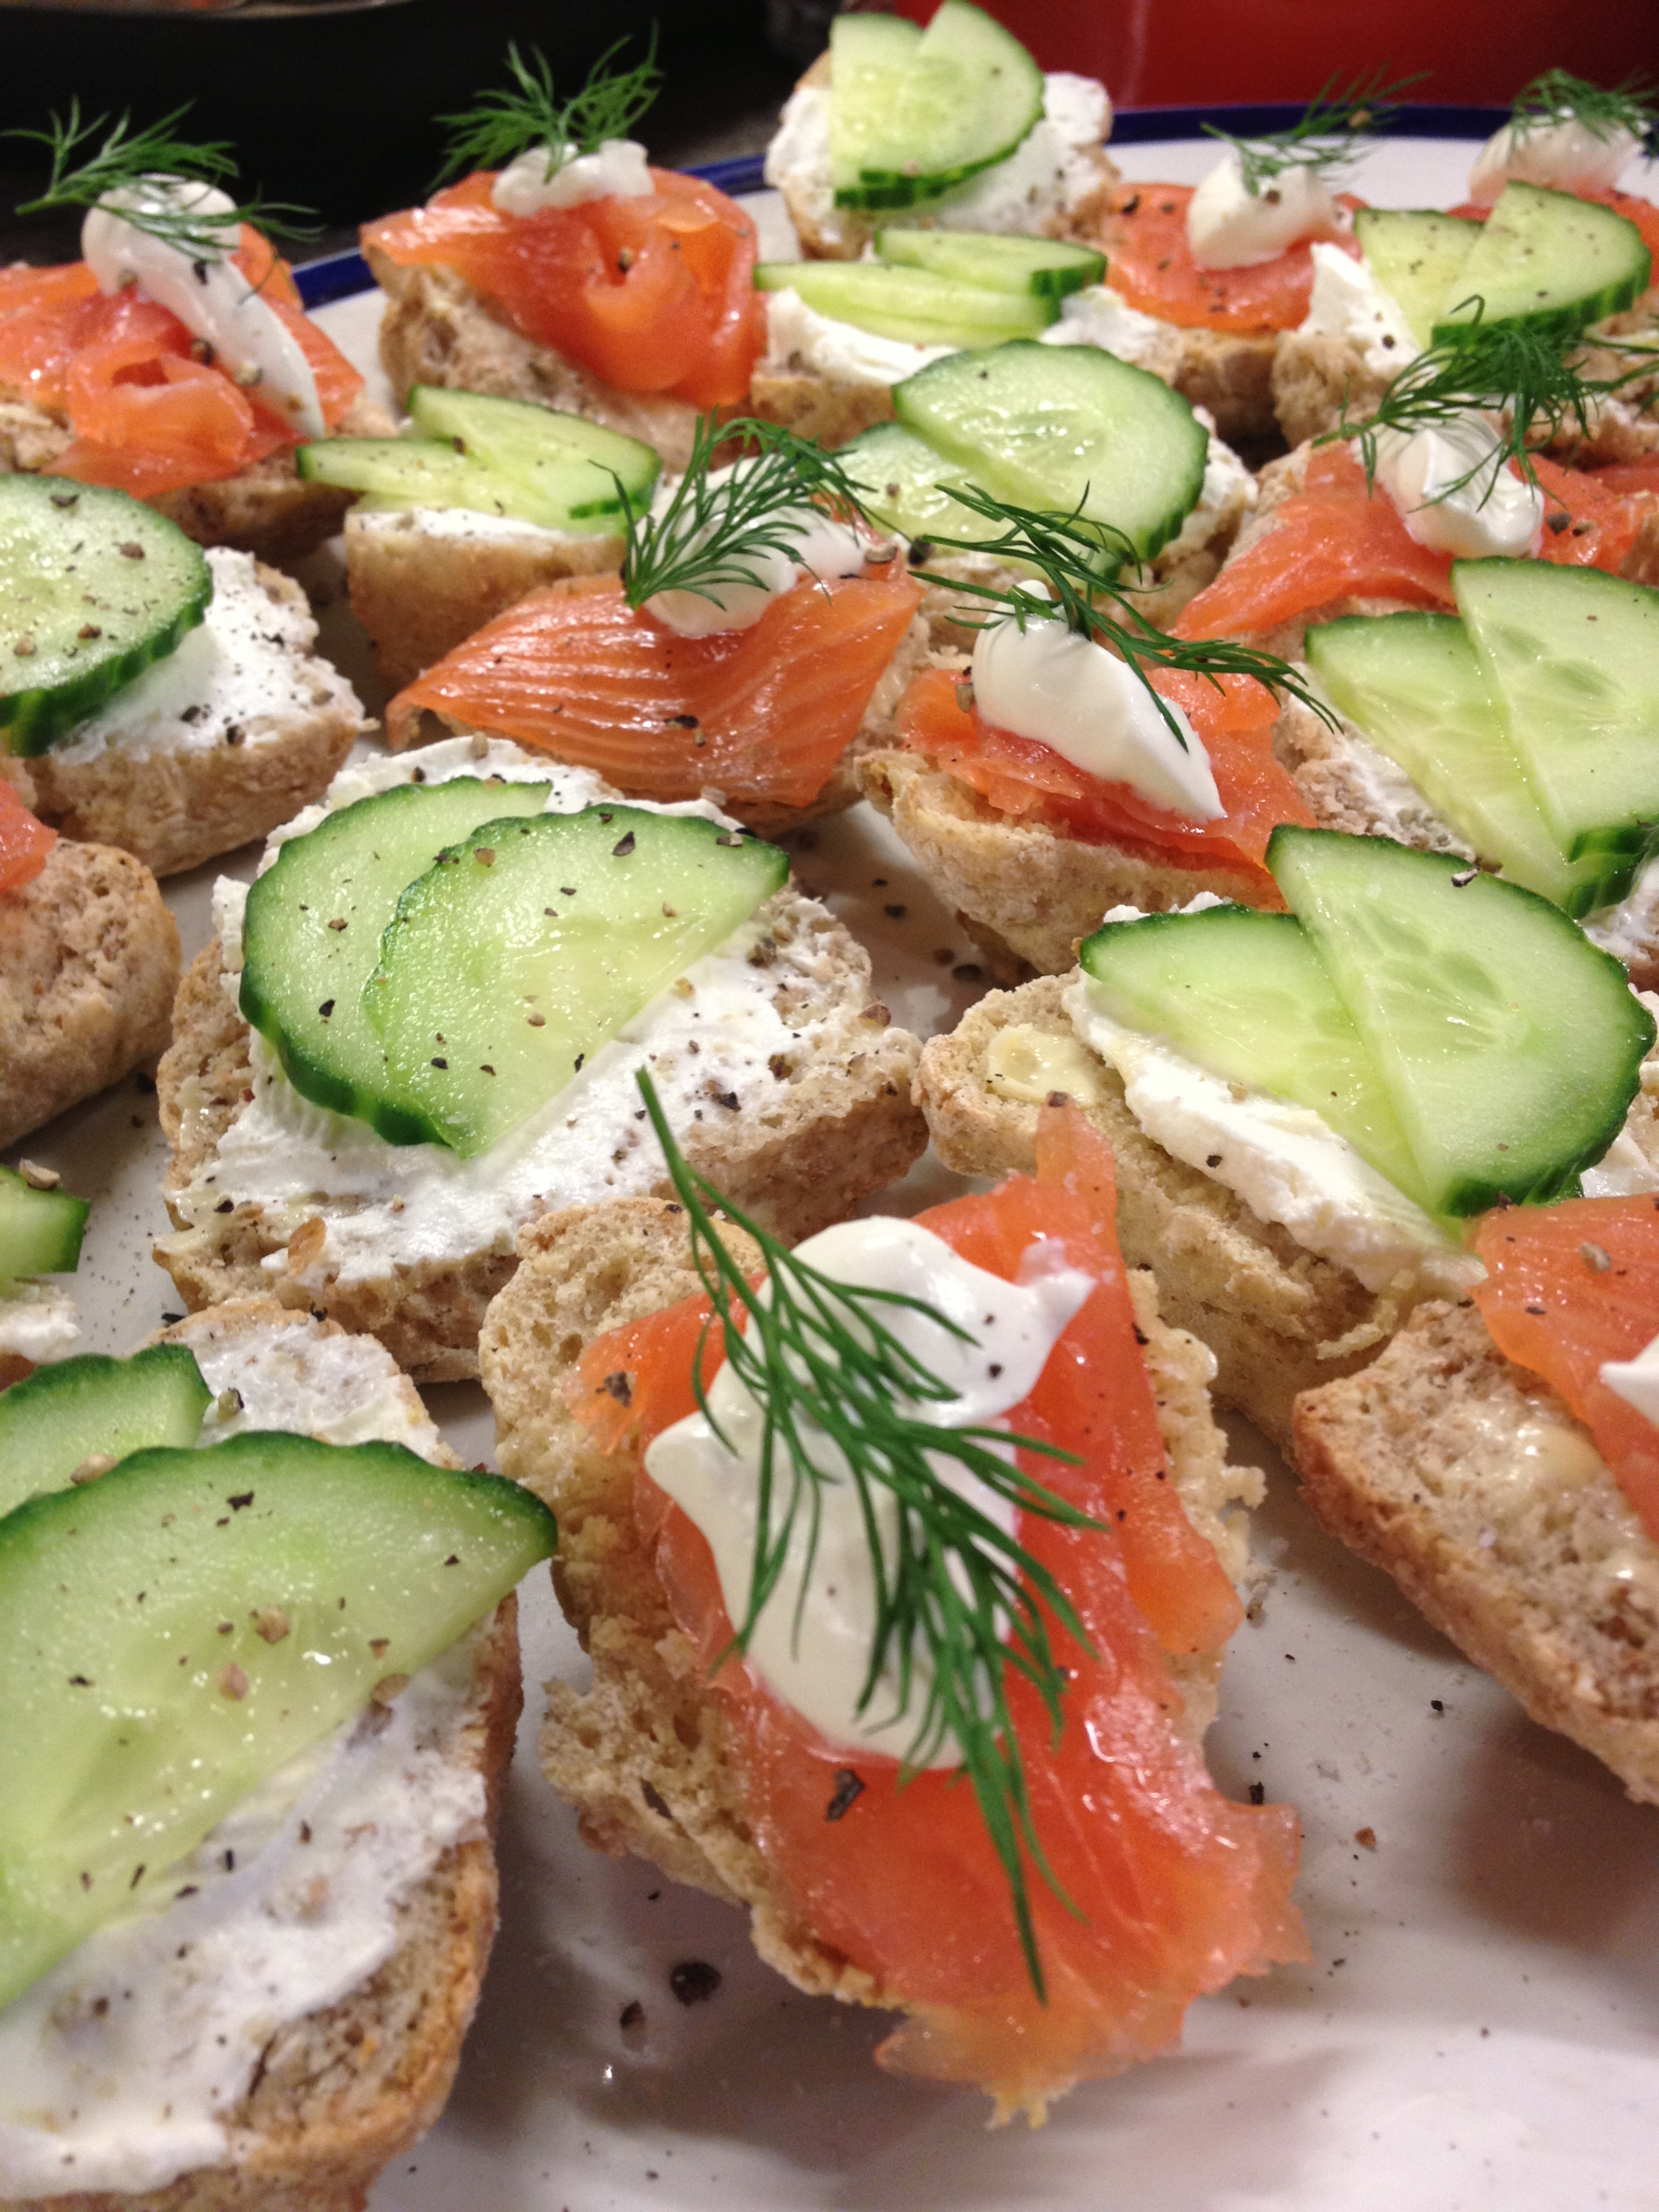
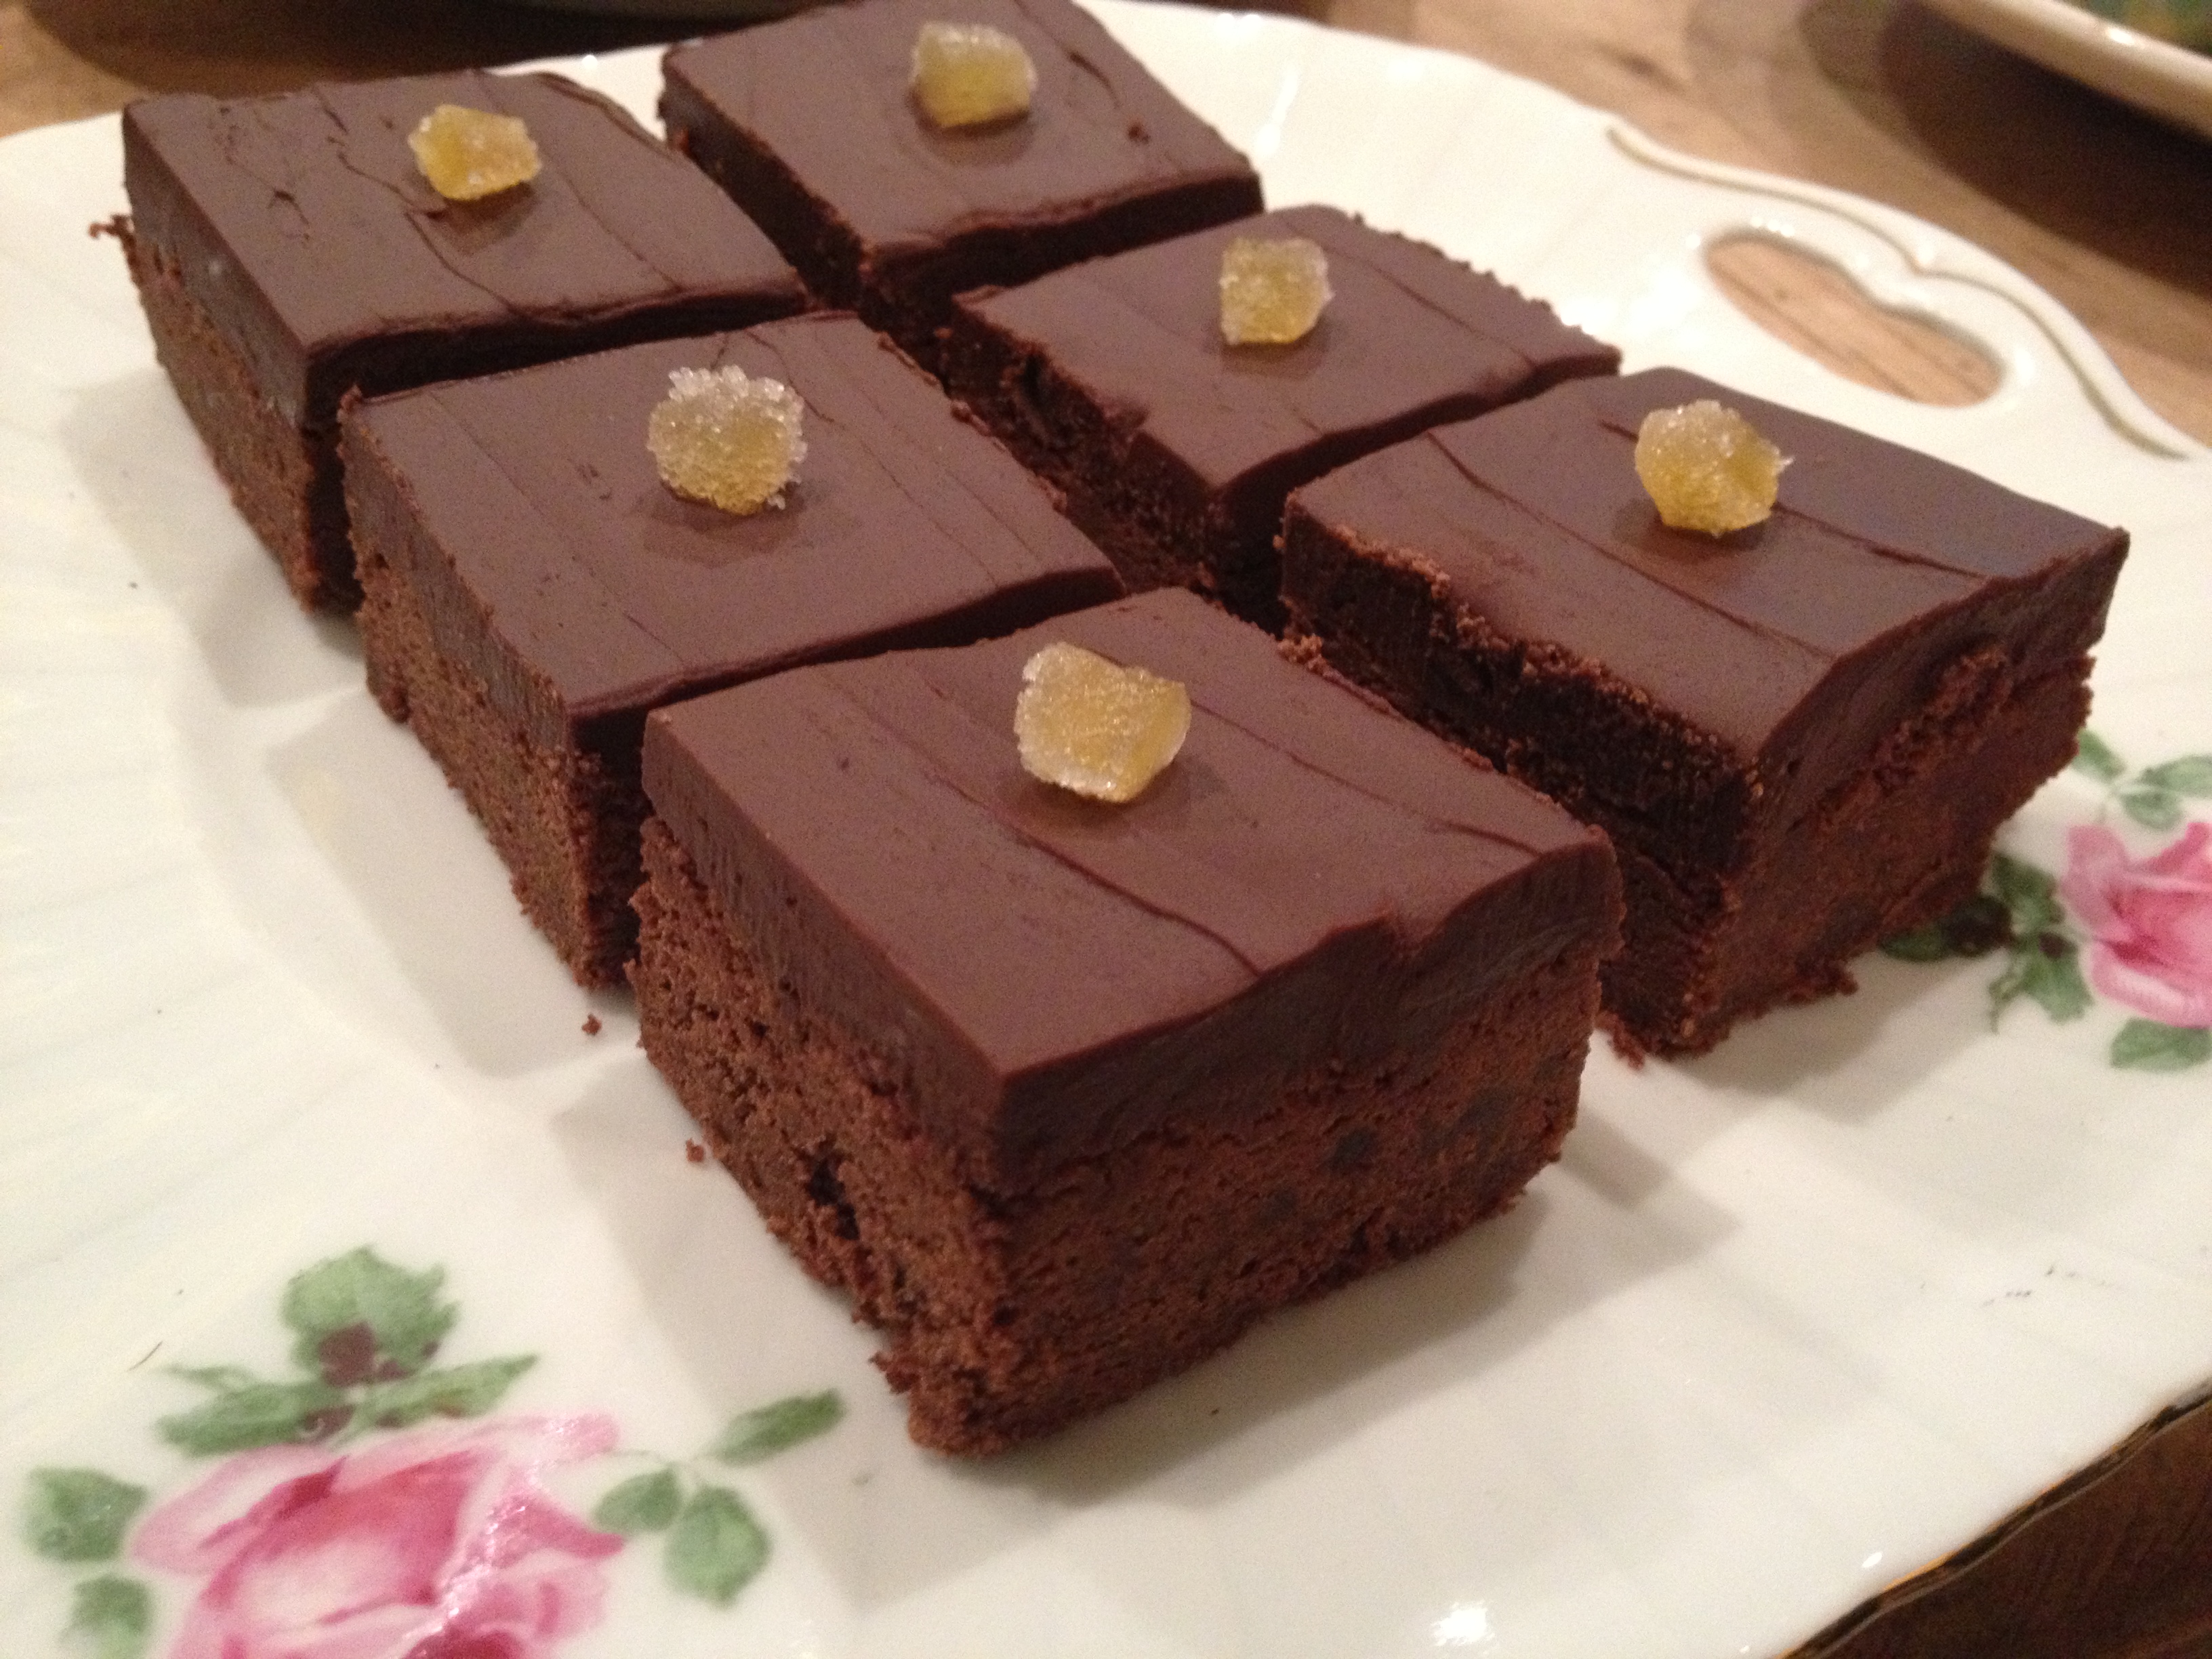
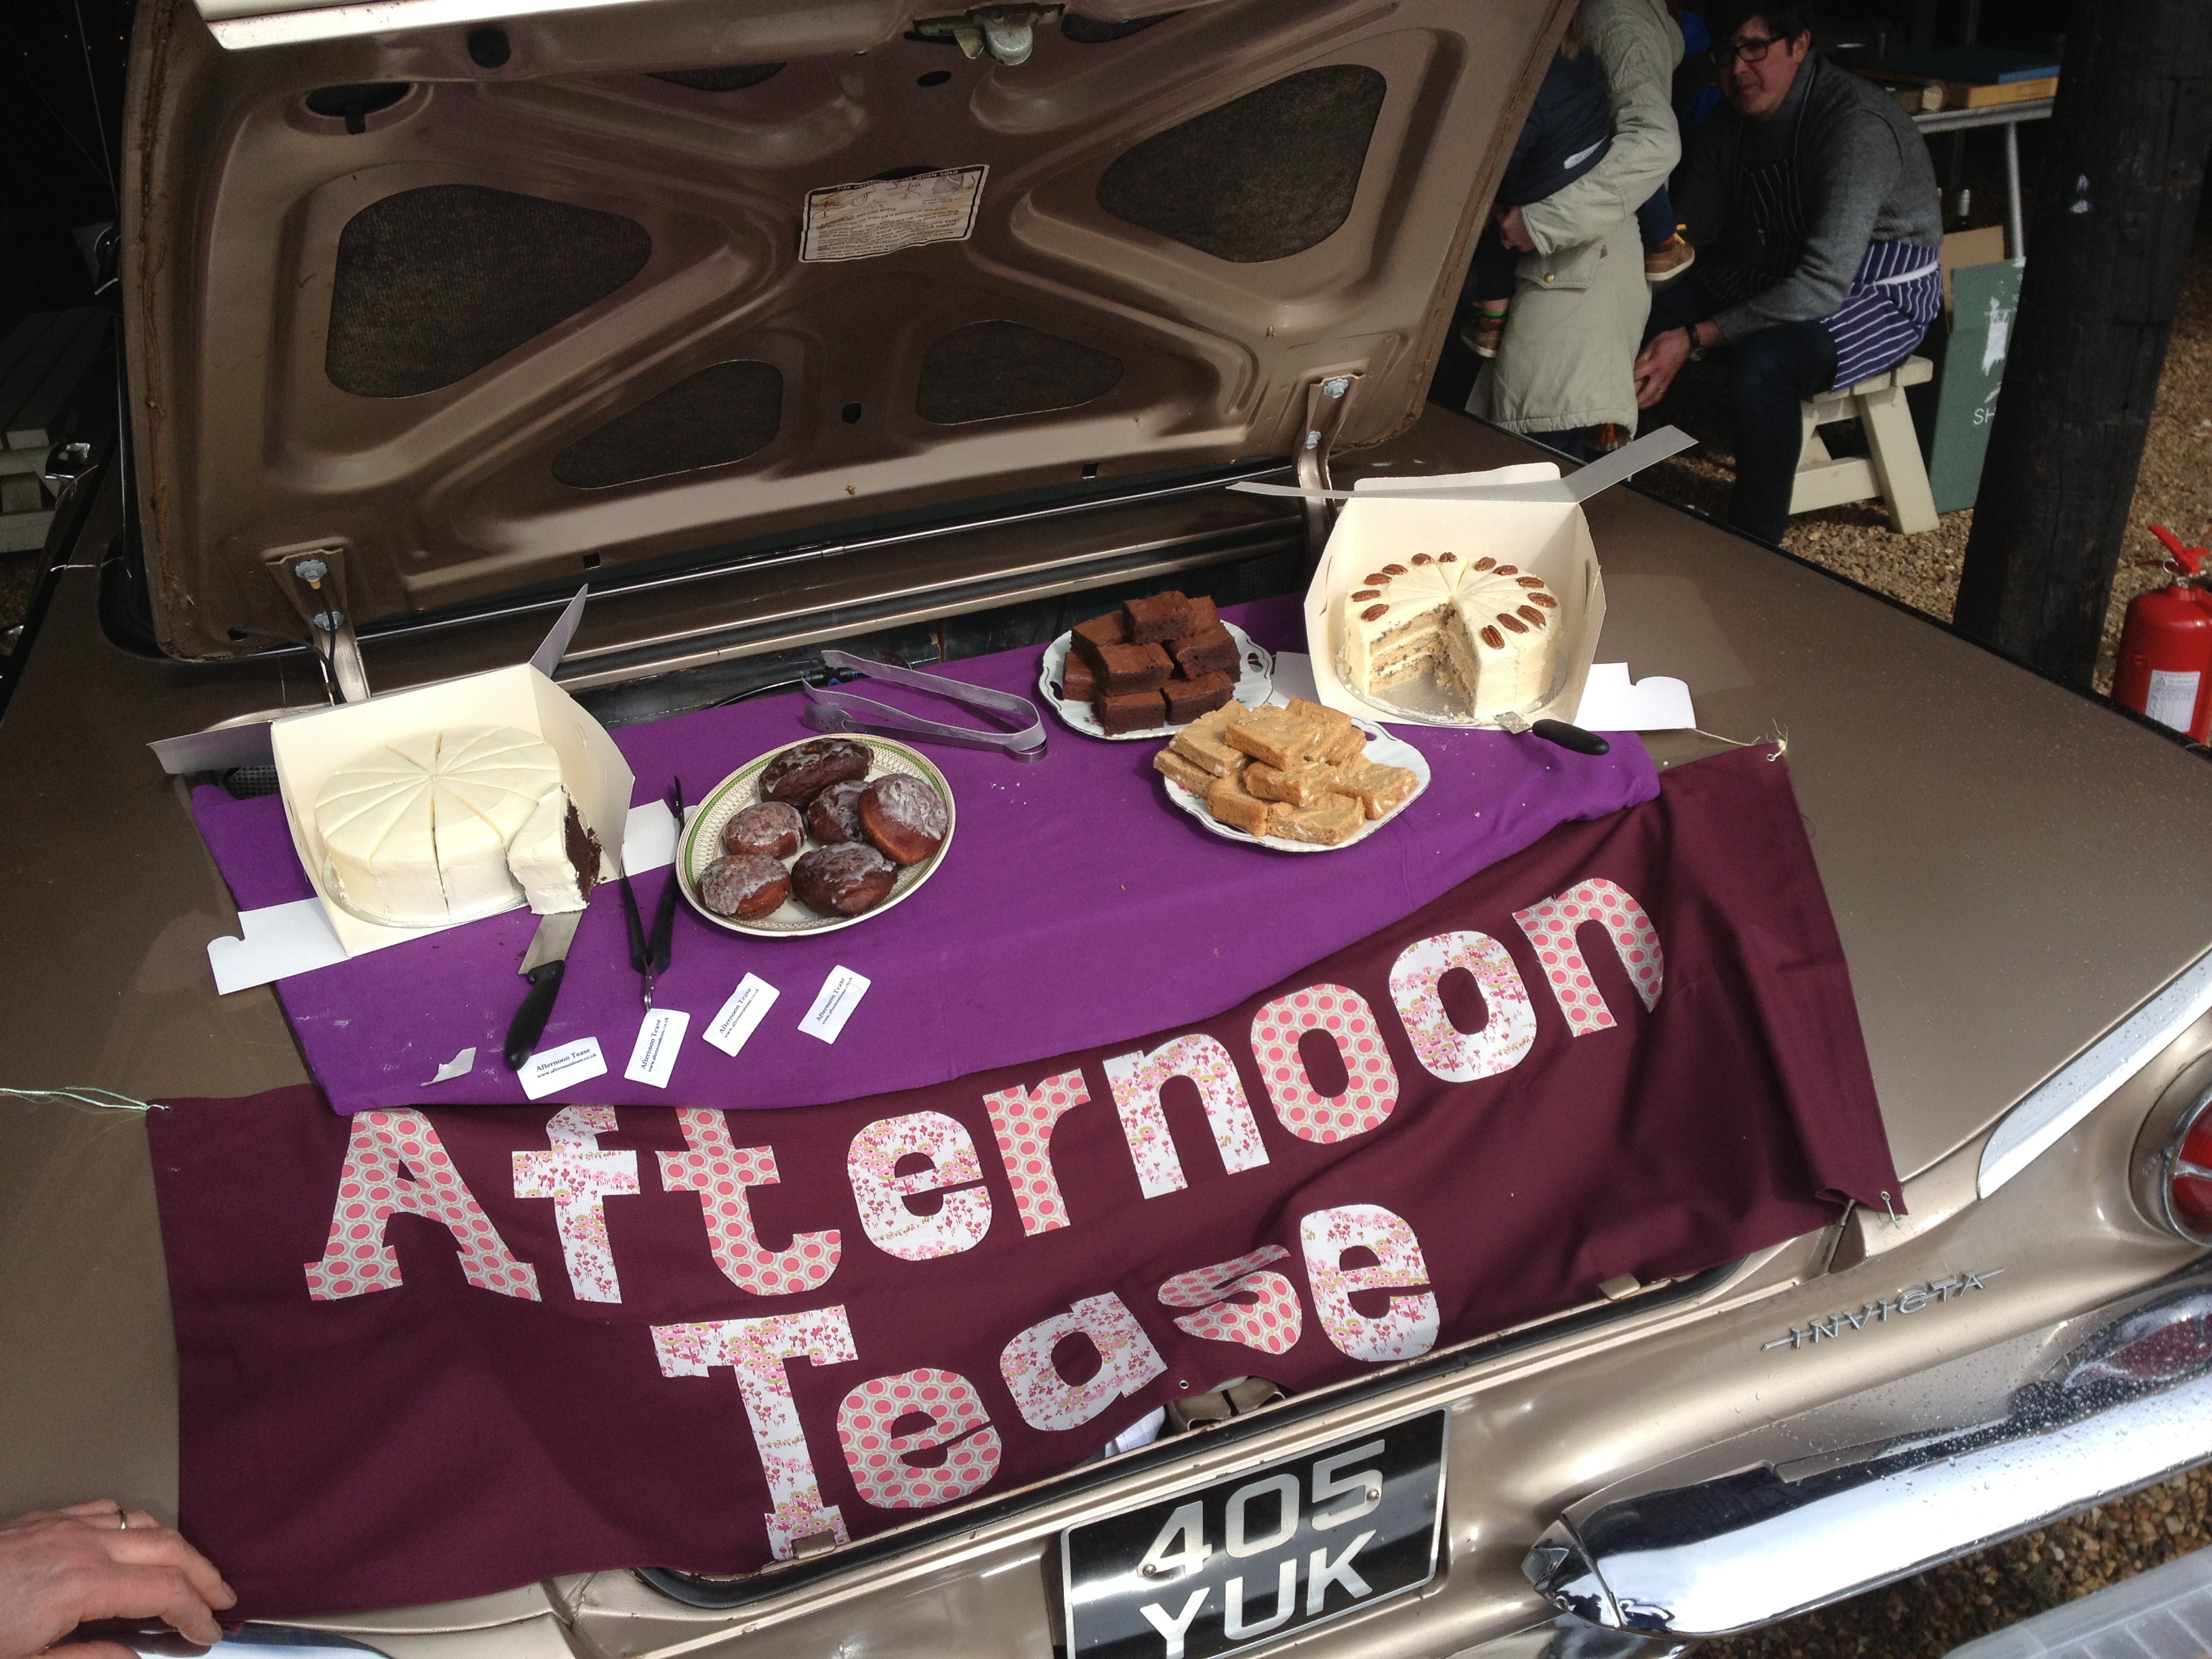
Along with some delicious Malteaser fridge cake and squidgy brownies we had a pretty good spread…
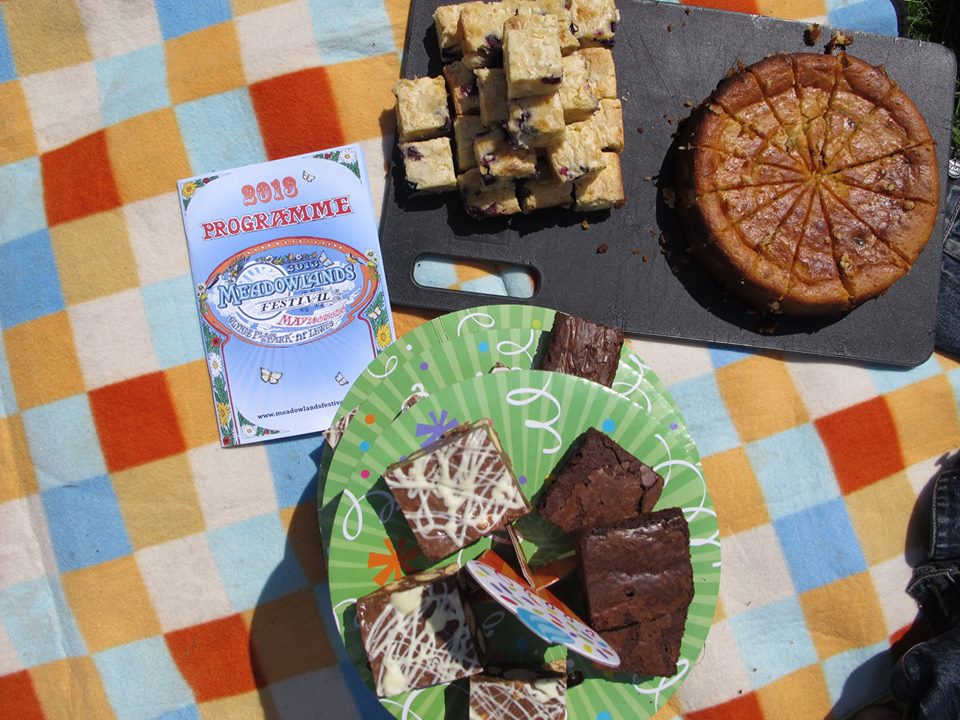
It went some way to lining our stomachs and powering our dancing later on that evening!
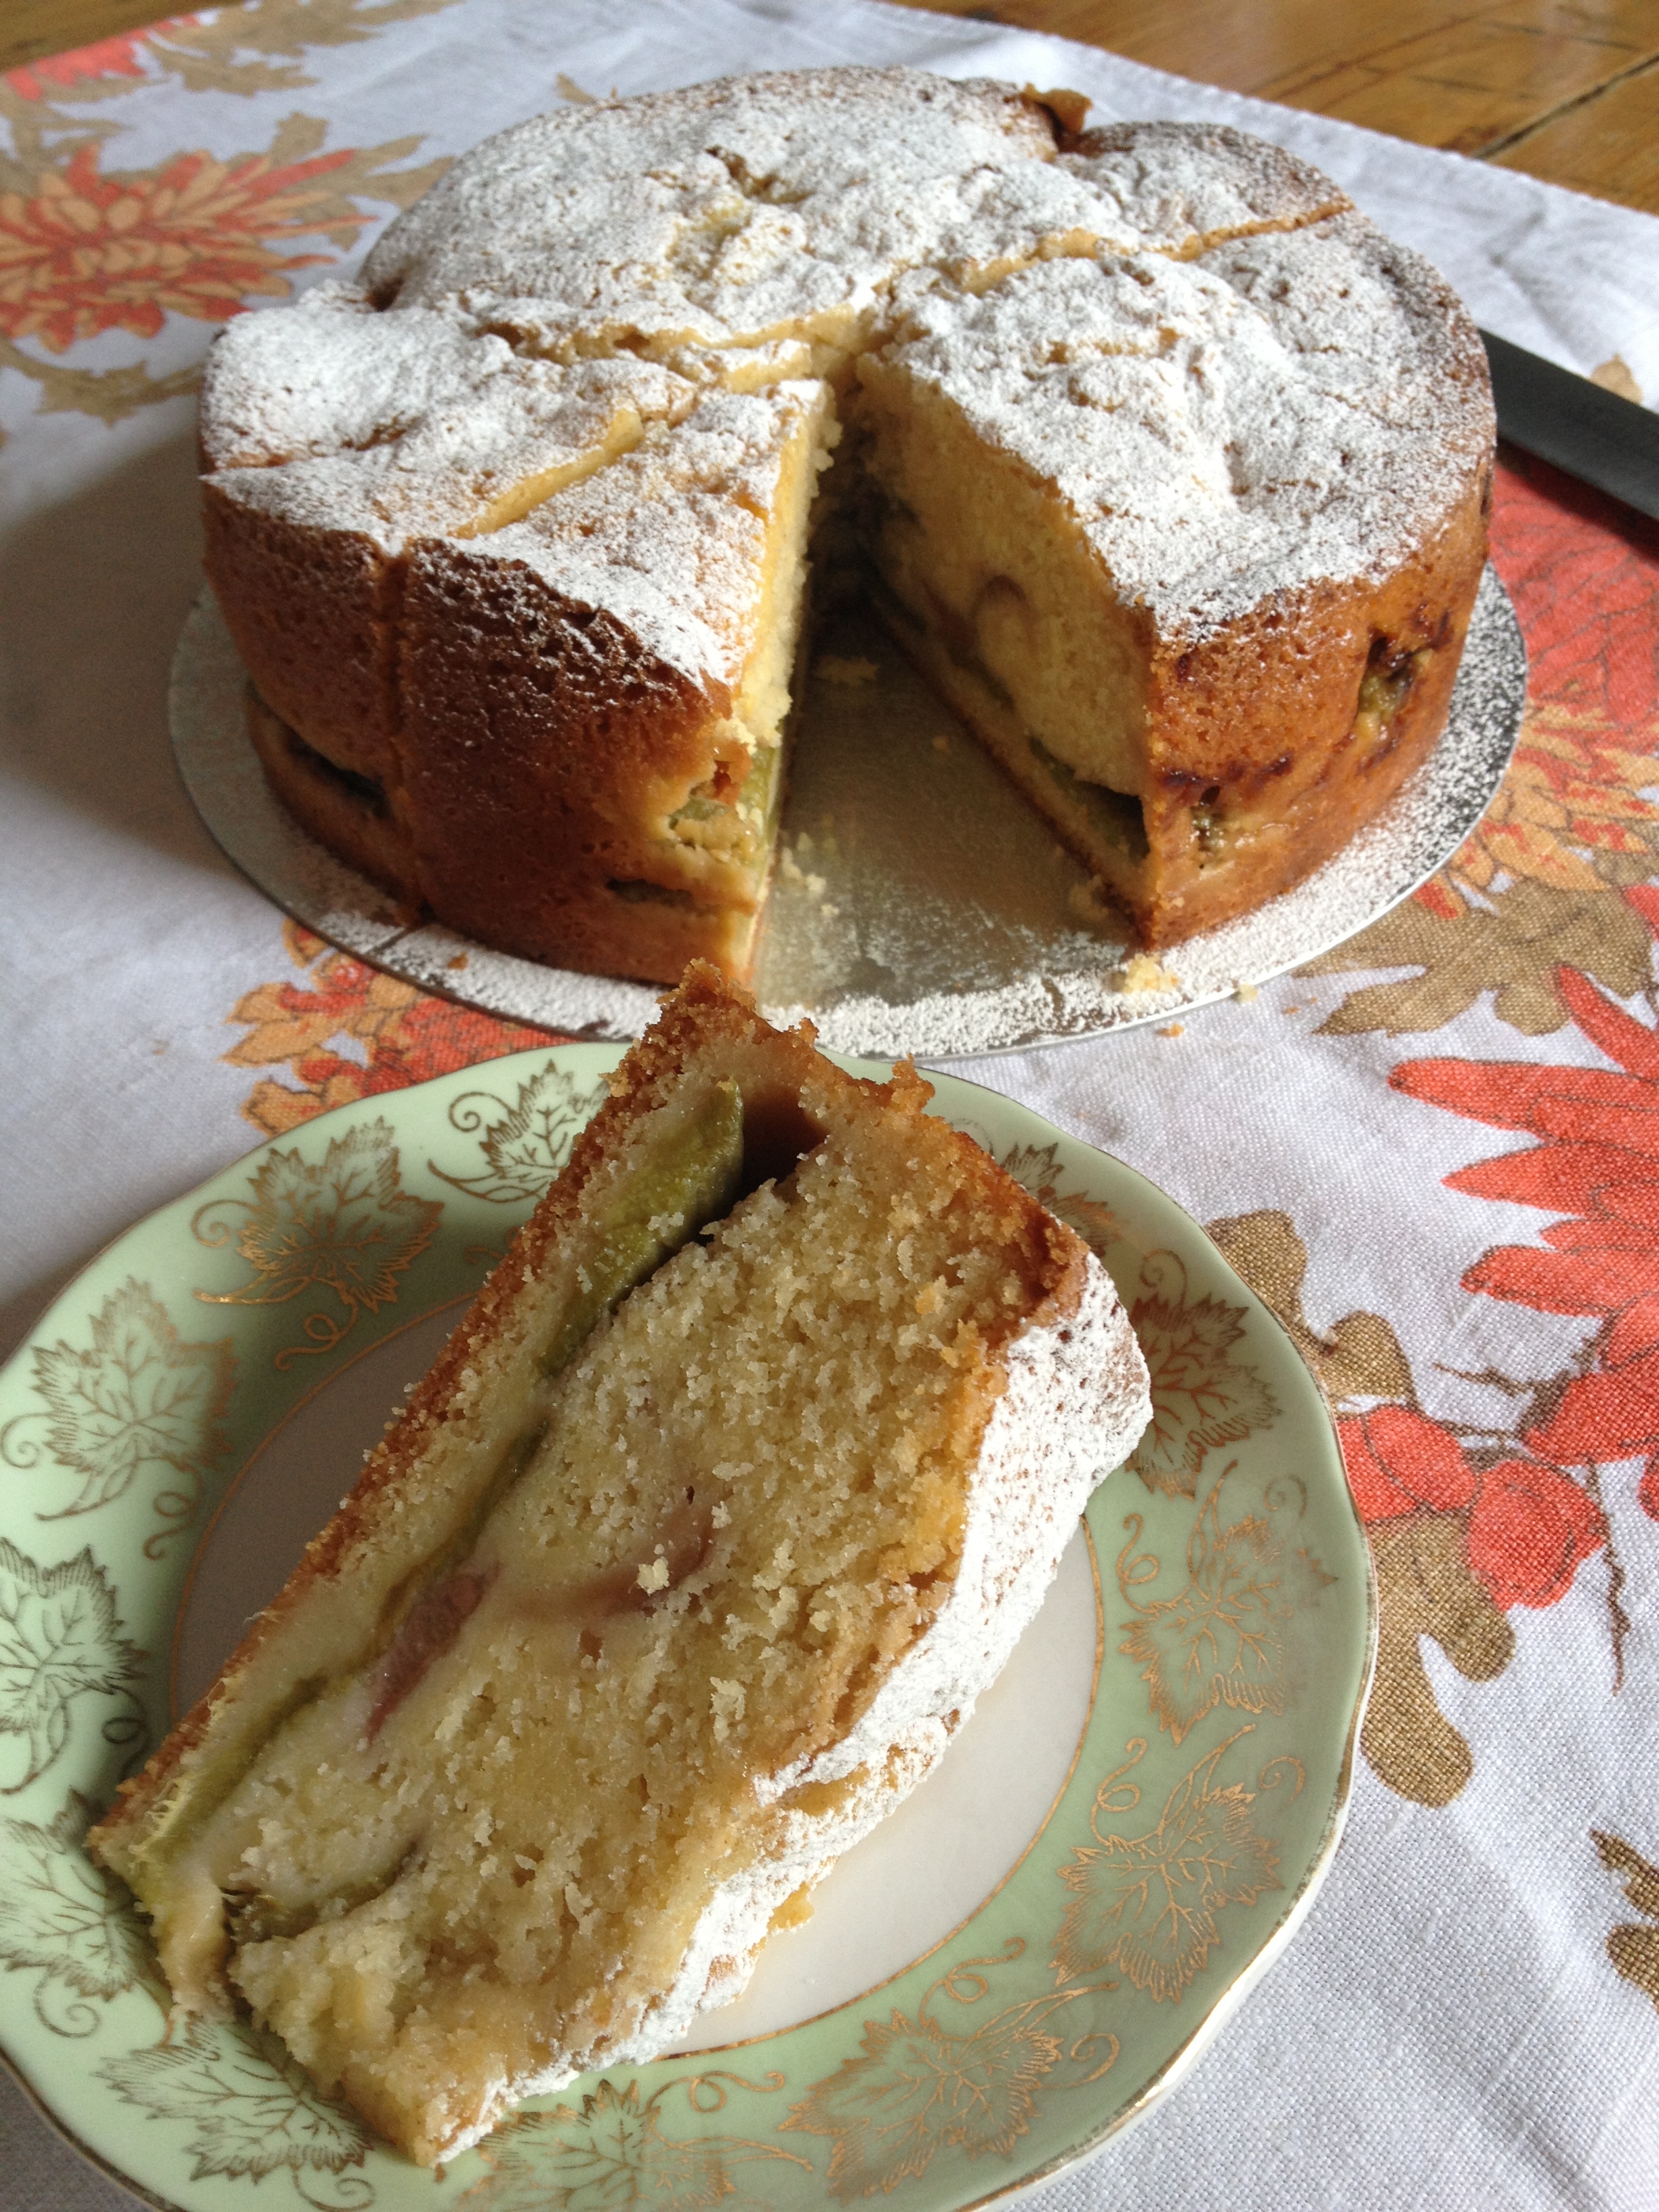
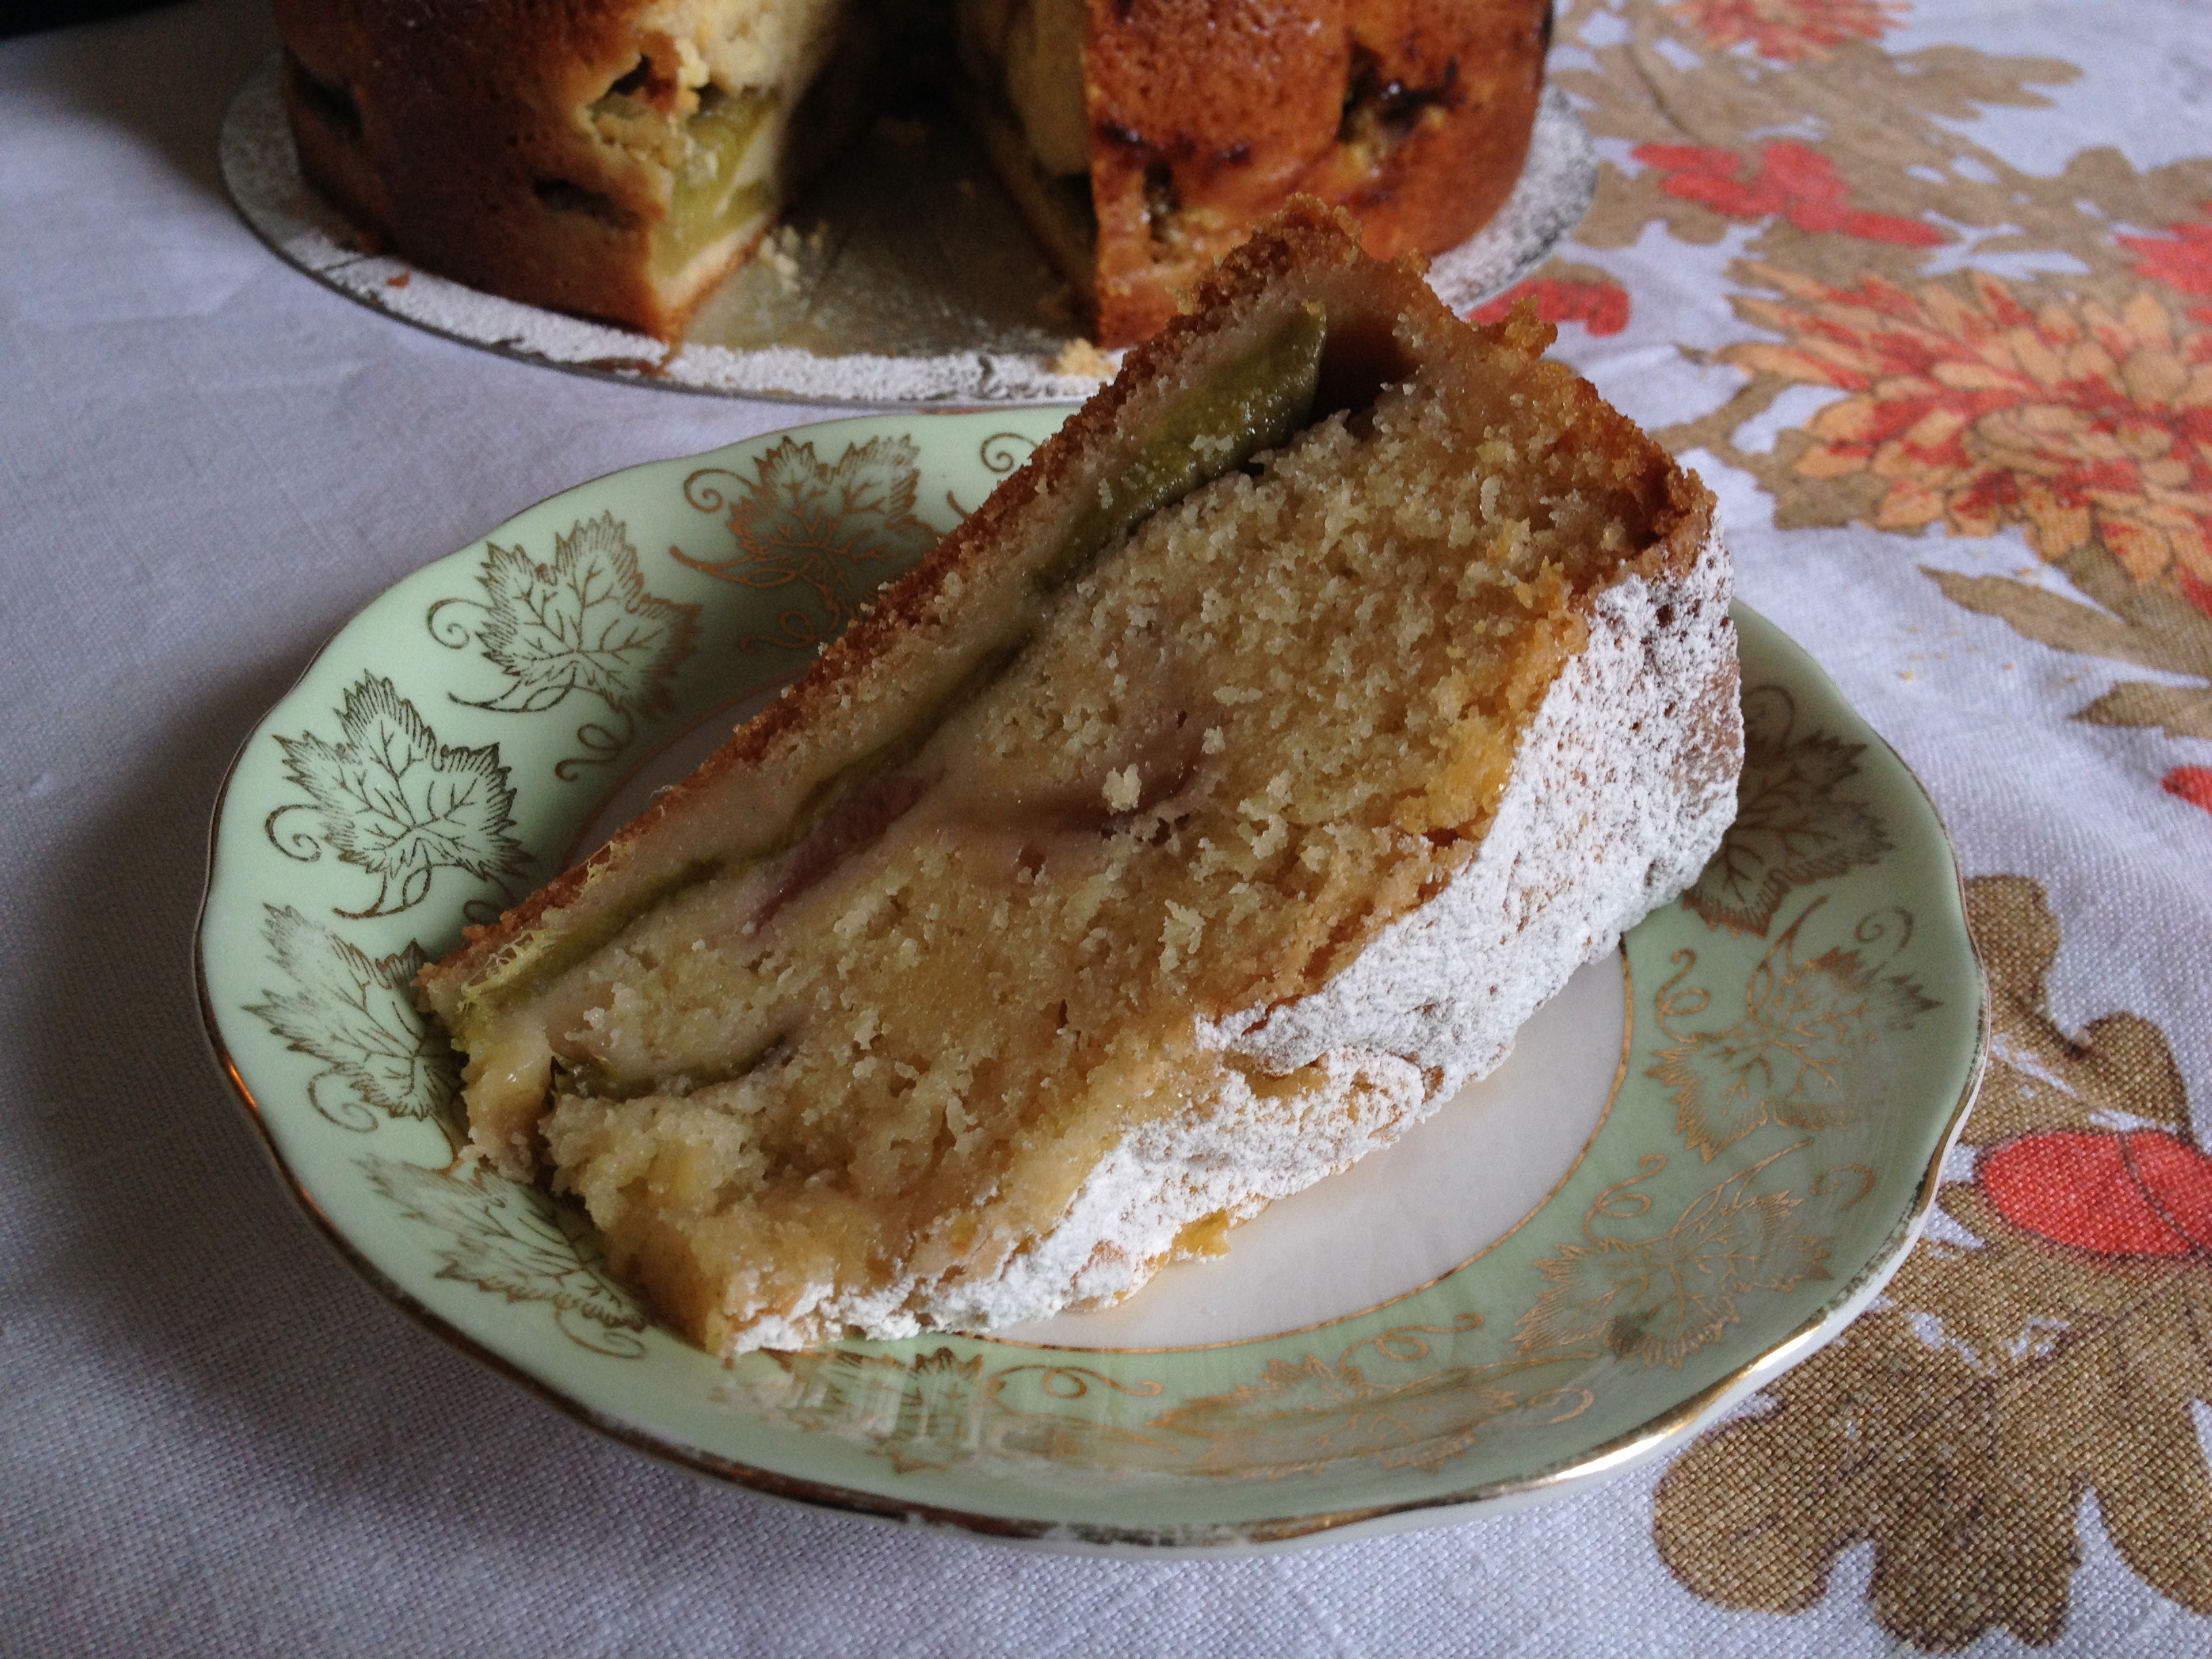
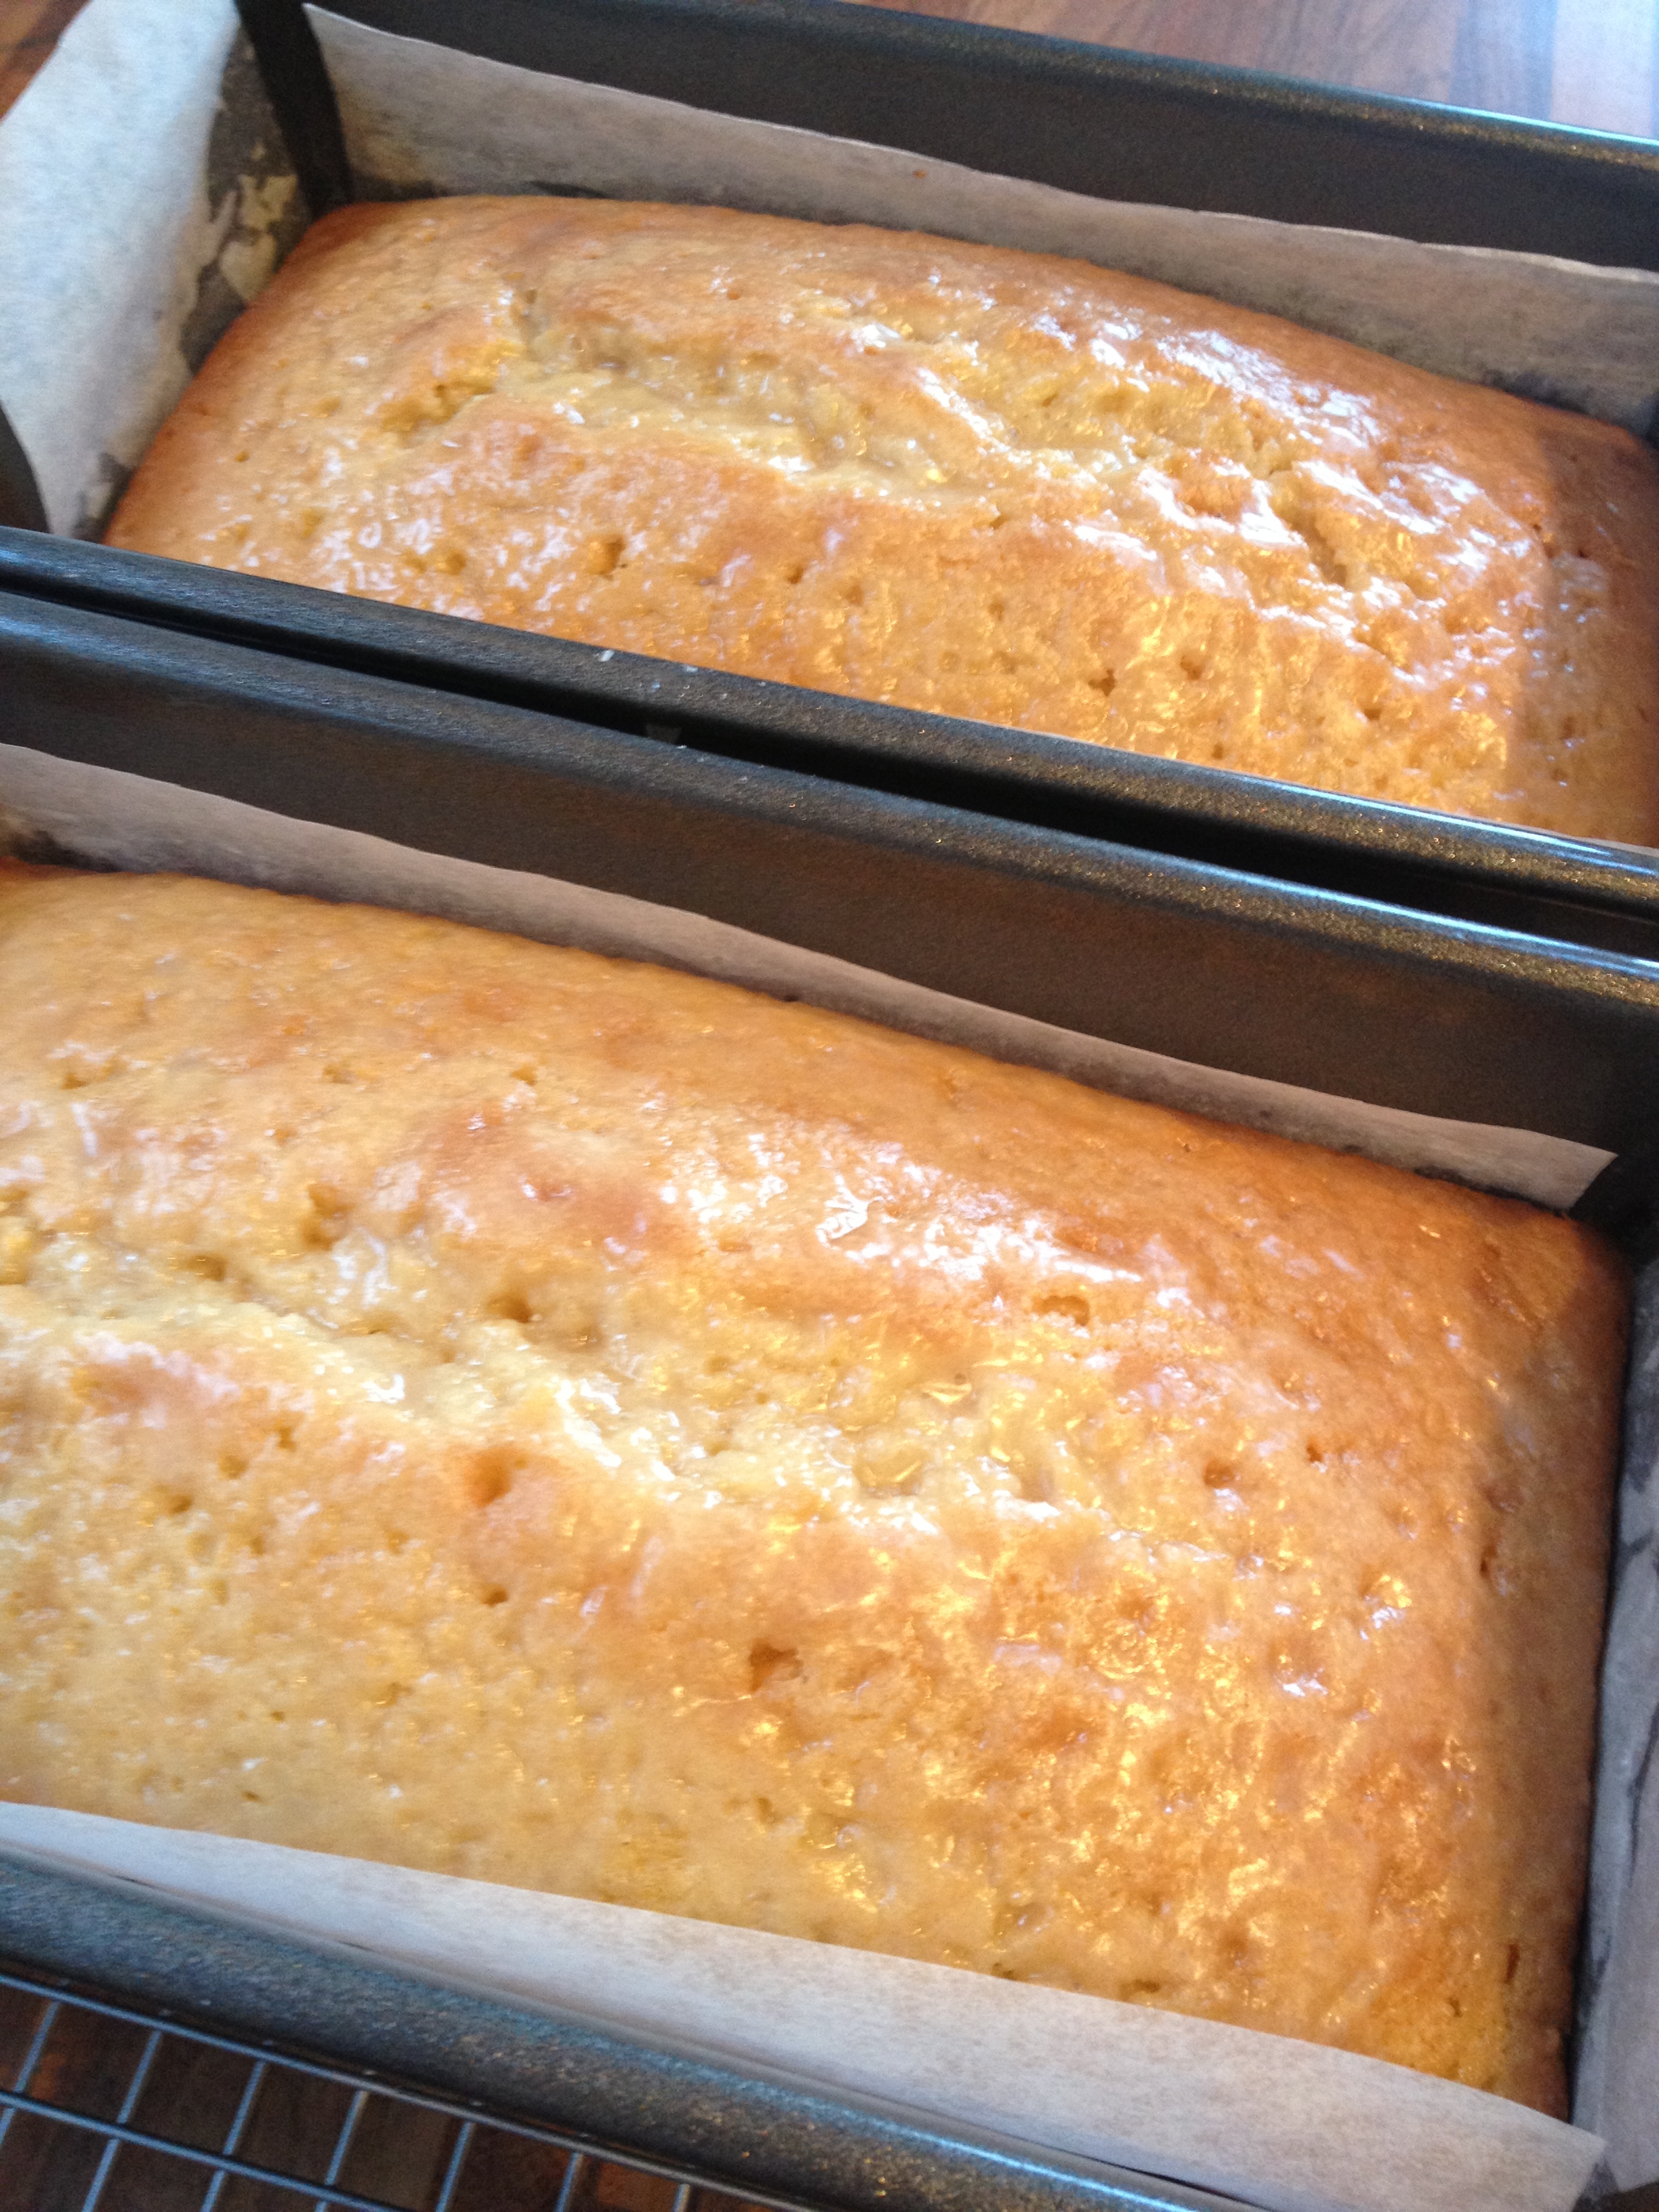
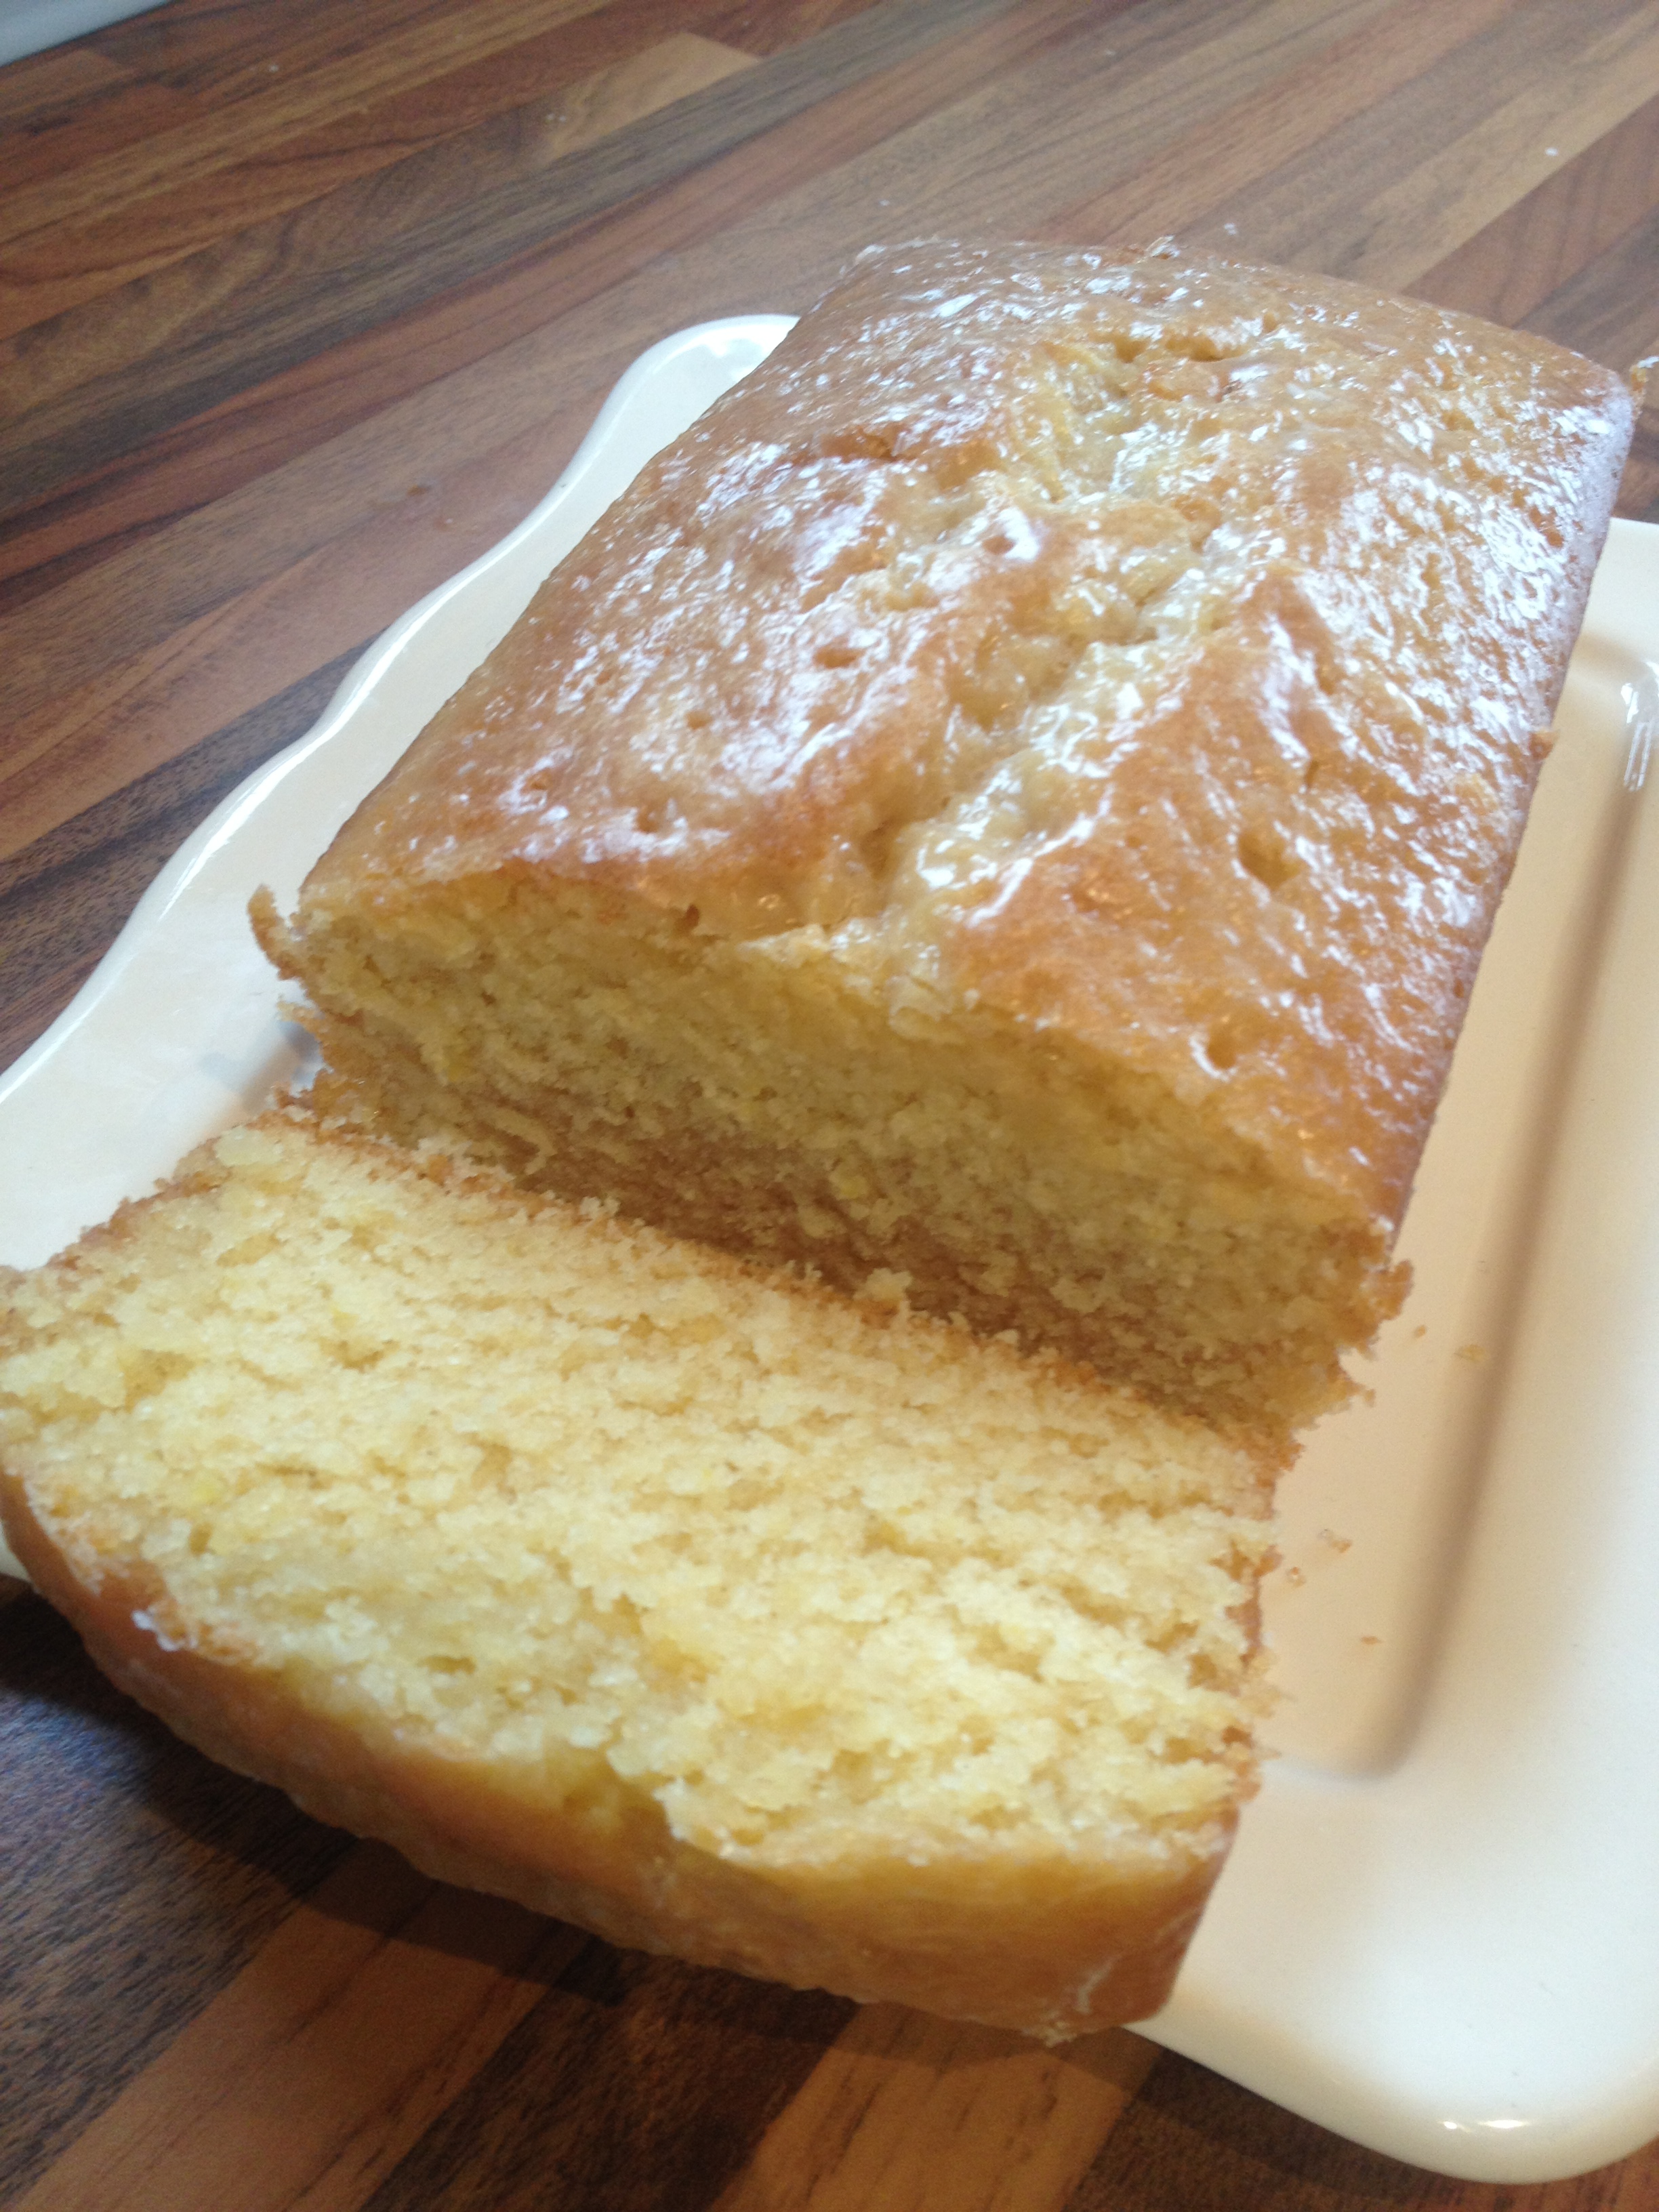
After getting home and recovering from the weekend of festival excess it wasn’t long before I made the yoghurt, lime and pistachio cake again. This time I managed to take a much better photo…
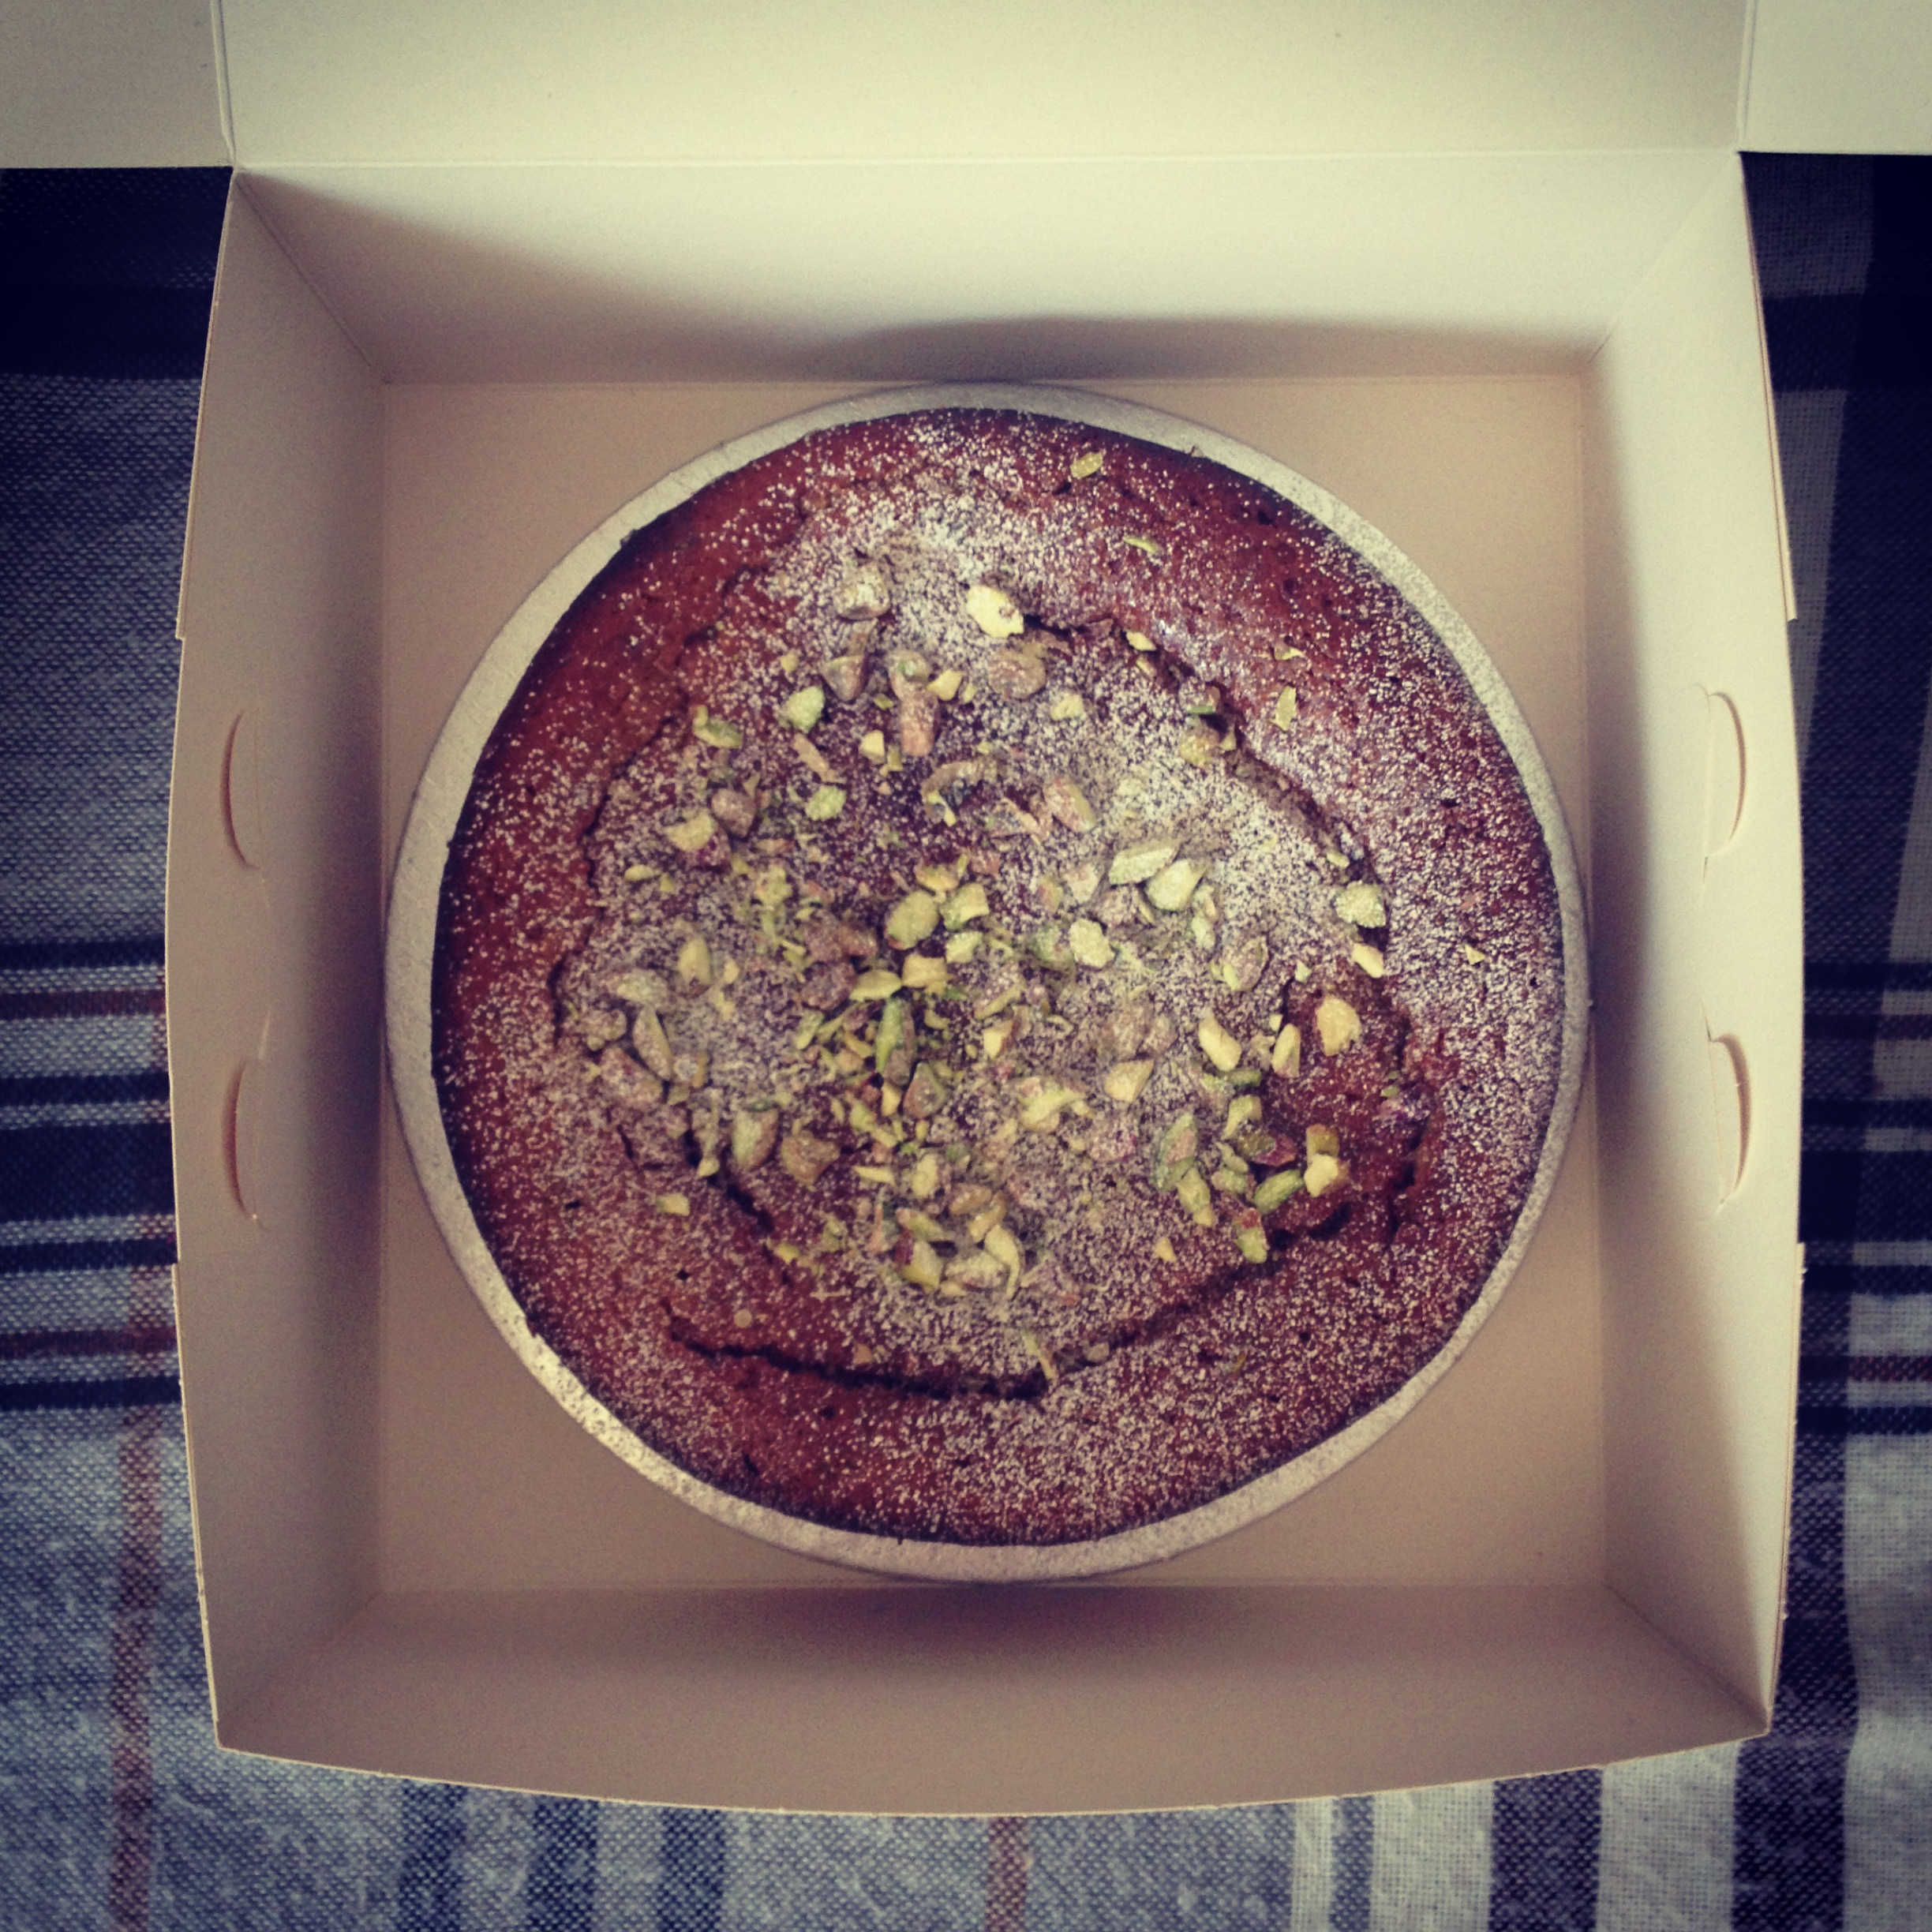
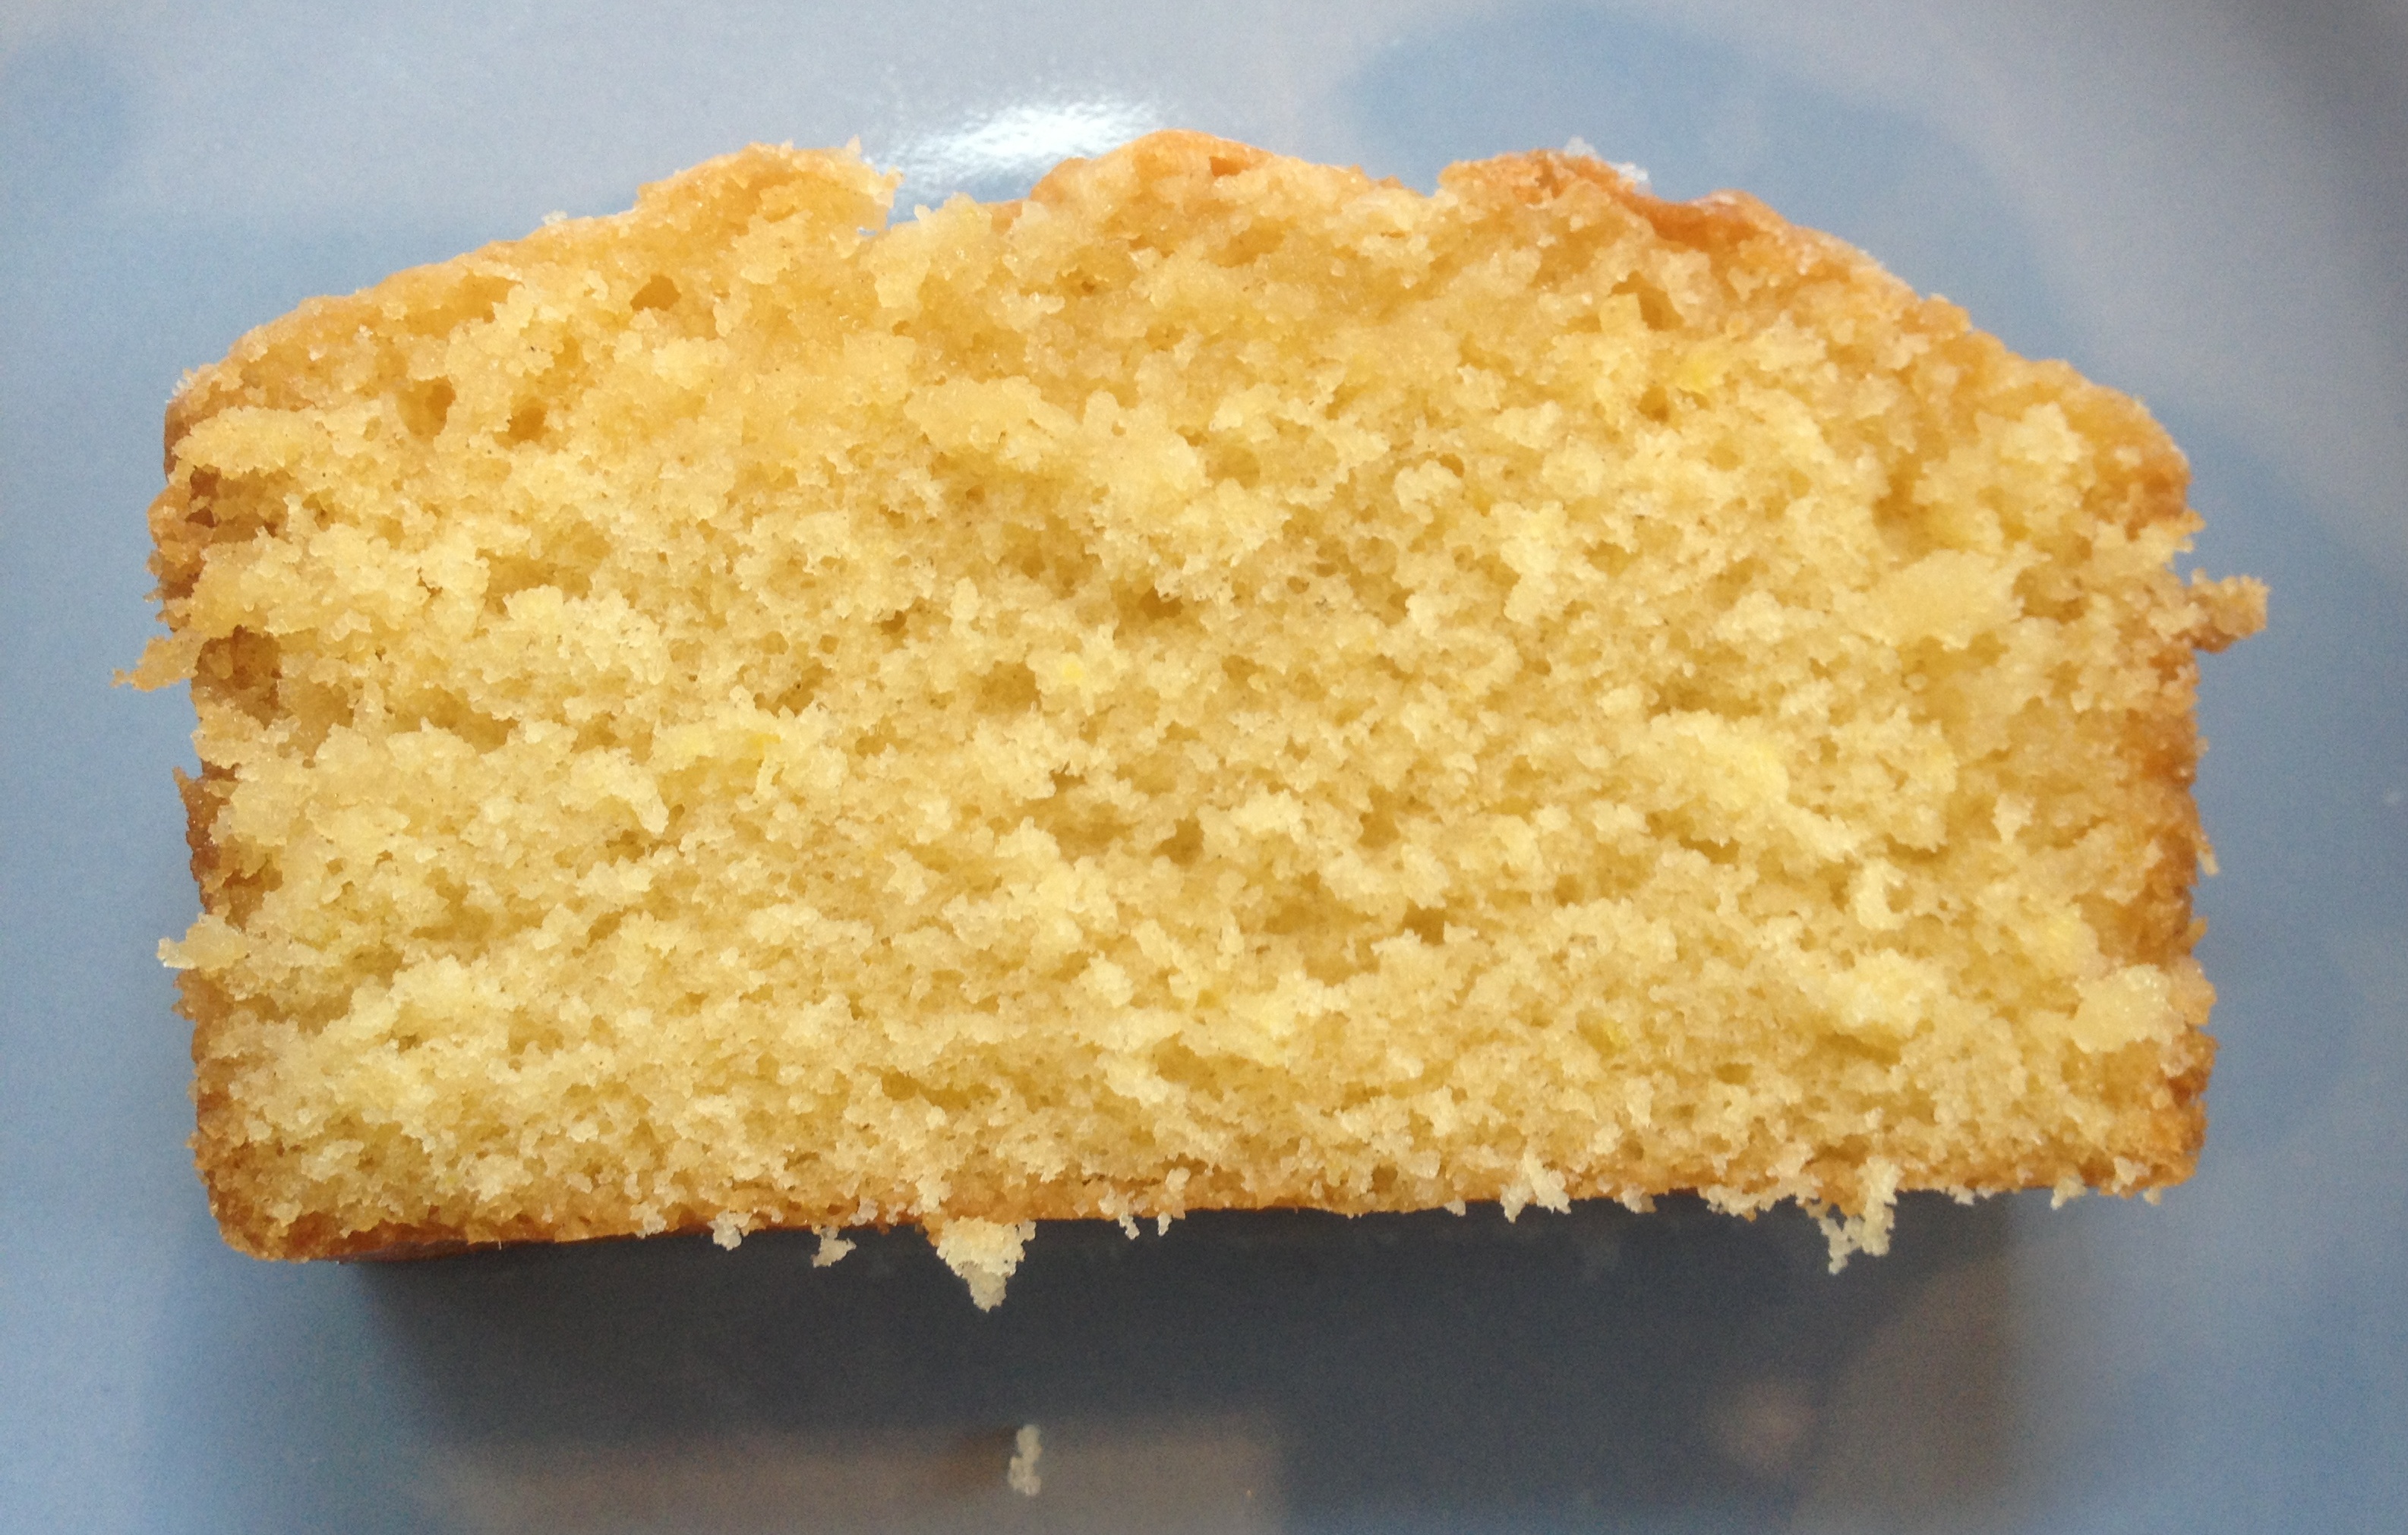
It’s a pretty unassuming looking cake but the fragrant flavours all work really well together and the drizzle, together with the inclusion of ground almonds makes it exceptionally moist. It benefits from being wrapped up and kept in the fridge for a day or two, which is handy if you need to make it in advance as long as you can refrain from pilfering a slice in the middle of the night Nigella stylee!
I found the recipe in Rachel Allen’s ‘Bake‘ book and made a couple of tweaks.
To make it you’ll need…
225g self-raising flour
1 tsp baking powder
1 pinch salt
75g ground almonds
100g caster sugar
2 eggs
1 generous tbsp or 50g runny honey
250ml natural yogurt
150ml sunflower oil
Grated zest of 1 lime
100g pistachios, roughly chopped
For the syrup
150ml water
100g caster sugar
Juice of 1 lime
1-2 tsp rose water (this depends on your taste and the strength of your rosewater. I use Star Kay White Rose Extract, which you can find in Lakeland. It really packs a punch and you’ll only need a small amount i.e. 1-2tsp. Whereas this Natural Essence of Rosewater from The English Provender is a lot weaker so you may want to add more.)
Preheat the oven to 180 degrees C and grease and line a 20cm cake tin with greaseproof paper.
Sift the flour, baking powder and salt into a large bowl and stir in the ground almonds and caster sugar.
Mix the eggs, honey, yogurt, sunflower oil and lime zest together in another bowl.
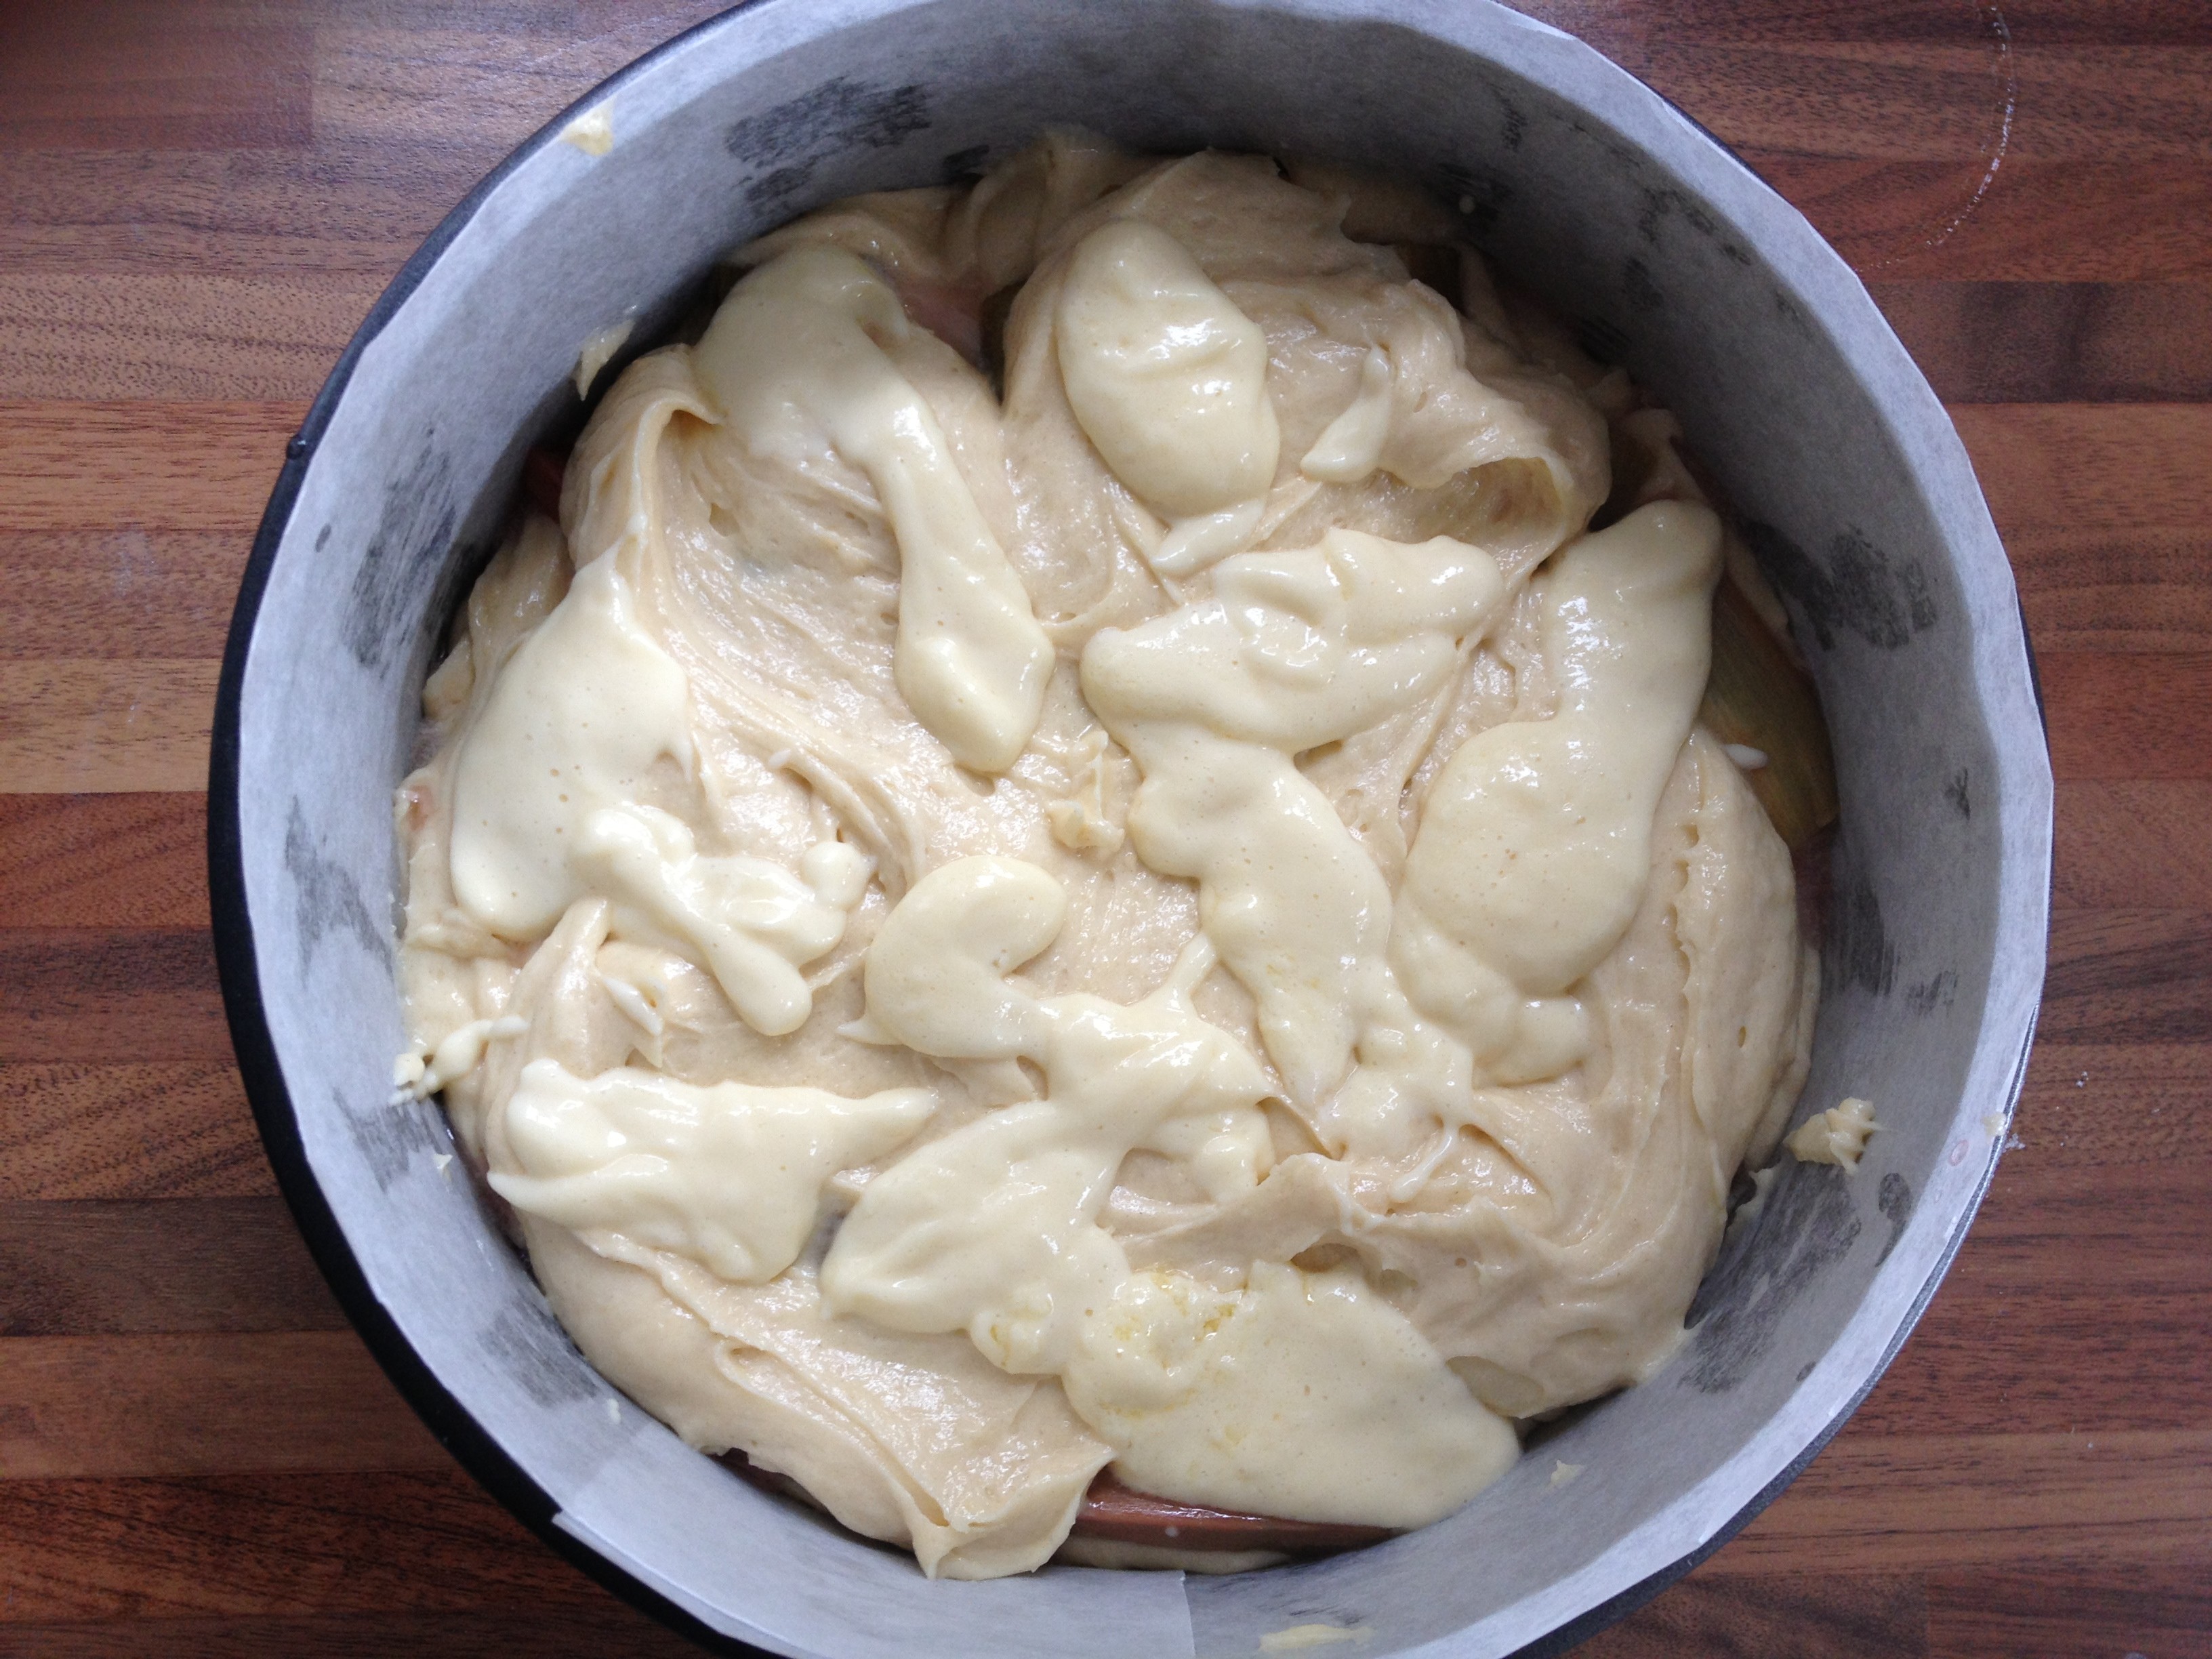
Make a well in the middle of your dry ingredients and slowly pour in the wet ingredients. Use a whisk to bring them together until they’re just combined. Finally stir in the chopped pistachios before pouring the mixture into the tin you prepared earlier.
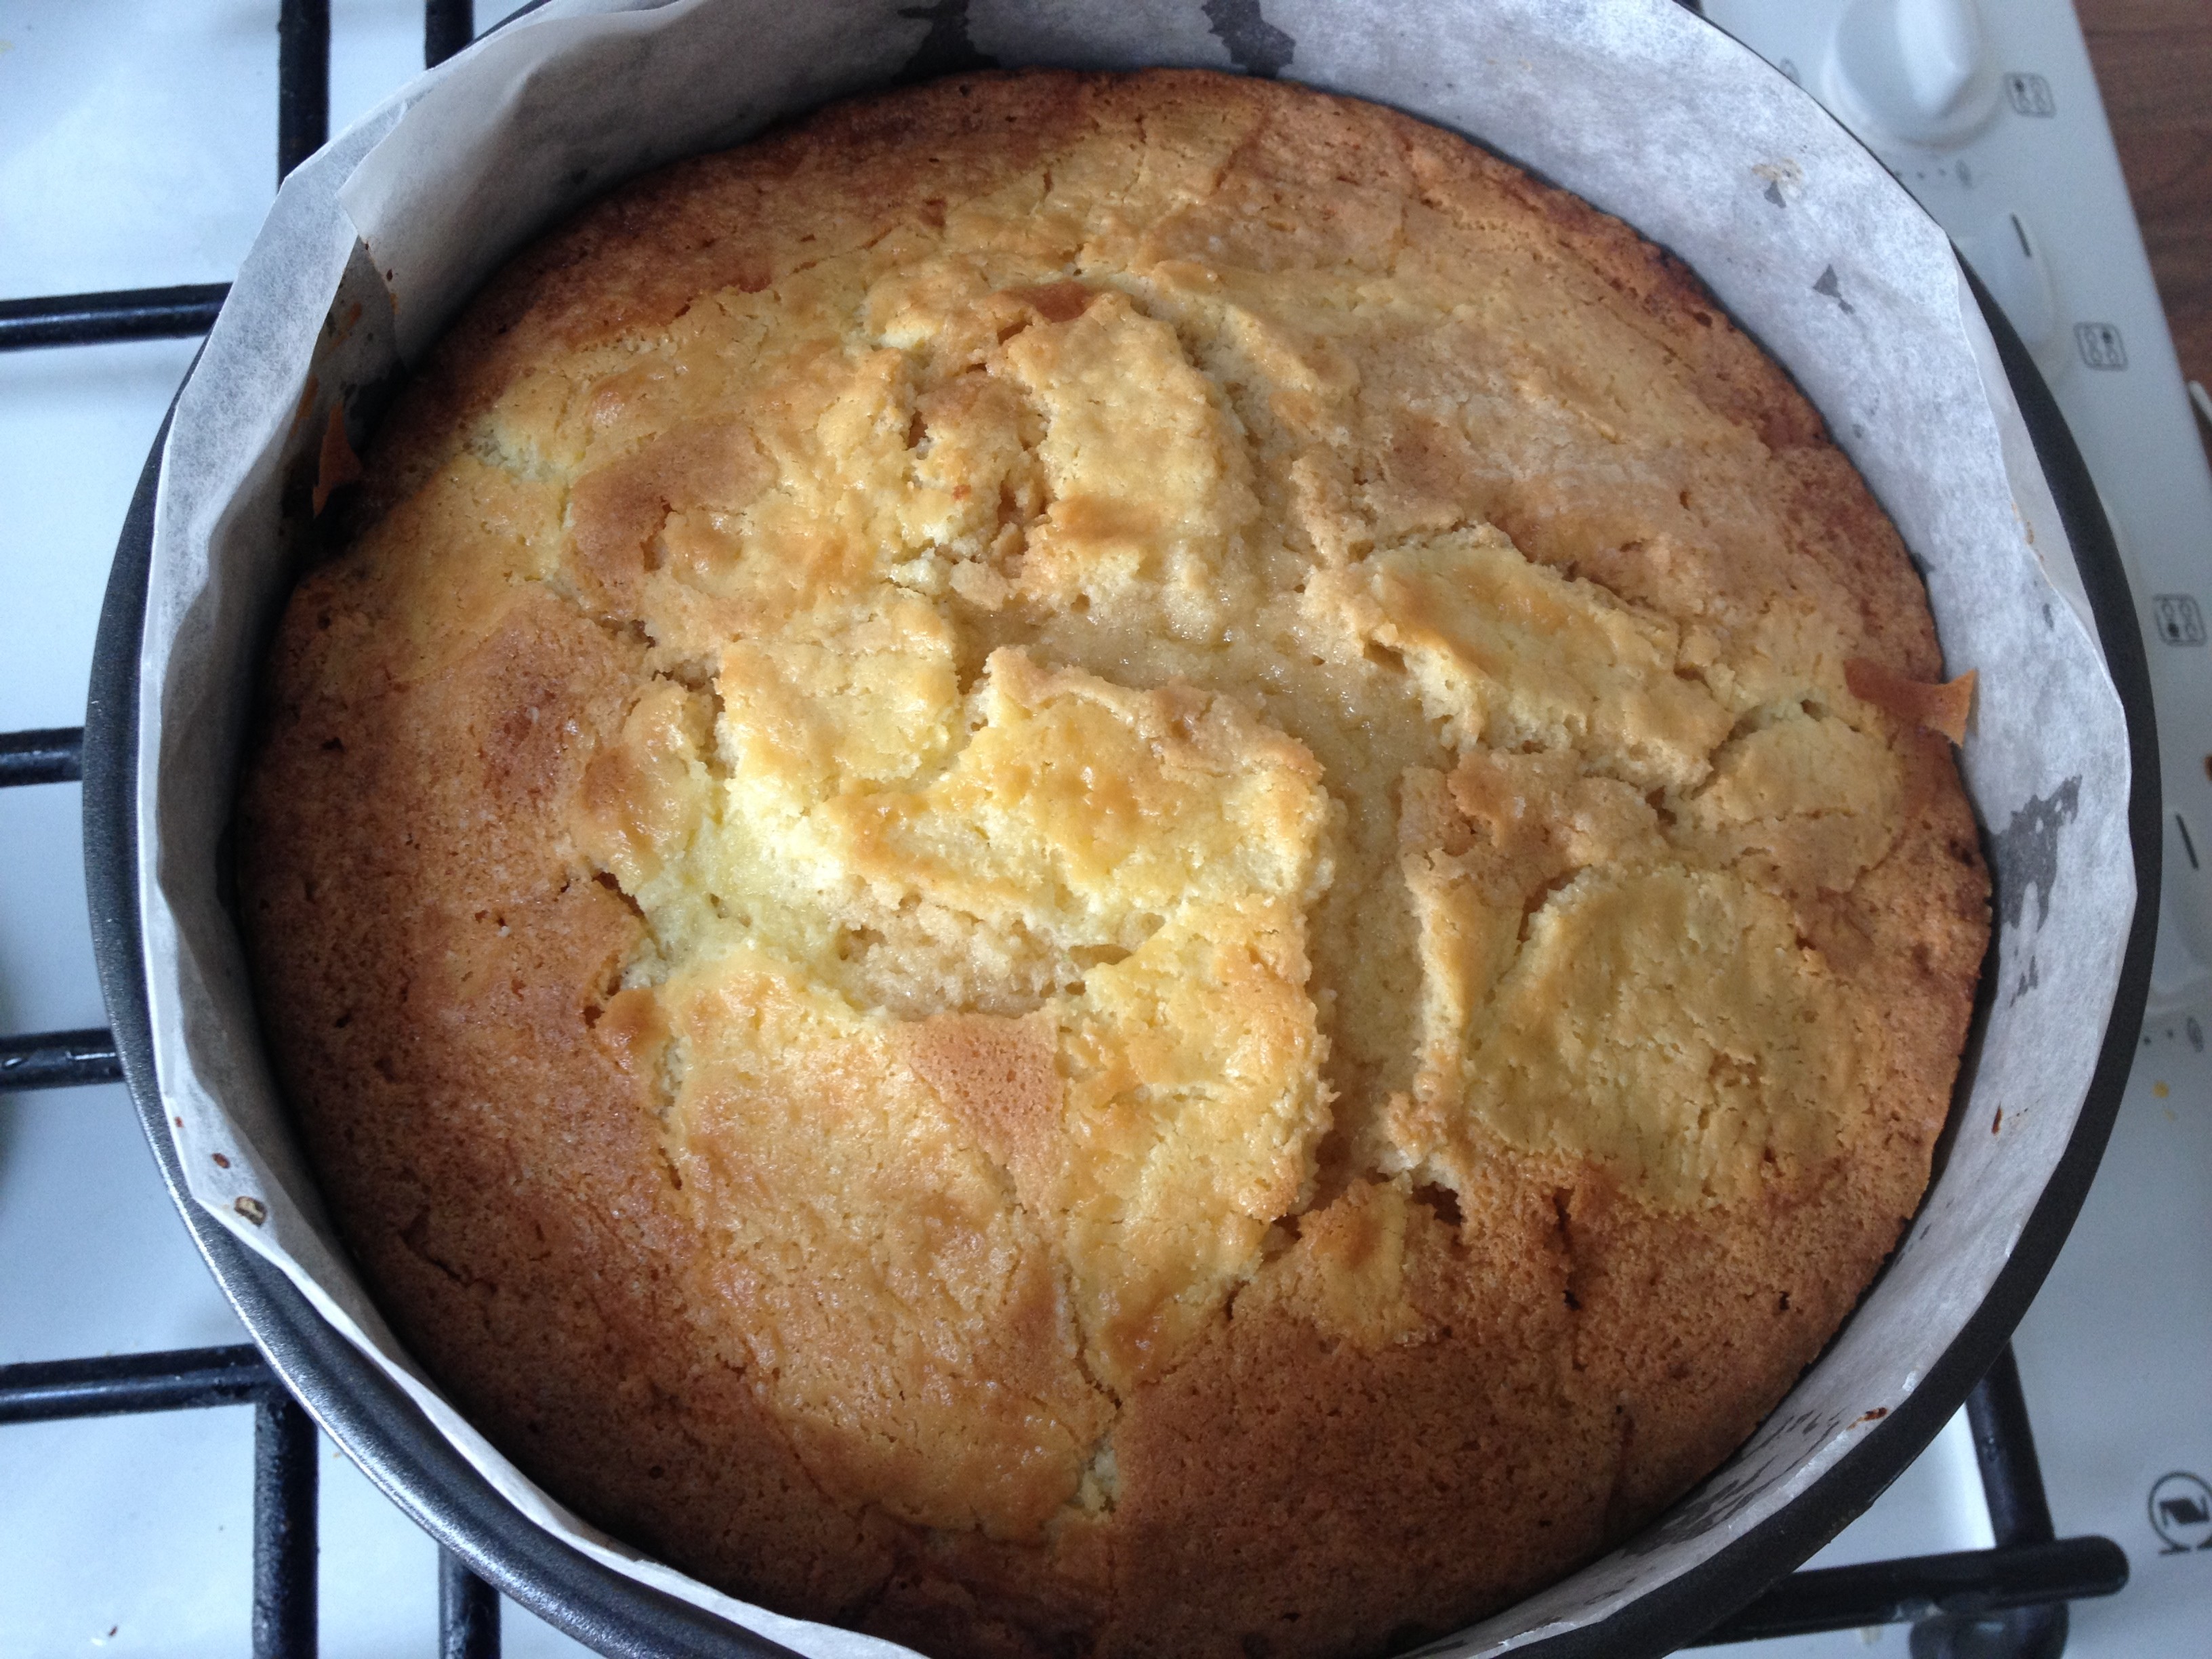
Pop it in the oven for 50 minutes or until a skewer inserted into the middle comes out clean.
You need to leave the cake to cool in the tin for about 20 minutes, which gives you plenty of time to make your lime and rosewater syrup for drizzling.
Simply boil the water and sugar in a small saucepan for about 5 minutes until it has reduced by half. Then add the lime juice and leave to boil for another 2 minutes. Take it off the heat and leave it to cool before adding your rosewater. Take heed of my notes above regarding the strength of your rosewater…add a little, then have a slurp, if you want it stronger then add a little more to suit your own taste. If you’re too heavy handed with the rosewater at this stage your cake might end up tasting like a bar of soap…be warned!
Use a skewer to make holes all over the top of the warm cake. Spoon over the syrup making sure every bit of it sees some of the syrupy action.
I finished the cake off by scattering a few more pistachios on top and dusting it with icing sugar just before serving.
We ate it on its own but I think it’d be delicious with a dollop of natural yoghurt or creme fraiche on the side (festival optional).
Enjoy!